Peanut Butter Bars (Frosted)

This post may contain affiliate links. Please read our disclosure policy.
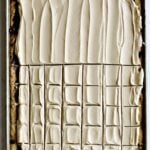
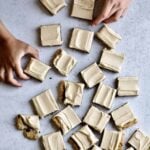
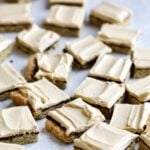
These Peanut Butter Bars (Frosted) are a beloved family recipe on my husband’s side, showing up at every gathering and always the first dessert to disappear from the table. With a soft peanut butter oatmeal base, rich chocolate layer, and creamy peanut butter frosting, they strike the perfect balance of chewy, sweet, and indulgent.
Try my Banana Bars and Pumpkin Bars next!
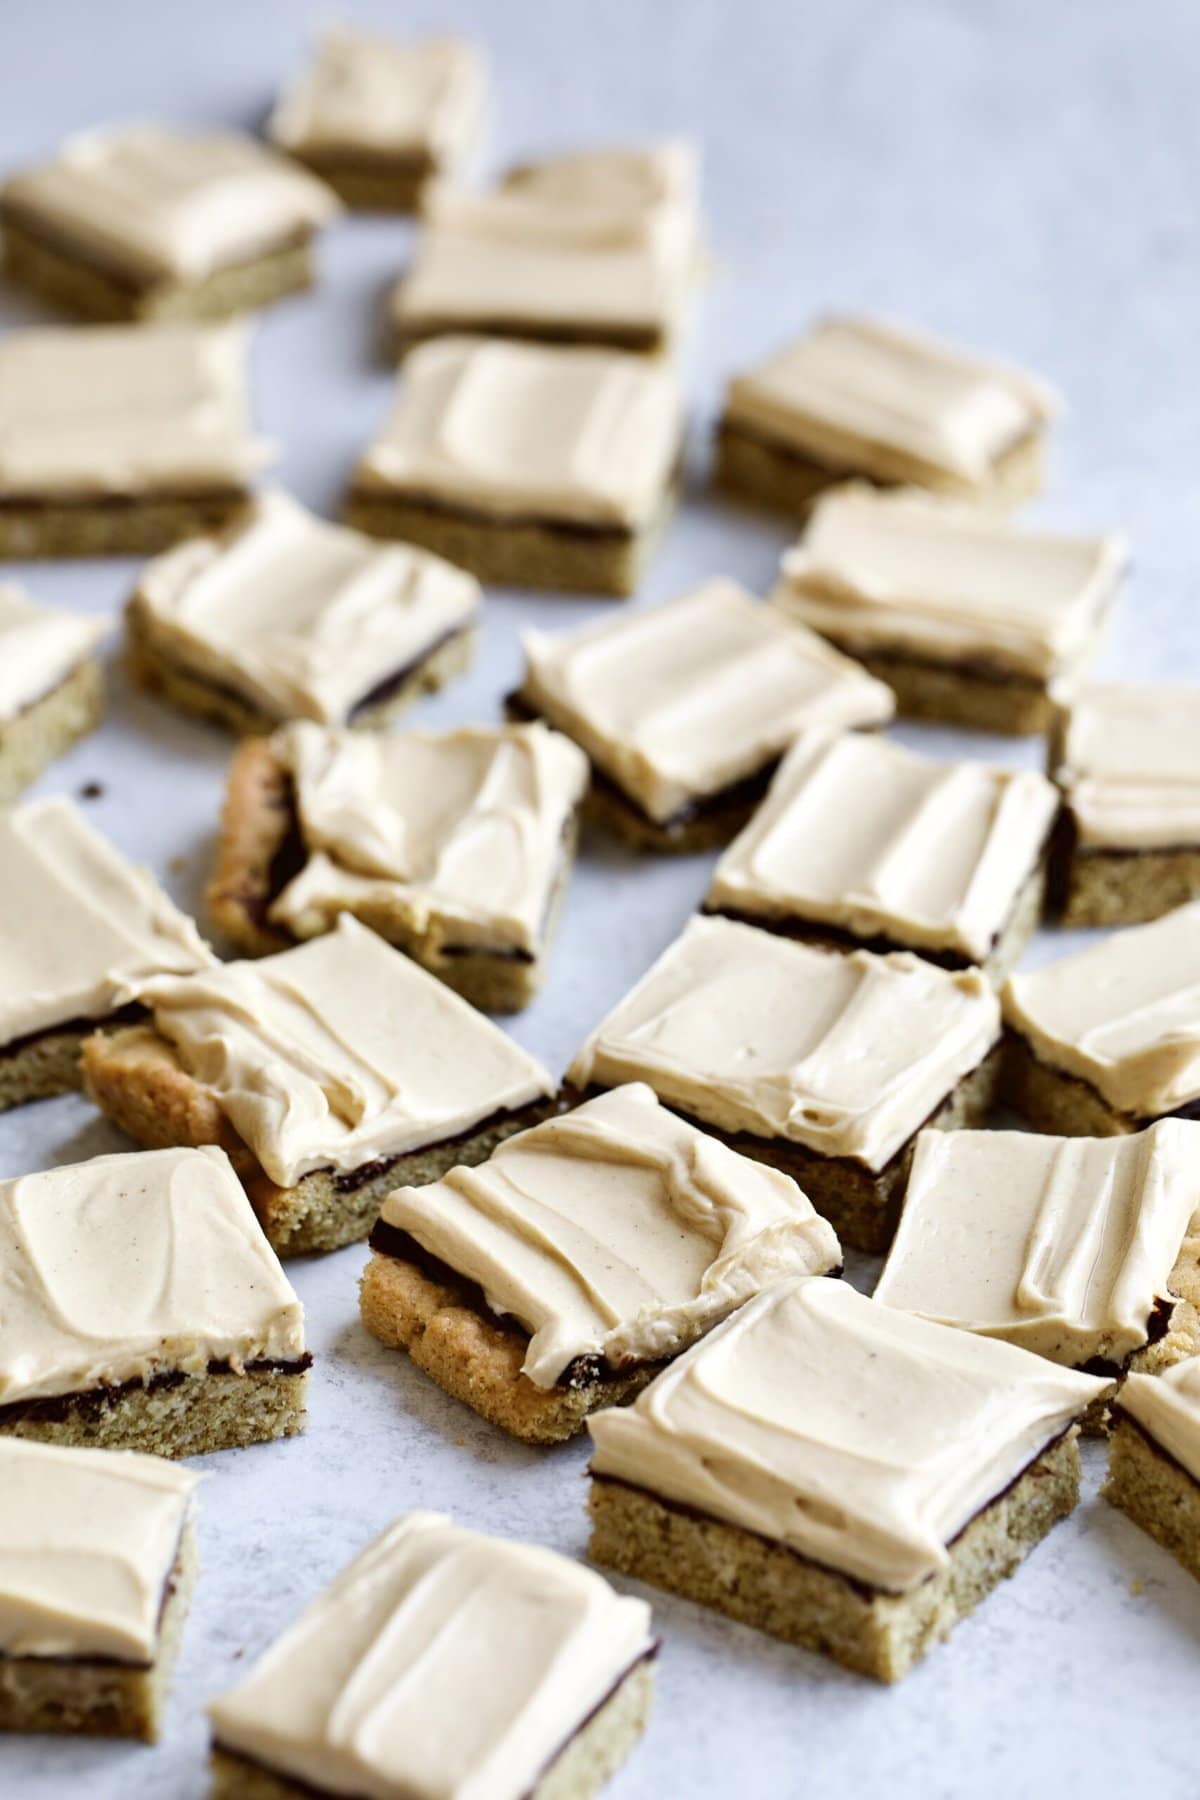

Quick Look: Peanut Butter Bars
- Prep Time: 20 minutes
- Cook Time: about 10 minutes
- Chill Time: 30 minutes
- Total Time: 1 hour
- Servings: 24 bars
- Dietary Info: Vegetarian, can be made Gluten-Free and Nut-Free
- Method: Bake cookie base, layer with melted chocolate, then top with peanut butter frosting and chill until set
- Technique: Press and bake an even oat-based peanut butter crust, then layer warm melted chocolate and finish with a whipped peanut butter buttercream
- Flavor & Texture: Sweet, salty, rich, chewy, creamy
A Tried-and-True Family Recipe!

This is one of those nostalgic, crowd-pleasing desserts that shows up at every family gathering on my husband’s side and somehow never makes it home with leftovers. I love that it’s made from simple pantry ingredients but delivers big flavor and texture…chewy, creamy, chocolatey, and just the right amount of sweet and salty in every bite. It’s the kind of recipe people ask for after the first bite, and once you make it, I know it will quickly earn a permanent spot in your dessert rotation too.
For another Davis family recipe, try this Poppy Seed Cake with Glaze!
Made With Amore,

“I made this for a baptism gathering and it was the HIT of the party! It was so easy and delicious and just one batch is enough to feed a crowd!”
– Allae
Table of Contents
Simple Ingredients
Made with simple pantry staples, these classic peanut butter bars are the kind of comforting dessert everyone comes back for seconds of.
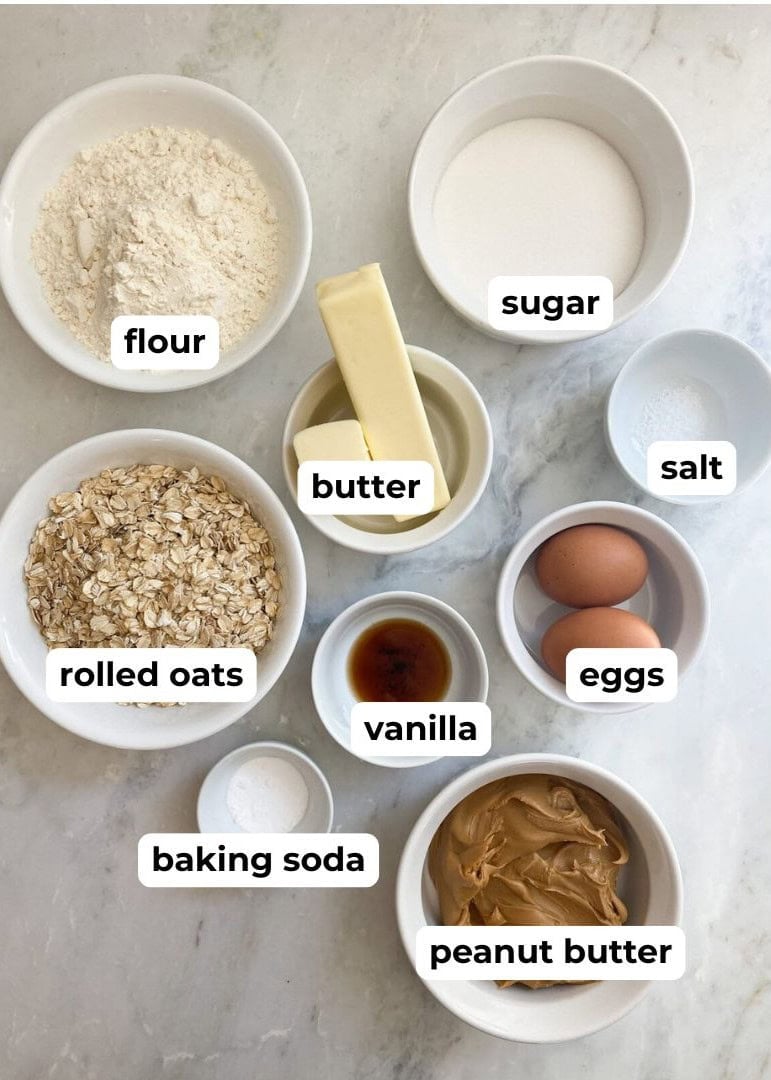
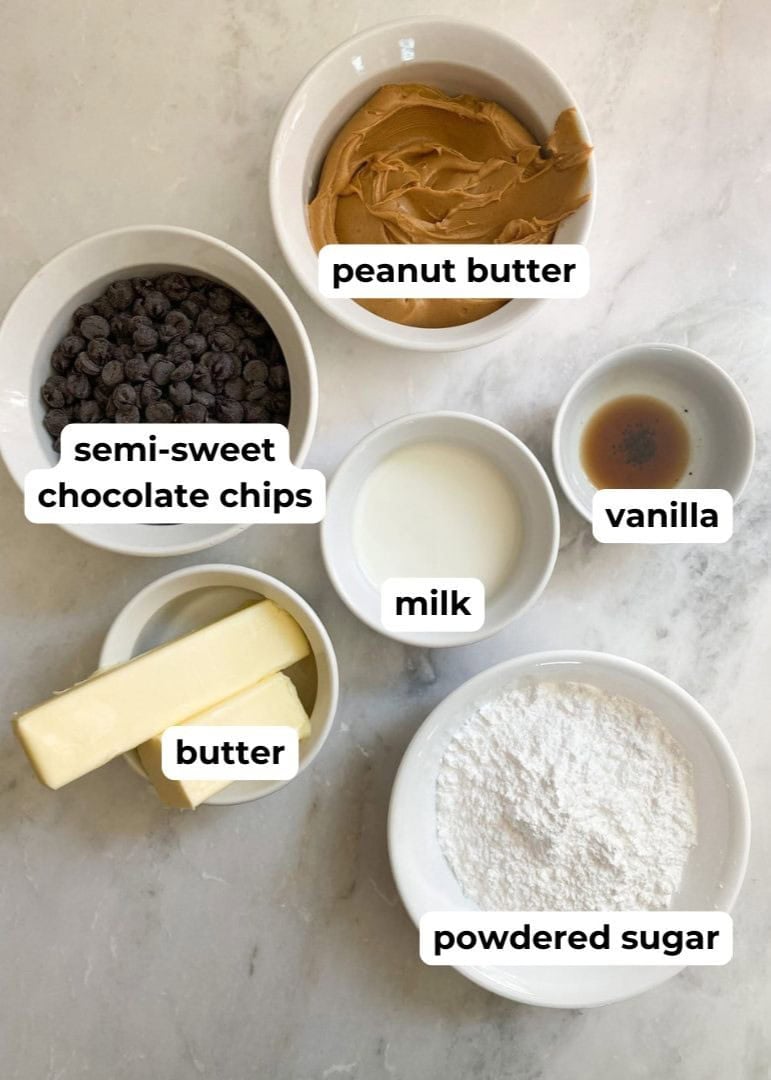
- Peanut Butter: Adds rich, nutty flavor to both the cookie base and creamy frosting
- Rolled Oats: Give the bars their soft, chewy texture and classic homemade feel
- Brown Sugar And Granulated Sugar: Create the perfect balance of sweetness, softness, and chewy texture
- Chocolate Layer (Semi-Sweet Chocolate Chips): Melts into a rich chocolate topping that pairs perfectly with the peanut butter
- Frosting Layer (Powdered Sugar, Butter, Peanut Butter, Vanilla, Milk): Creates a smooth, creamy frosting that makes these bars extra indulgent
See recipe card for full information on ingredients and quantities.
Variations & Substitutions
- Crust Variation: Swap the peanut butter oat base for a graham cracker crust for a slightly different classic texture. Use the recipe shown in my No Bake Lemon Bars.
- Chocolate Option: Use milk chocolate chips instead of semi-sweet for a sweeter, creamier topping. For another indulgent chocolate dessert, try this Torta Caprese!
- Gluten-Free Swap: Make these gluten-free by using certified gluten-free oats and a 1:1 gluten-free flour blend.
- Nut-Free Substitution: Replace peanut butter with cookie butter for a similar creamy, rich flavor without nuts.
How to Make Frosted Peanut Butter Bars
A no-fuss, freezer-friendly layered dessert that delivers big flavor and texture in every bite. Follow the step-by step photos and see the recipe card at the bottom for a printable version.
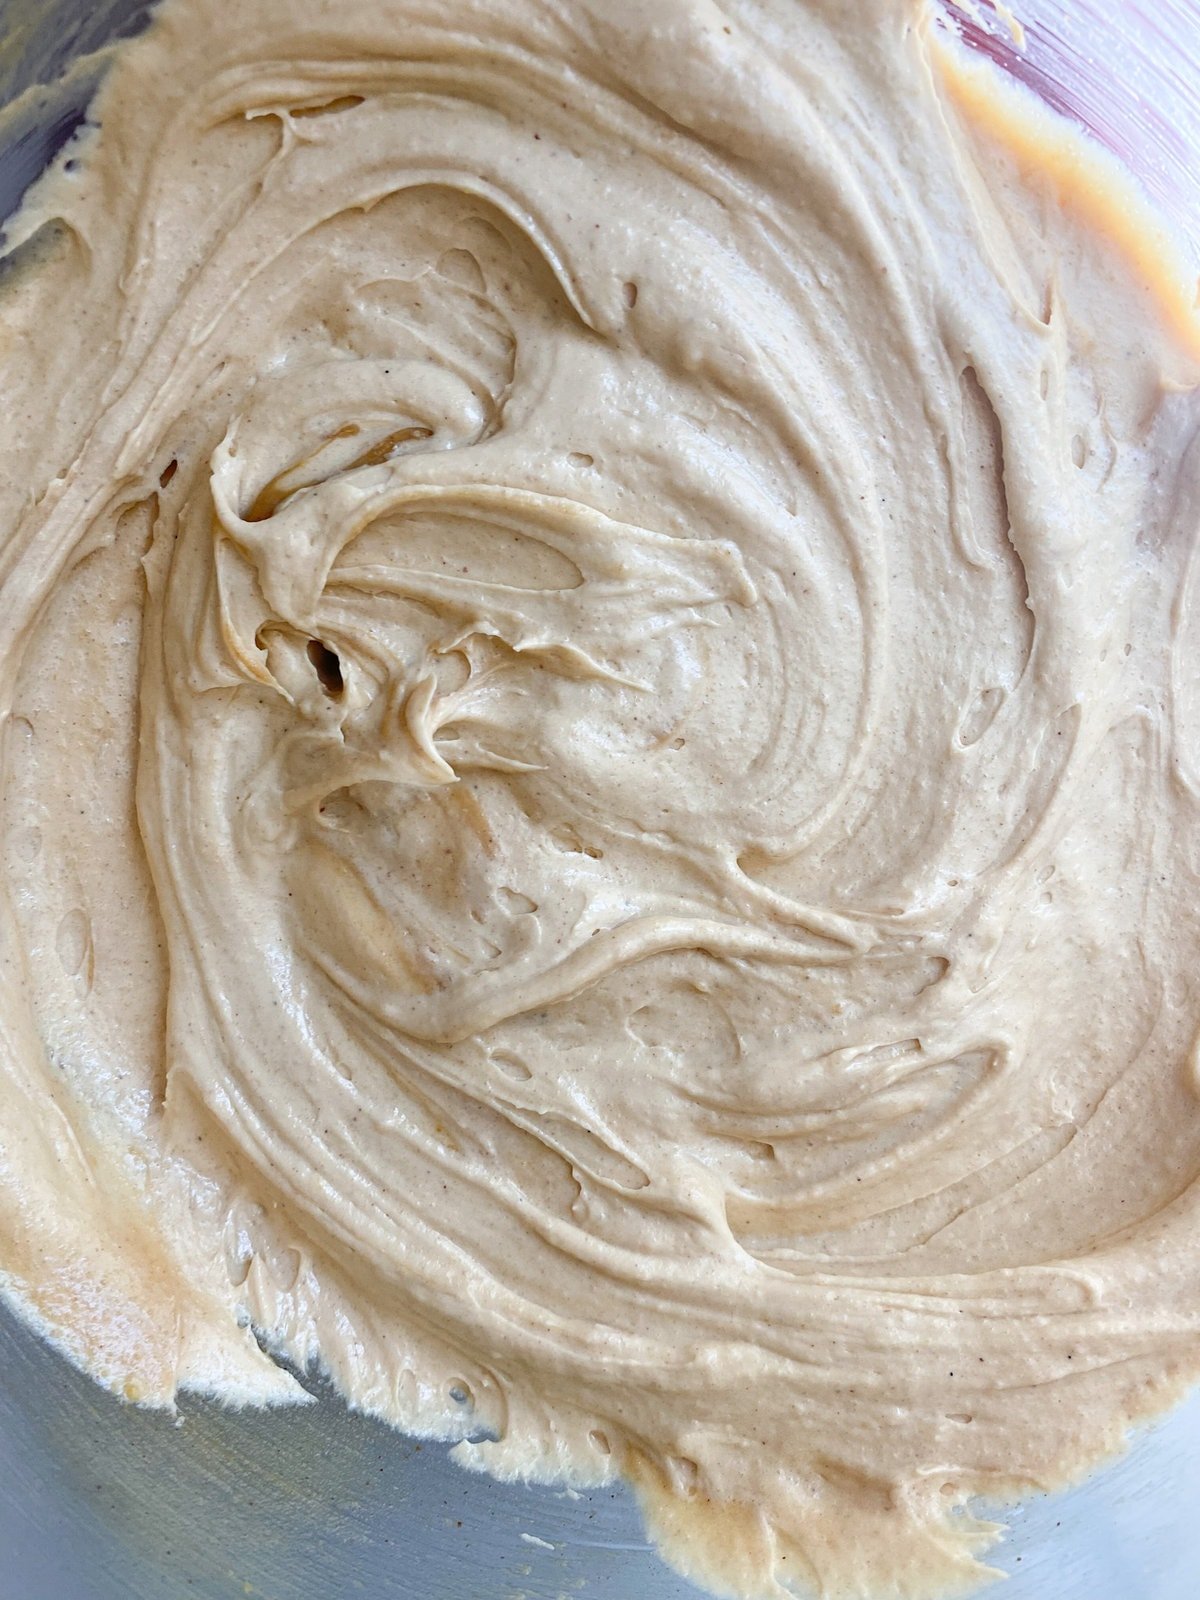
- Preheat the oven to 375 F. Grease your 12×17 pan and set aside. In a large bowl, cream together on medium speed (using a hand or stand mixer) butter, sugars, peanut butter, eggs, and vanilla until light and fluffy.
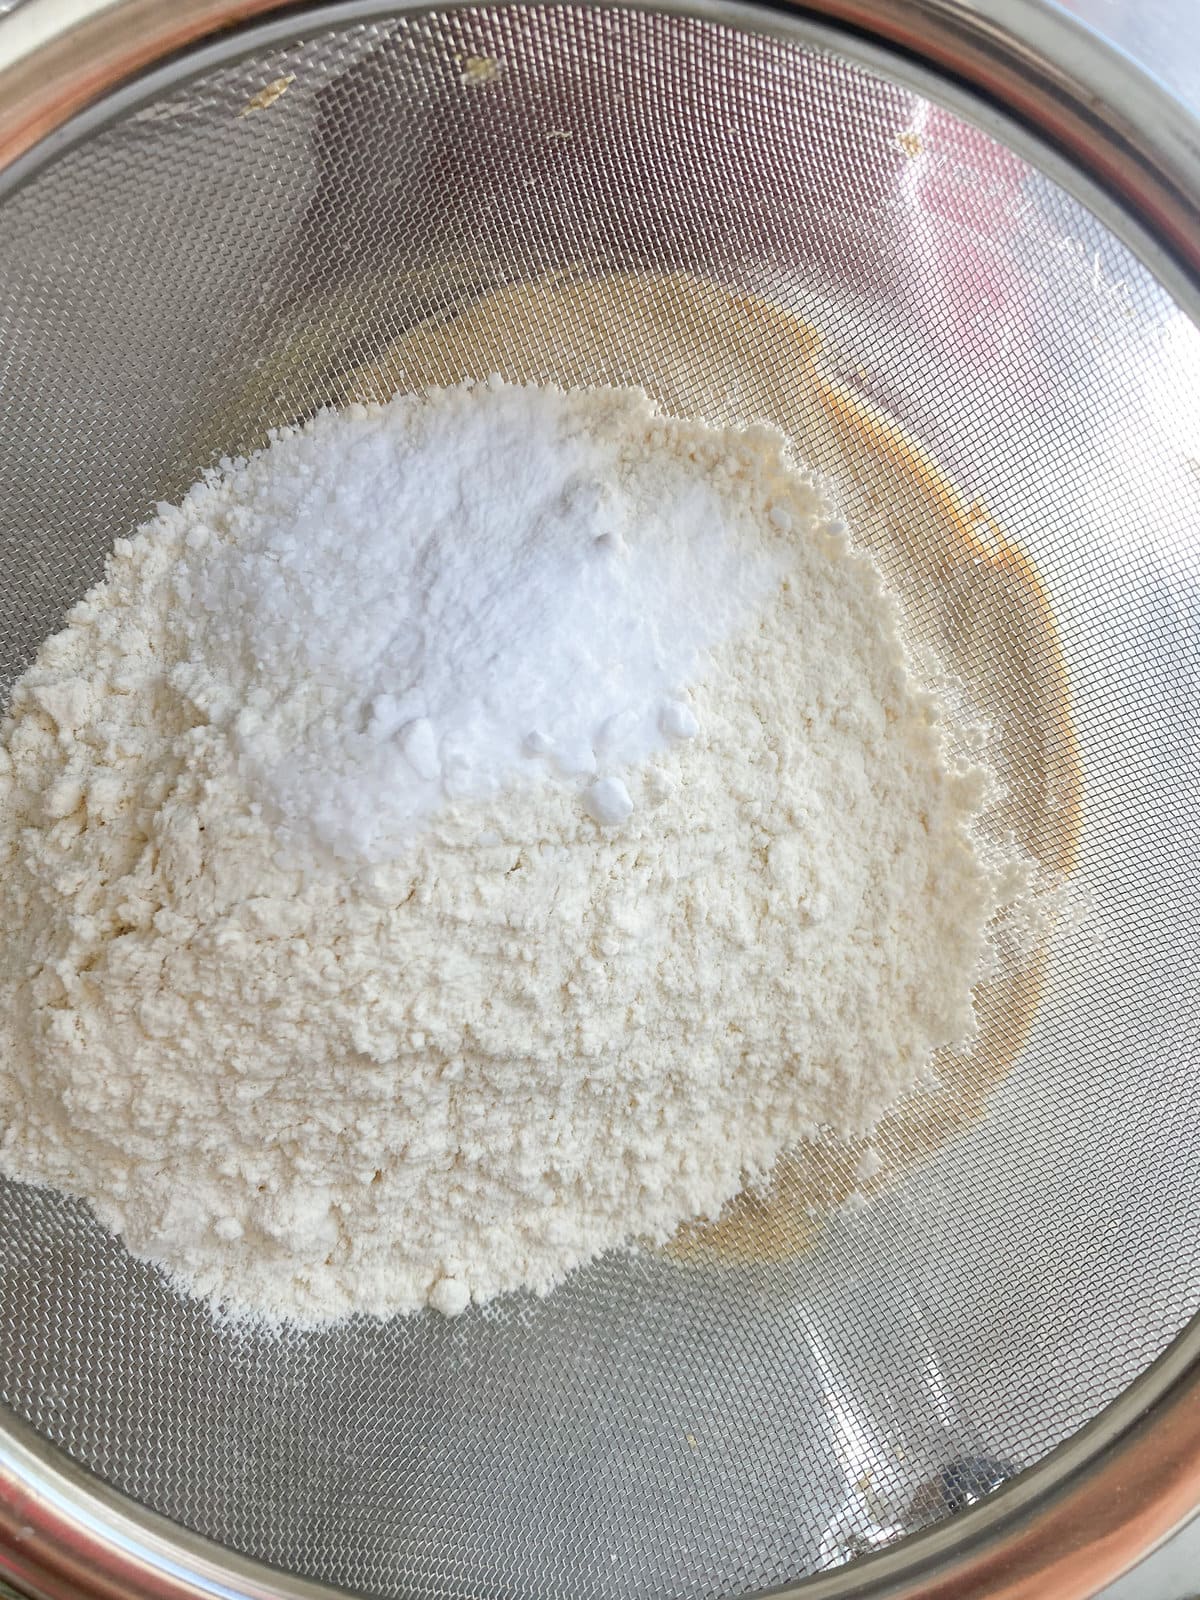
- Sift in flour, salt, baking soda to the creamed mixture.
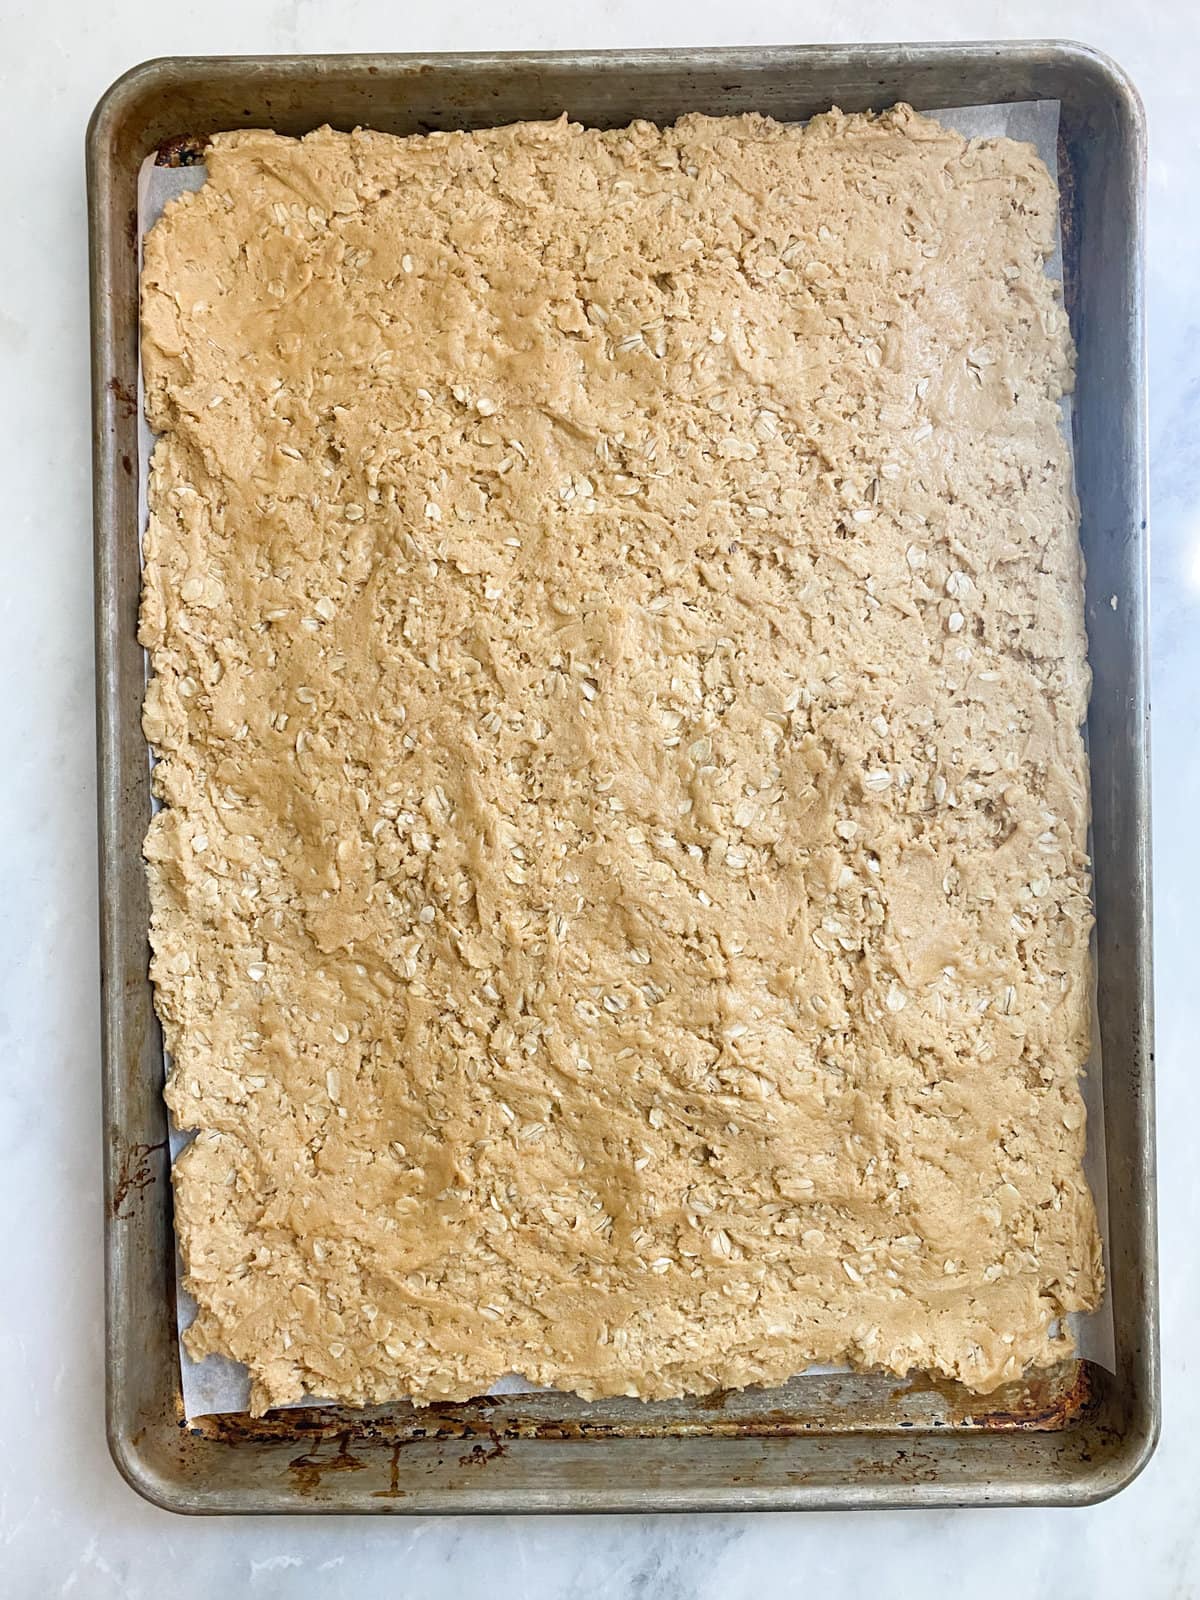
- Combine well with wet ingredients, scraping down the sides of the bowl once half way through mixing. Add oats. Mix together until combined (cookie dough texture).
- Press the dough onto the prepared baking pan sheet until it forms a uniform layer on the bottom of the pan. Bake at 375 F for about 10 minutes until slightly golden on top. Turn off the oven.
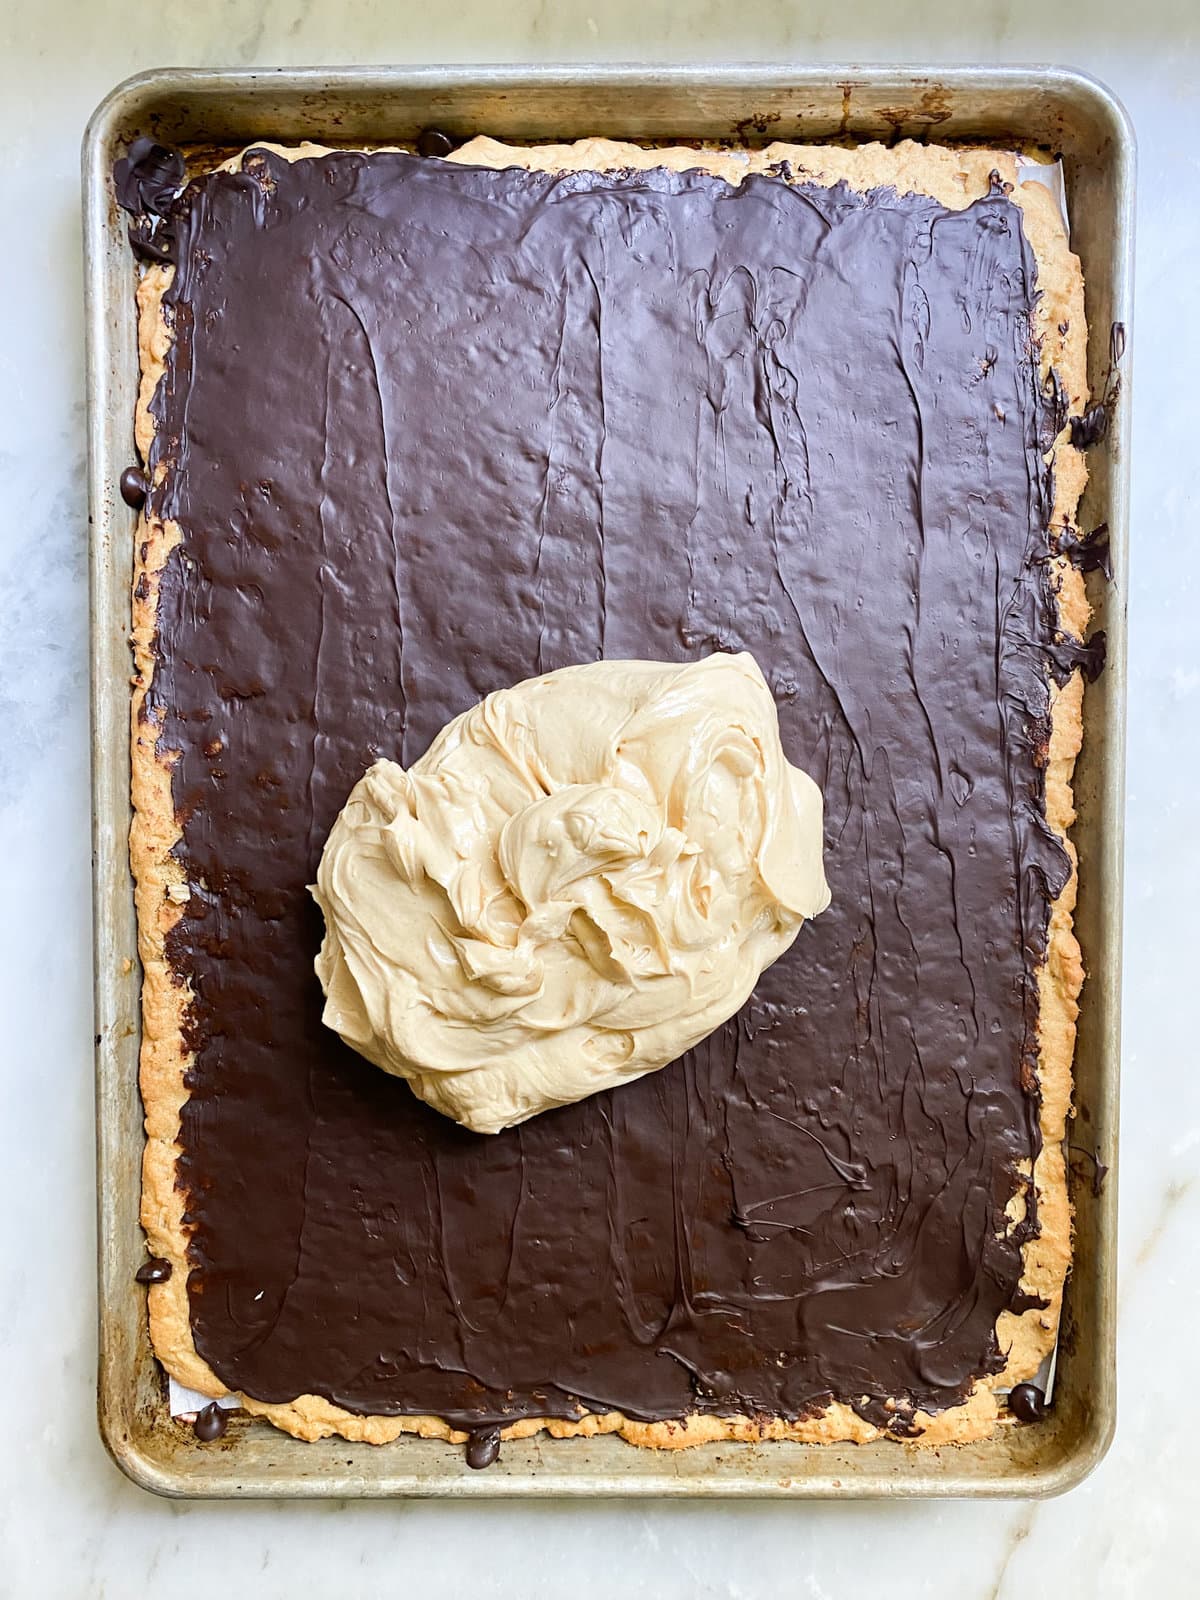
- Sprinkle the chocolate chips on top of the cookie layer and place back in the warm oven (that is turned OFF) for 2 minutes. Take out the cookie sheet and spread the warm chocolate all over the cookie’s surface with a spatula or knife- creating a smooth thin layer. Place in fridge to let chocolate layer harden a bit.
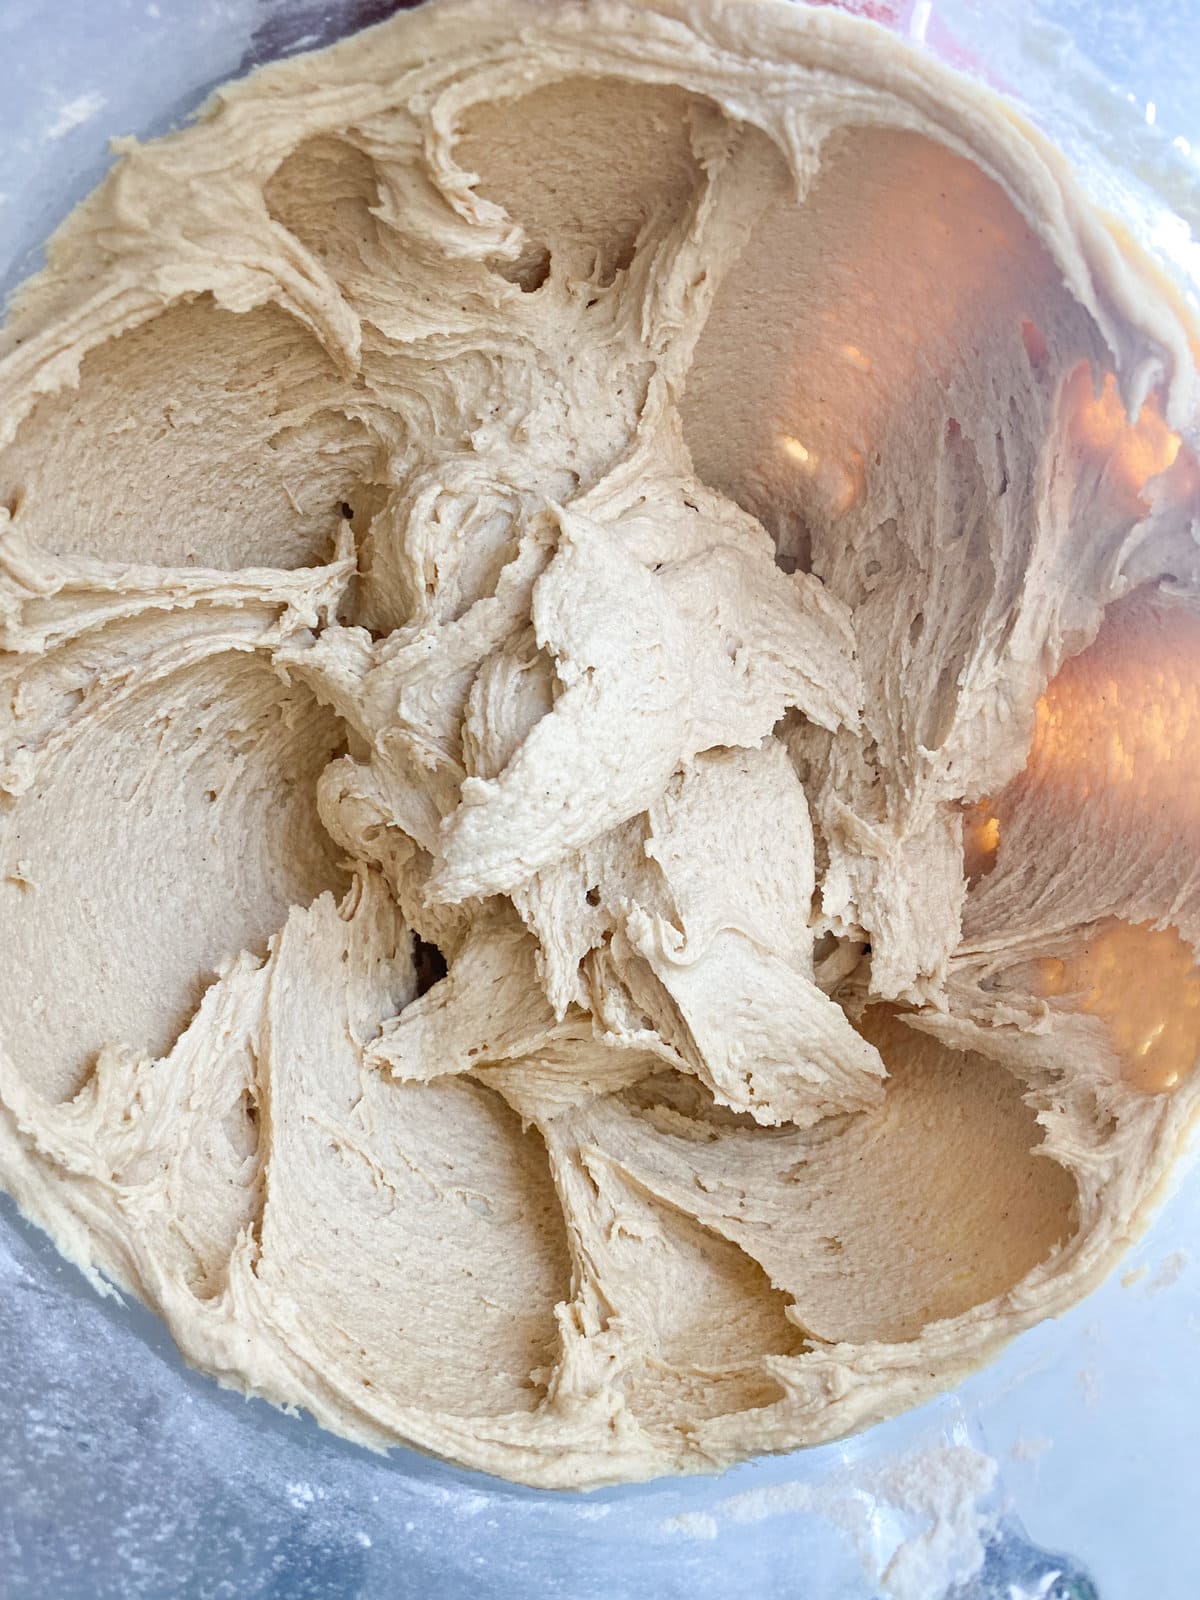
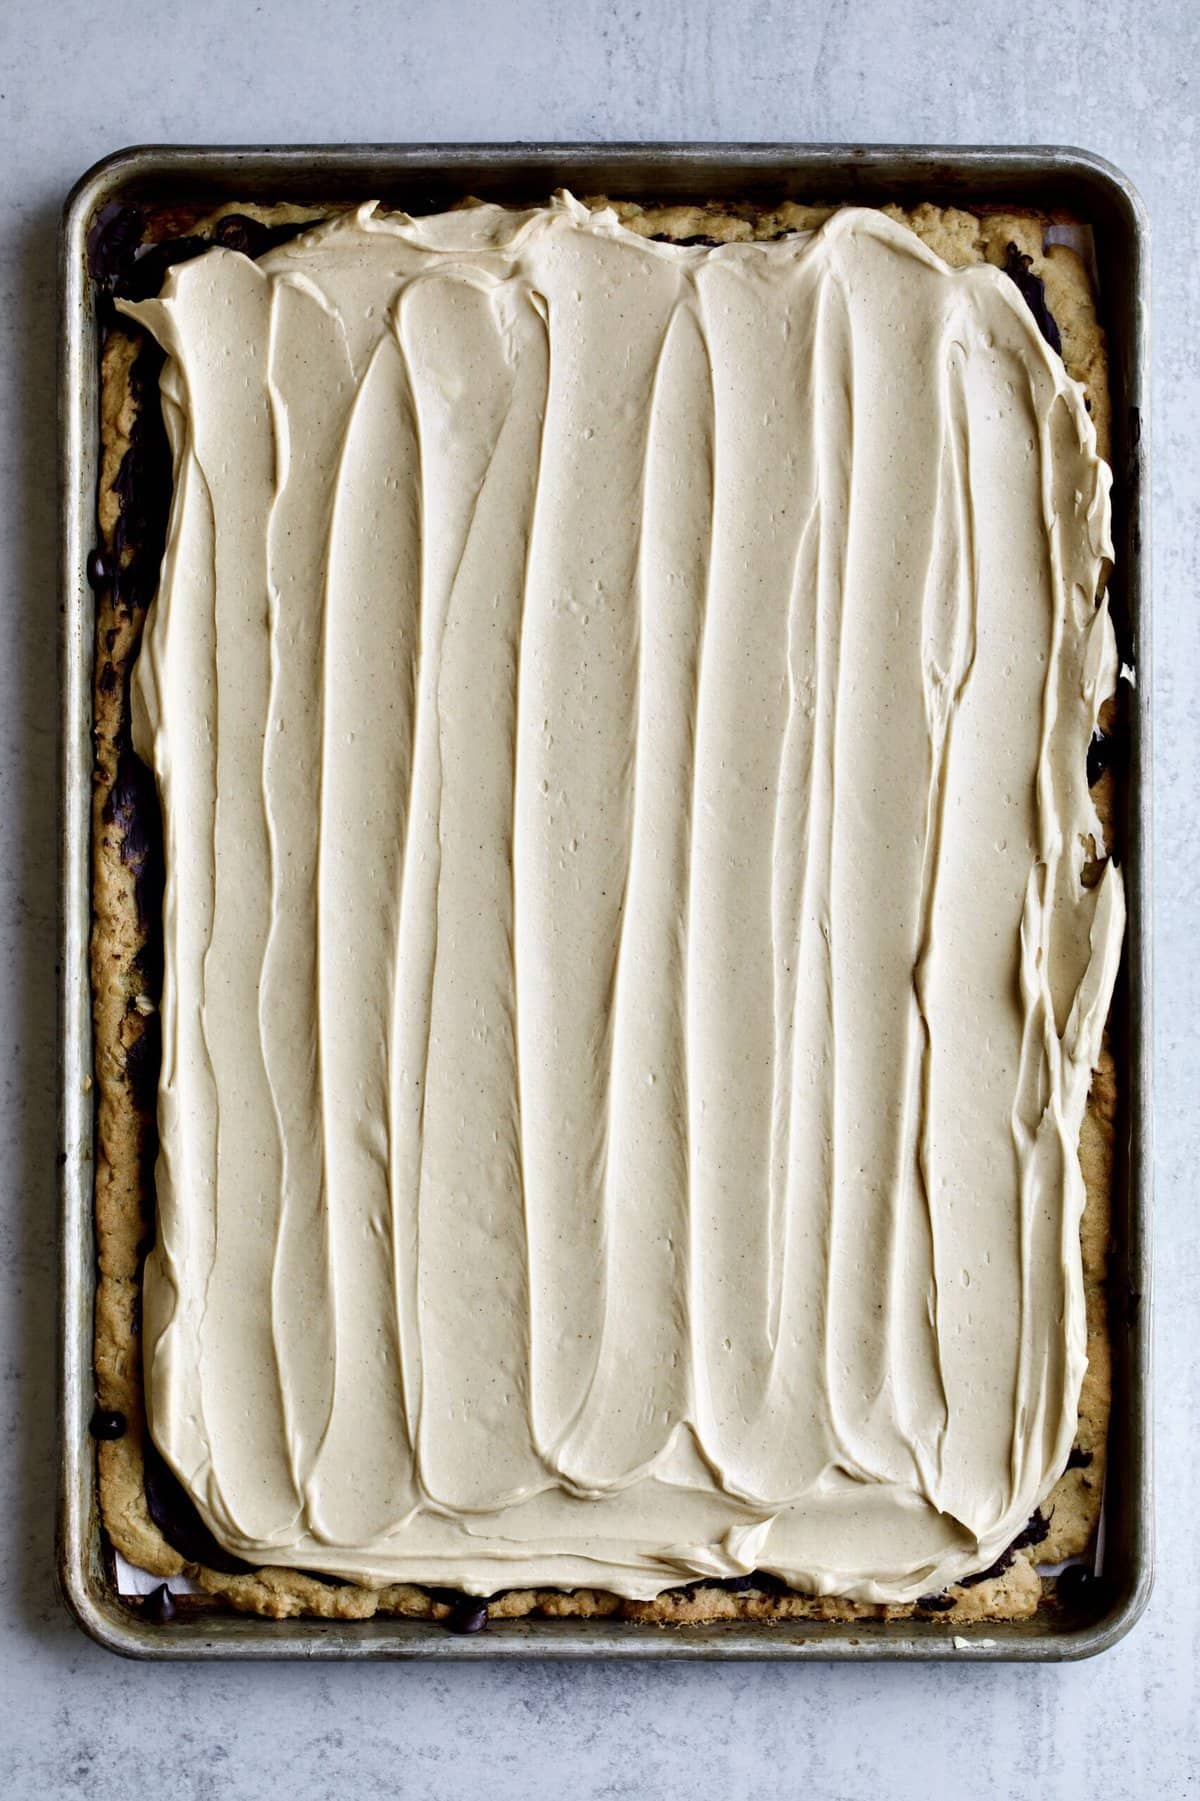
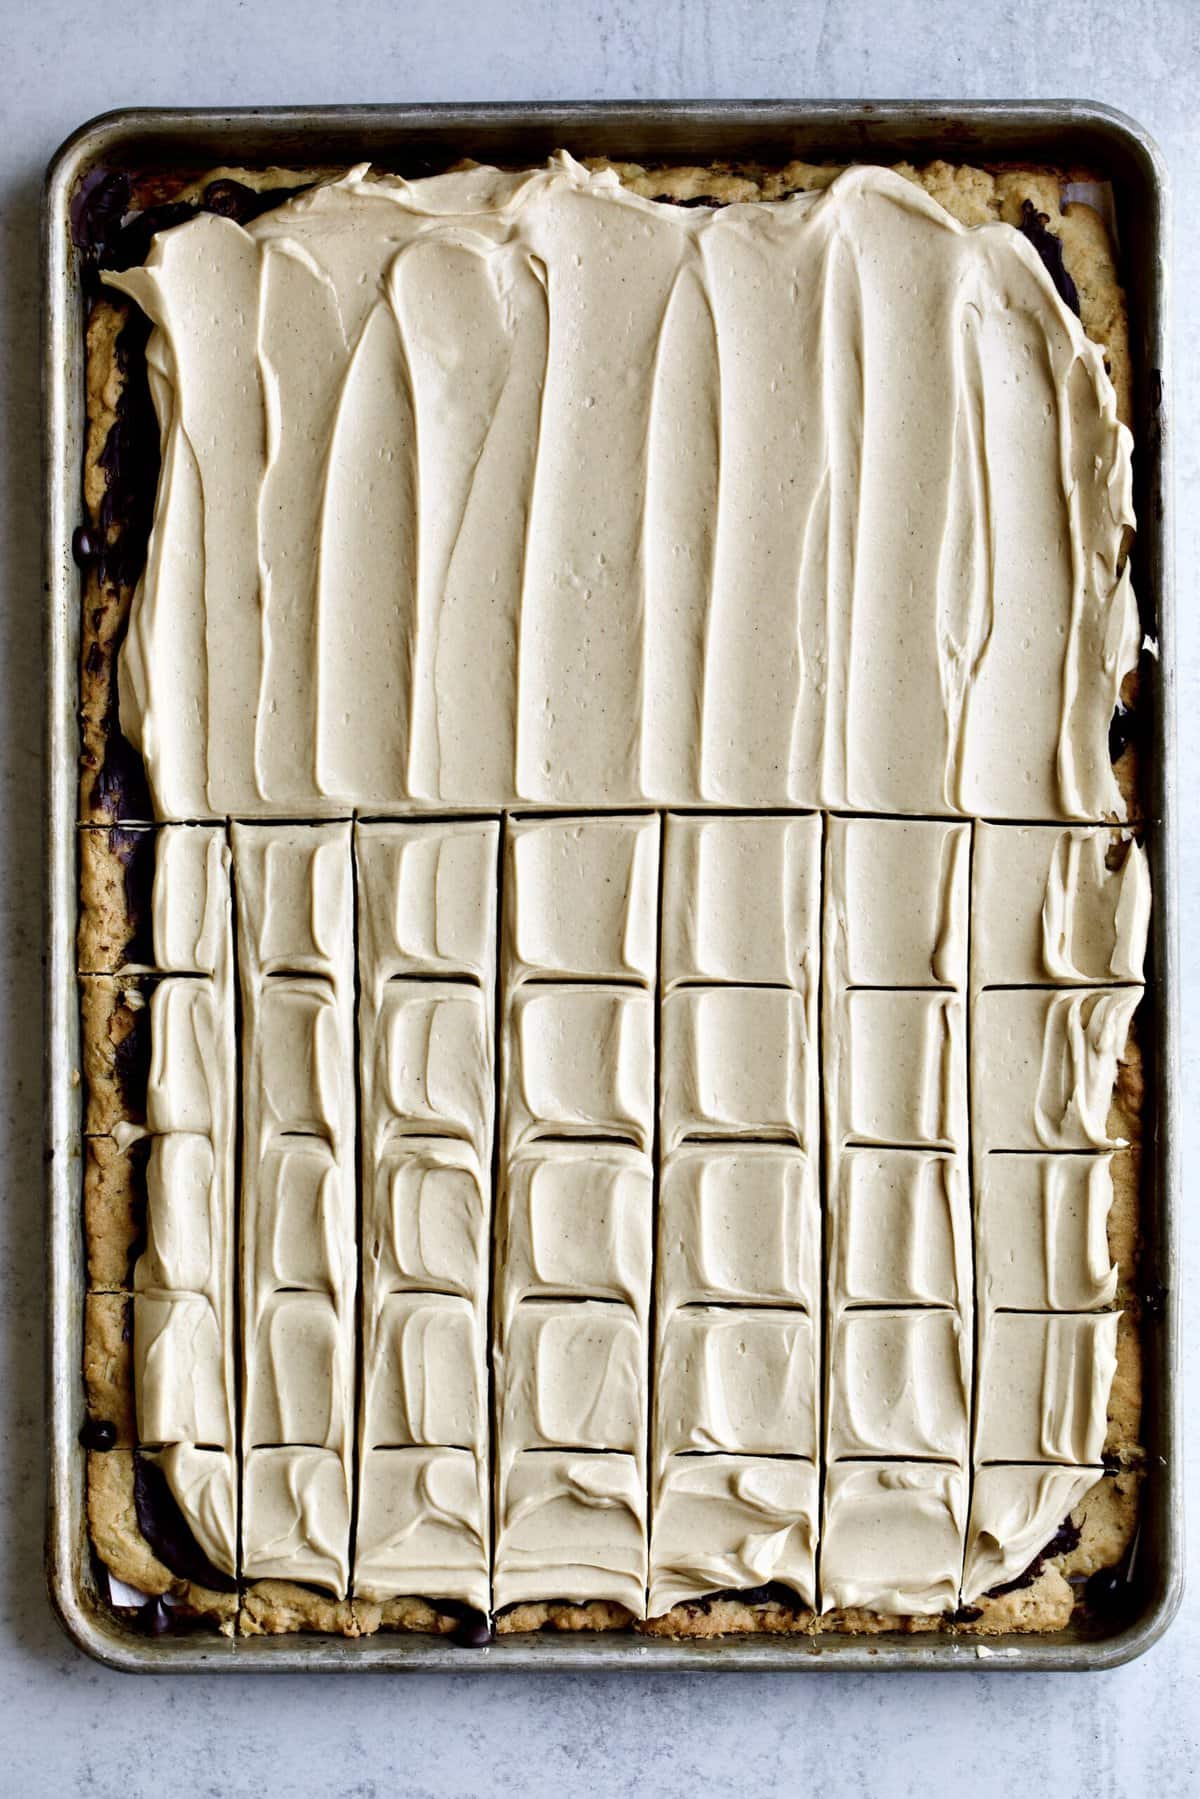
- In a mixing bowl, cream together (using a hand or stand mixer) the powdered sugar, peanut butter, butter, vanilla, and milk. The end result should be a uniform peanut butter buttercream. After the bars and chocolate have cooled completely, gently spread the frosting over the chocolate layer with a spatula.
Peanut Butter Bars (Frosted) FAQs
Keep your bars covered in an airtight container on the counter for 5-7 days. These freeze great for 2-3 months. For easier storage, I recommend slicing and separating the bars, then freezing them individually for an hour to set the frosting.
The edges should be lightly golden and set, while the center still looks slightly soft. Remember, it will firm up as it cools!
Chill the bars completely and use a sharp knife, wiping it clean between cuts for neat edges.
Serving Suggestions
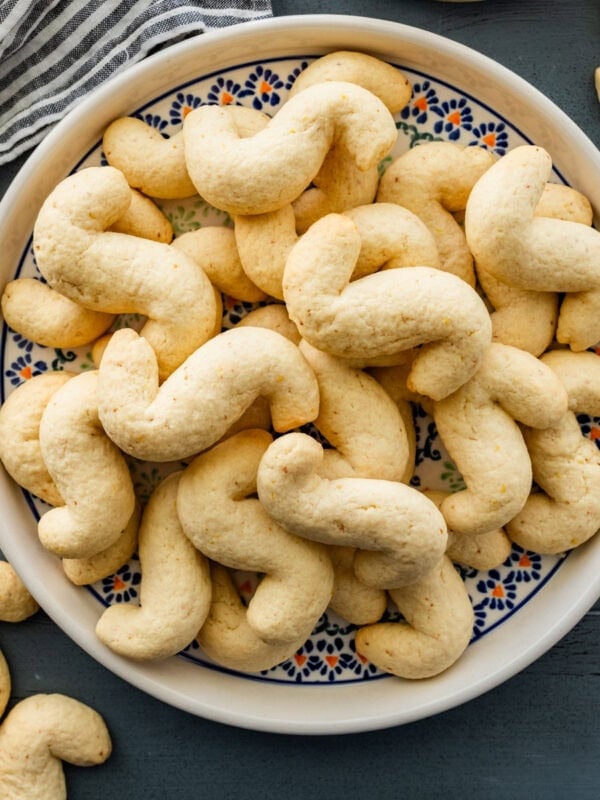
These peanut butter bars are the kind of nostalgic dessert that fits right in at potlucks, holiday spreads, or anytime you need something reliably crowd-pleasing. I love serving them after cozy meals like Dutch Oven Pot Roast, homemade Italian Meatloaf, or creamy Chicken Broccoli and Rice Casserole, where a rich, sweet finish just makes sense. They also pair beautifully on a dessert table with Brown Butter Brownies, Italian Butter Cookies, or a simple vanilla ice cream for an easy, no-fuss spread.
My Pro Tips
Recipe Tips
- Let the base cool completely before adding the chocolate layer to prevent melting and mixing.
- Chill thoroughly before slicing for clean, bakery-style squares that hold their shape.
- Don’t overbake the base—it should stay slightly soft in the center for the best chewy texture.
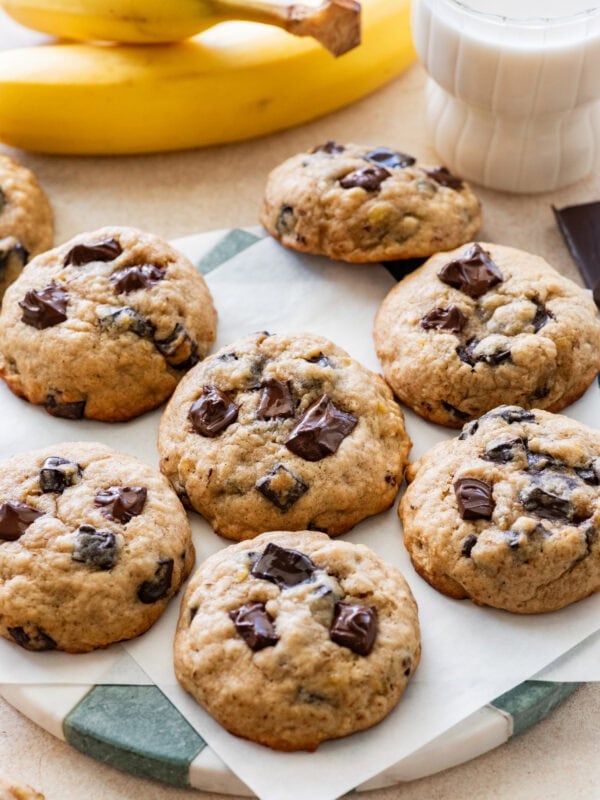
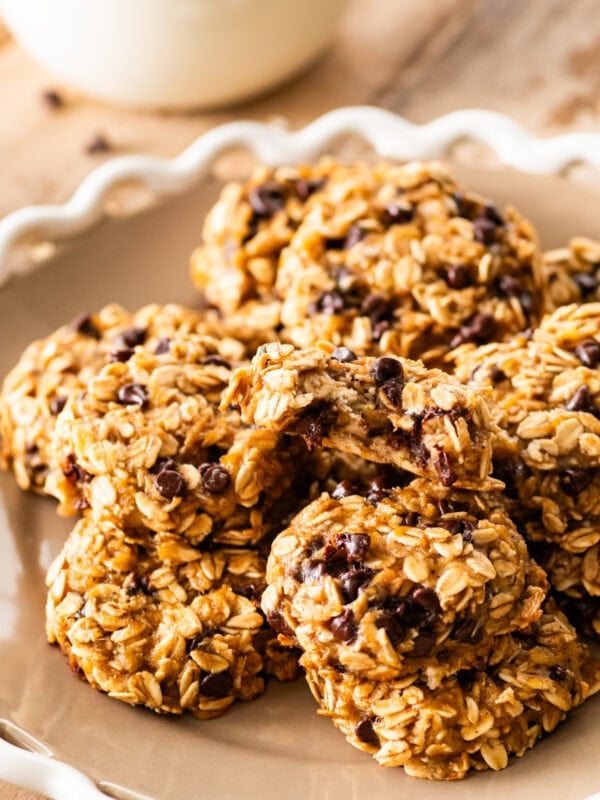
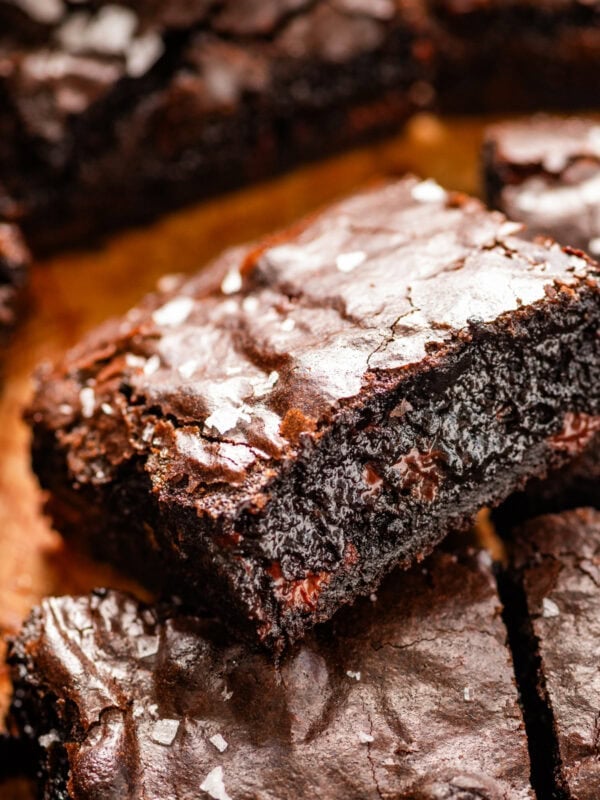
More Crowd-Pleasing Dessert Recipes
💙 MADE THIS RECIPE AND LOVED IT? 💙 Please leave a ⭐️STAR rating and COMMENT below- I love connecting with you! Tag me with your creations on Instagram and find me on Pinterest.
Best Peanut Butter Bars Recipe

Ingredients
Cookie Layer:
- ¾ cups butter, softened but not melted
- ¾ cups granulated sugar
- ¾ cups brown sugar
- ¾ cups peanut butter, smooth or crunchy, depending of preference*
- 2 eggs, at room temperature
- 2 tsp vanilla extract
- 1 ½ cups flour
- ½ tsp salt
- ¾ tsp baking soda
- 1 ½ cups rolled oats
Chocolate Layer:
- 1 ½ cups semi-sweet chocolate chips
Frosting Layer:
- 1 cup powdered sugar
- ¾ cup smooth peanut butter
- ¾ cup butter, softened
- 1 tsp vanilla extract
- ¼ cup milk
Instructions
Cookie Layer:
- Preheat oven to 375 degrees f. Grease a 12×17 in cookie sheet or jelly roll pan, or use parchment paper to line the pan. Set aside.
- Wet ingredients: In a large mixing bowl, cream together on medium speed (using a hand or stand mixer) butter, sugars, peanut butter, eggs, and vanilla until light and fluffy.
- Dry ingredients: Sift flour, salt, and baking soda into the creamed mixture. Mix well to combine, scraping down the sides of the bowl once halfway through.
- Add oats. Mix together until combined (cookie dough texture). Press the dough onto the prepared baking pan sheet until it forms a uniform layer on the bottom of the pan.
- Bake at 375 F for about 10 minutes until slightly golden on top. Turn off the oven.
Chocolate Layer:
- Sprinkle the chocolate chips on top of the cookie layer and place back in the warm oven (that is turned OFF) for 2 minutes.
- Take out the cookie sheet and spread the warm chocolate all over the cookie with a spatula or knife- creating a smooth thin layer.
- Place in fridge to let chocolate layer harden a bit.
Peanut Butter Frosting Layer:
- In a medium mixing bowl cream together (using hand or stand mixer) the powdered sugar, peanut butter, butter, vanilla and milk.
- The end result should be a uniform creamy peanut butter buttercream.
- With a spatula gently spread the frosting over the chocolate layer after the bars and chocolate have cooled completely.
Notes
- Let the base cool completely before adding the chocolate layer to prevent melting and mixing.
- Chill thoroughly before slicing for clean, bakery-style squares that hold their shape.
- Don’t overbake the base—it should stay slightly soft in the center for the best chewy texture.
Nutrition
Nutrition information is automatically calculated, so should only be used as an approximation.





These are amazing! I left the frosting layer off for a little less sugar and they are still great with just the semisweet chocolate.❤️
So happy you were able to accommodate your level of sweetness! You can try the frosting layer for a special occasion! Enjoy time and time again. You’ll also love my banana bars!
Easy and simple recipe to make and are even better the 2nd day.
It’s a family favorite! I’m happy you loved them. Yes, I even freeze them and pull them out 30 minutes before serving and they are delicious!
These are great for baby showers, parties, and more! Enjoy.
Excellent very simple thank you !!
Happy you loved them!
I made this for a baptism gathering and it was the HIT of the party! It was so easy and delicious and just one batch is enough to feed a crowd!
This was hands down one of the best recipes I have made. Everyone was asking for the recipe. Delectable
So happy you loved it! We make it often in our home!
Since my husband has no dentures I should have pulsed the oats. But it was delicious.
Happy you enjoyed them anyway!