Pinsa Romana Recipe (Roman Style Pizza Dough)

This post may contain affiliate links. Please read our disclosure policy.


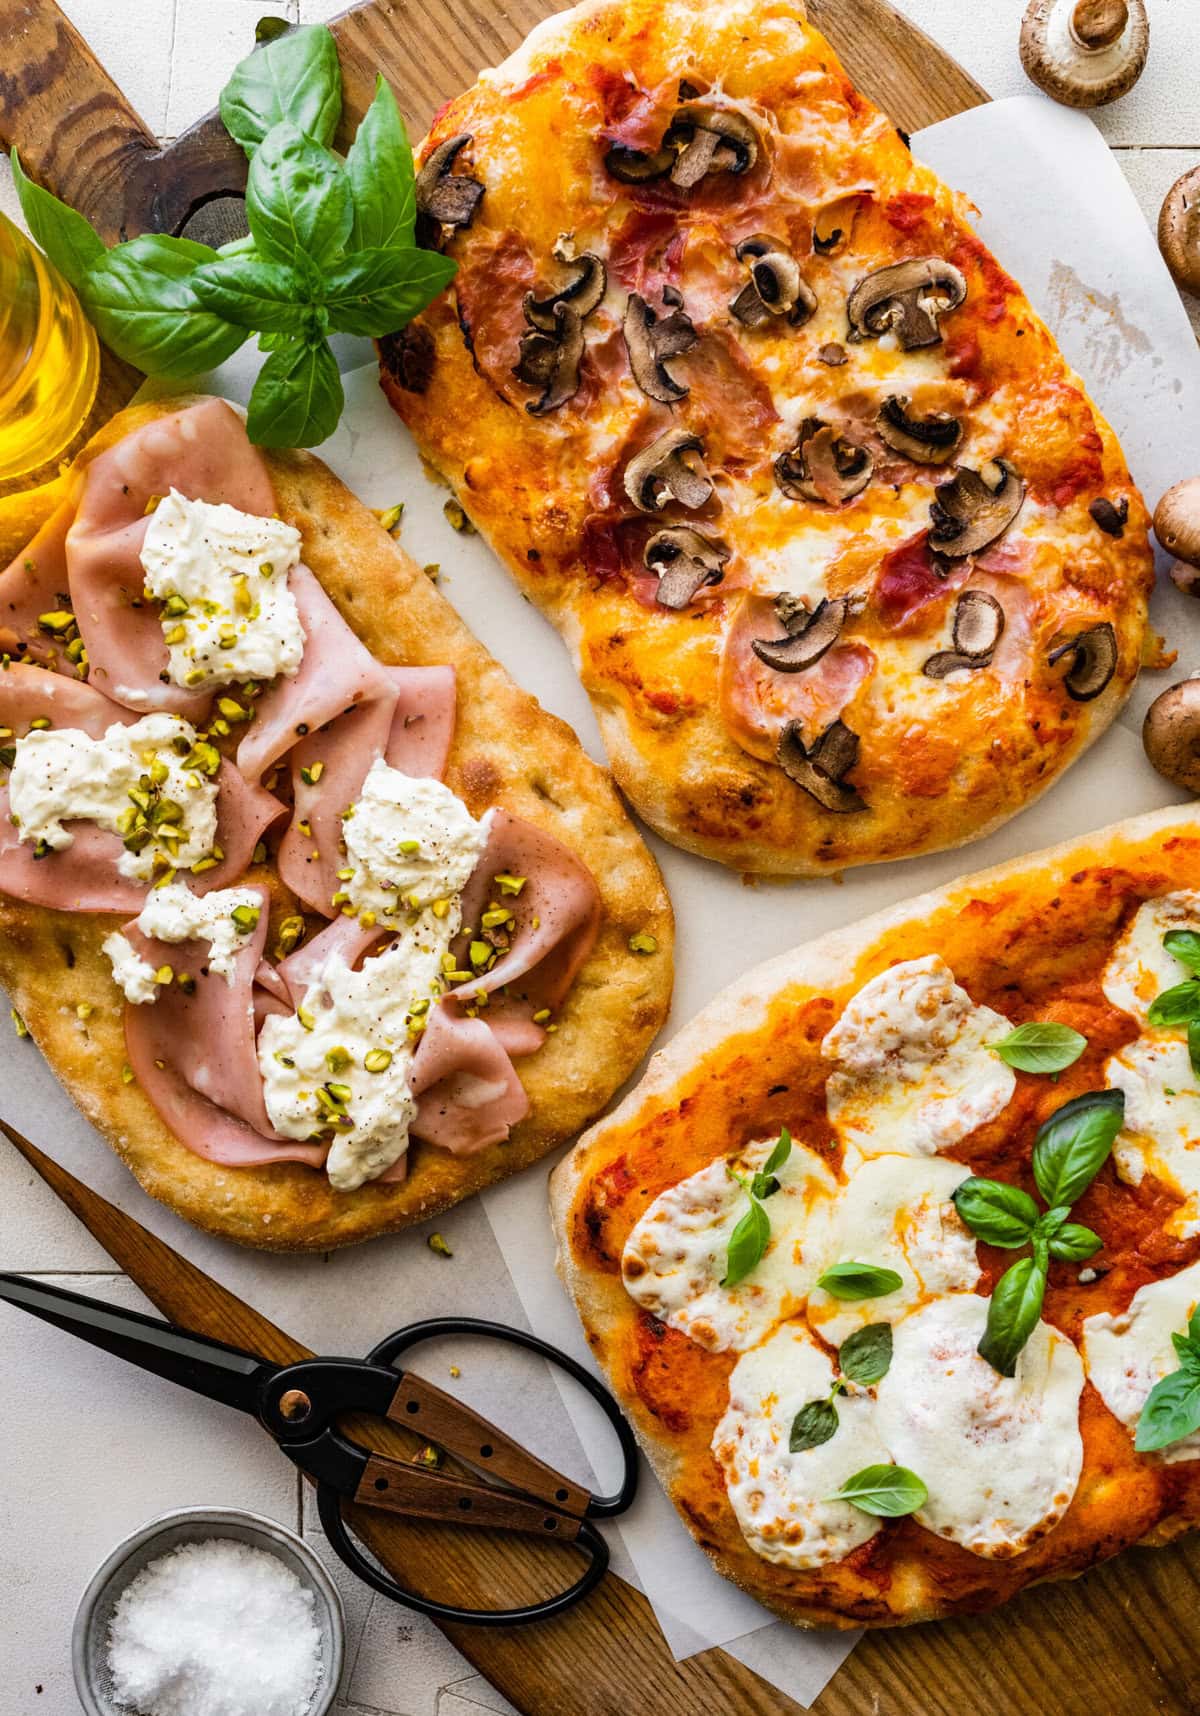
This Pinsa Romana Recipe (Roman Style Pizza Dough) has a distinctive oval shape and a light, airy texture. It bakes up with a crisp exterior and a soft center. Unlike traditional pizza dough, it uses a higher hydration and a blend of flours, then is slowly fermented to develop flavor and structure. You don’t need a wood-fired oven, just a hot home oven and a pizza stone, steel, or baking sheet to achieve a crisp, airy crust.
Make sure to take a look at my Neapolitan Pizza Dough Recipe next!

Quick Look: Pinsa Romana Recipe (Roman Style Pizza Dough)
- Prep Time: 30 minutes
- Fermentation Time: 24-48 hours
- Cook Time: 20 minutes
- Servings: 3 pinsa
- Dietary Info: Vegetarian as written (toppings may vary)
- Method: Fermented dough shaped and baked at high heat
- Technique: Cold-fermented dough (24–48 hours), gentle stretching to preserve air pockets, baked on a preheated surface for a crisp exterior and airy interior
- Flavor/Texture: Light, airy, crisp-edged crust with a soft, open crumb
Why You’ll Love This Pinsa Recipe

Pinsa is a little different from the pizza many of us know. The dough feels wetter, the fermentation takes more time, and the finished crust has that wonderful combination of crisp edges and a light, airy center.
- Light And Airy: The higher-hydration dough helps create the open, airy texture that makes pinsa different from many traditional pizzas.
- Long Fermentation: The dough rests in the refrigerator for 24–48 hours, allowing the flavor and texture to develop gradually.
- Roman-Style Dough: A combination of 00 flour, rice flour, and spelt or soy flour gives this dough its distinctive pinsa-style character.
- Crisp Crust: Proper shaping and a hot oven help create a crisp exterior while keeping the center light and tender.
- Home Oven Friendly: You can make this Roman-style pizza at home without a commercial pizza oven.
Use this dough recipe with the toppings used in my Gorgonzola Pizza recipe!
Made With Amore,

“Tried this for the first time just with olive oil and sea salt. Excellent. Tomorrow I will try with toppings.”
– Carol
Table of Contents
Simple Ingredients
Pinsa Romana is a light, crispy, and highly digestible pizza thanks to its unique dough and baking technique. It only takes a few natural ingredients to make it!
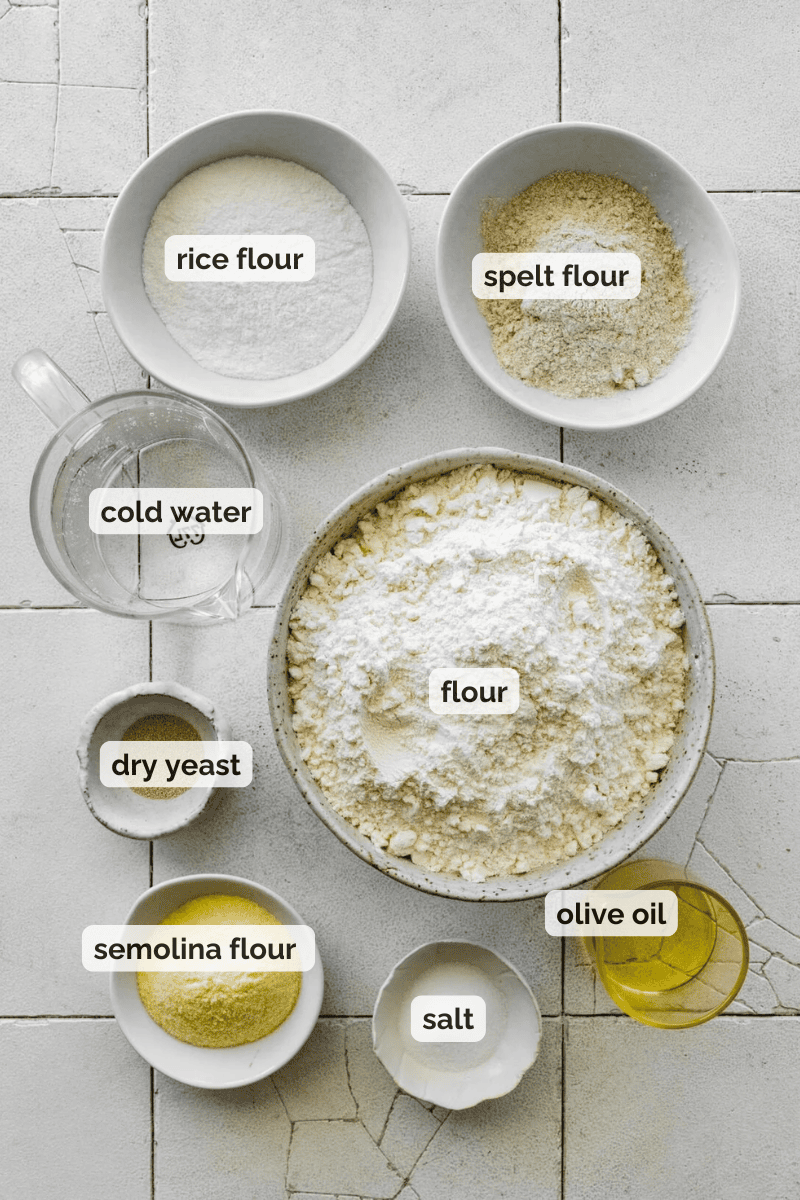
- Italian 00 Flour: A finely milled flour that creates a soft, smooth dough structure.
- Rice Flour: Lightens the dough and helps create a crisp, airy texture.
- Spelt Flour or Soy Flour: Adds depth of flavor and a slightly nutty note to the dough.
- Cold Water: Hydrates the dough and helps control fermentation for better texture.
- Active Dry Yeast, Salt, and Olive Oil: Yeast helps the dough rise, salt enhances flavor and controls fermentation, and olive oil adds richness and helps create a crisp crust.
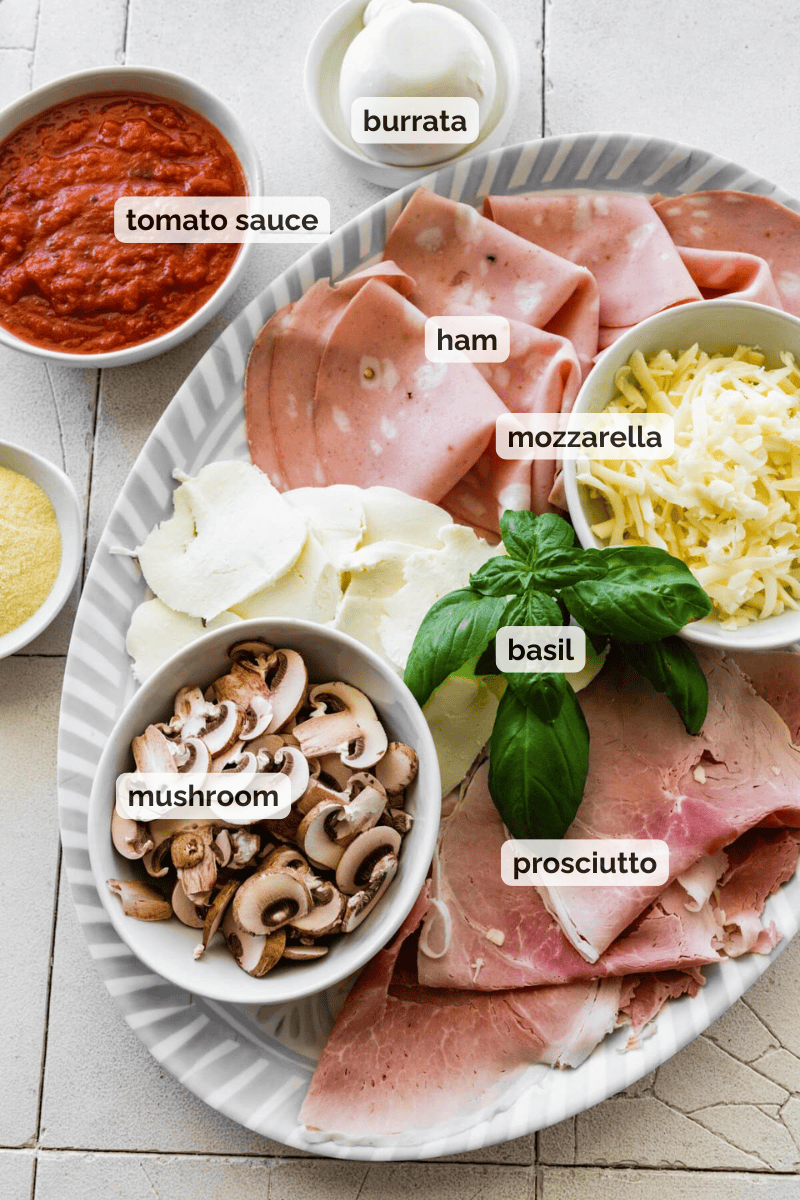
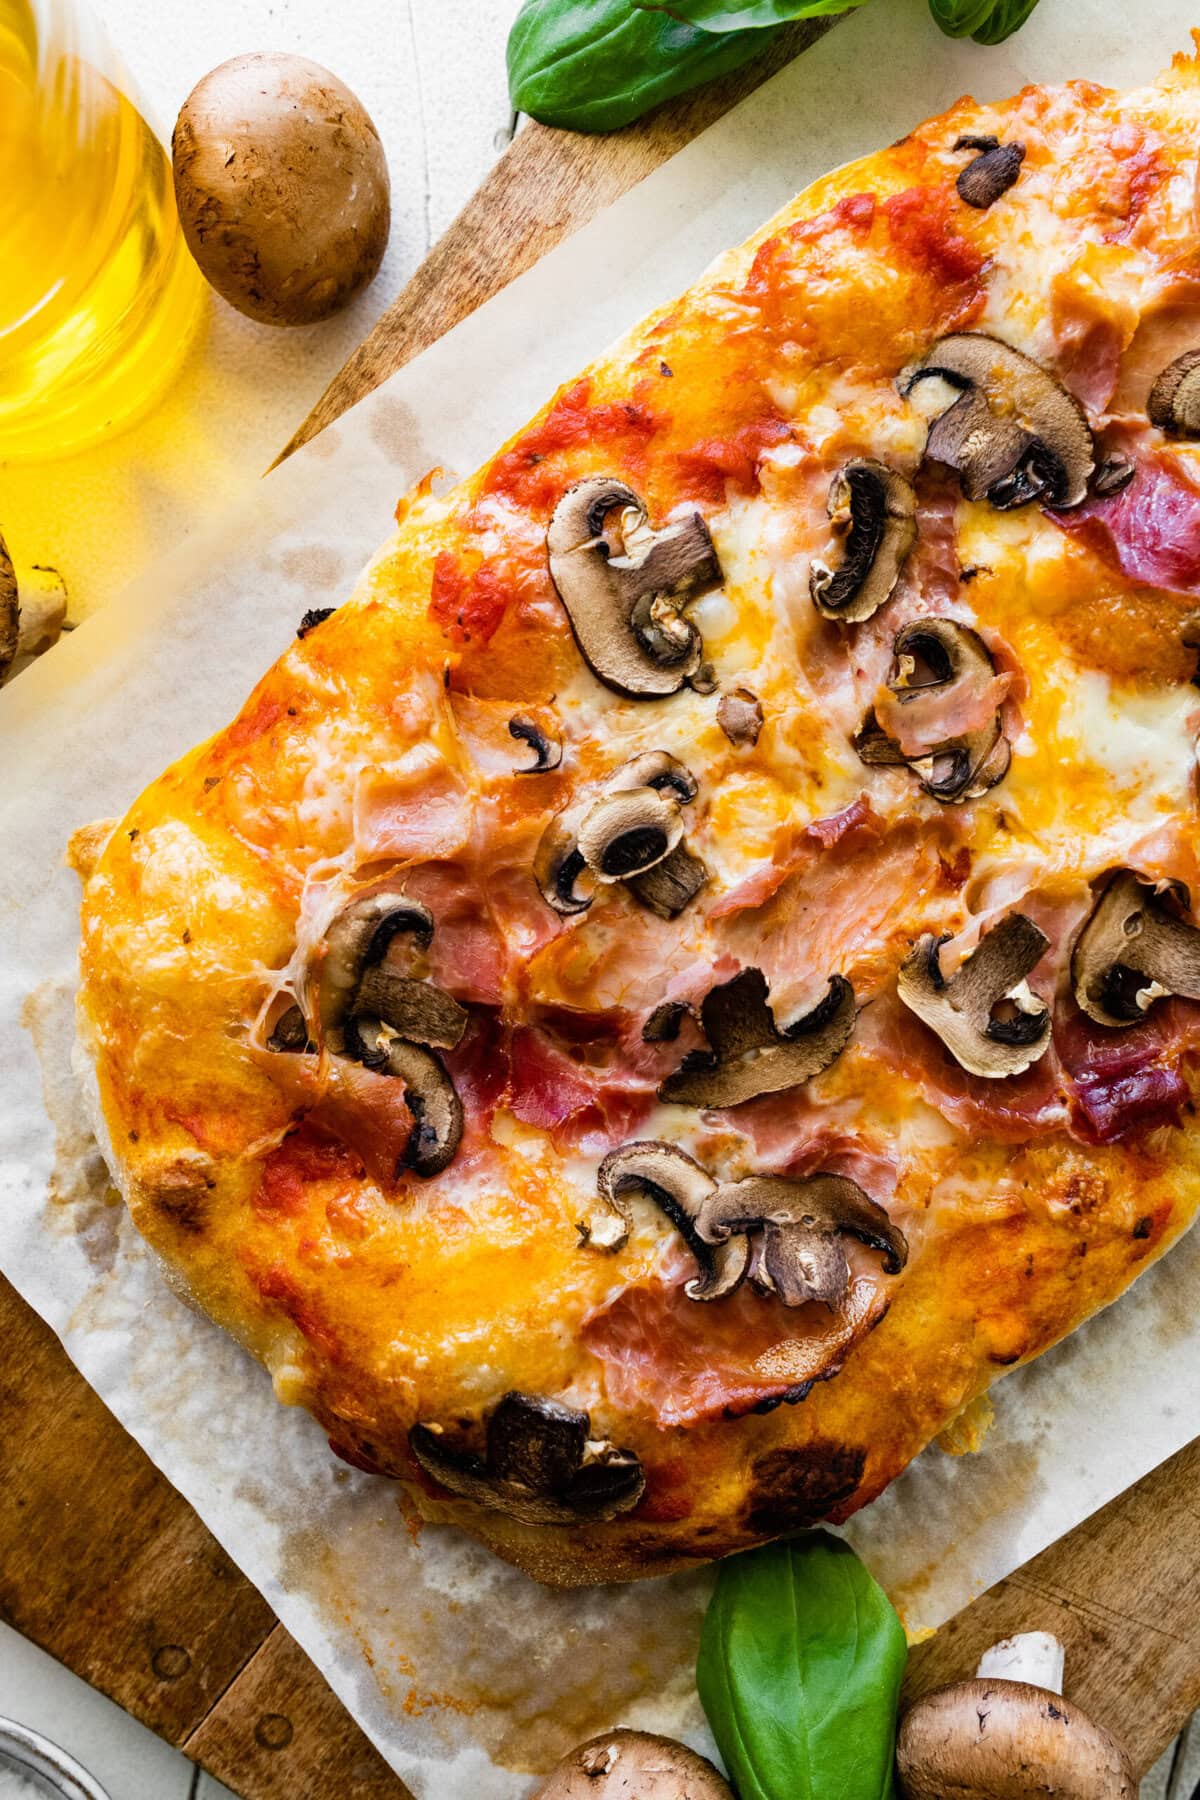
- Toppings: Experiment with different toppings! I love proscuitto, mushrooms, ham, and a variety of cheese.
See recipe card for full information on ingredients and quantities.
Variations & Substitutions
- Italian “00” Flour or All-Purpose Flour Substitute: Substitute with bread flour for a chewier texture or whole wheat flour for a more rustic flavor and added nutritional value. Note that whole wheat flour will make the dough denser. Make sure to check out my Focaccia Bread and Italian Ciabatta Bread next!
- Rice Flour Substitute: Substitute with cornstarch or tapioca flour to achieve a similar lightness and crispy texture. Cornstarch may result in a slightly different flavor, but it will still be light and airy.
- Soy Flour Substitute: Substitute with chickpea flour or almond flour for a nutty flavor and added protein. Chickpea flour is slightly more dense, while almond flour adds a subtle sweetness.
- Active Dry Yeast Substitute: Substitute with instant yeast in the same quantity. If using fresh yeast, use about three times the amount called for in the recipe.
How to Make Pinsa Recipe
Once baked, the crust on the pinsa should be crisp on the outside while remaining light and airy inside. Follow the step-by step photos and see the recipe card at the bottom for a printable version.
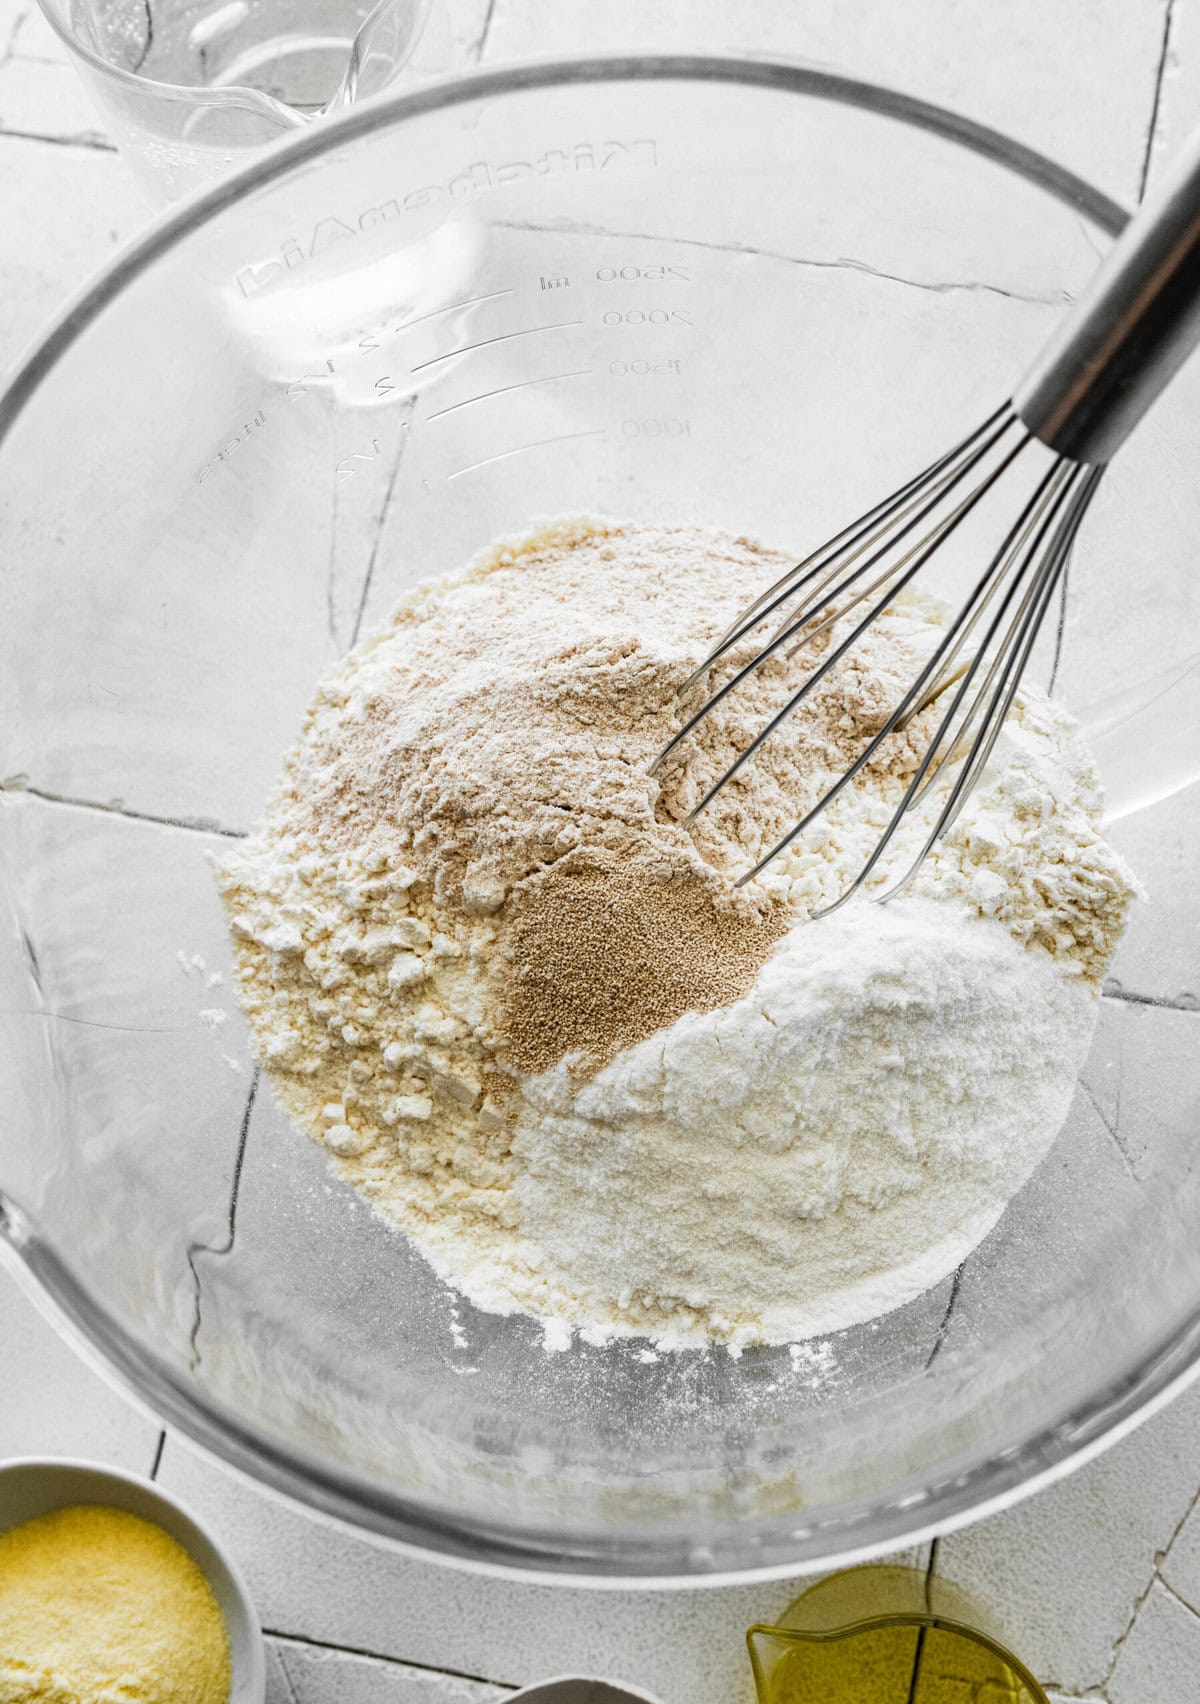
- In a large mixing bowl or the bowl of a stand mixer, whisk together the 00 flour, rice flour, spelt or soy flour, and active dry yeast.
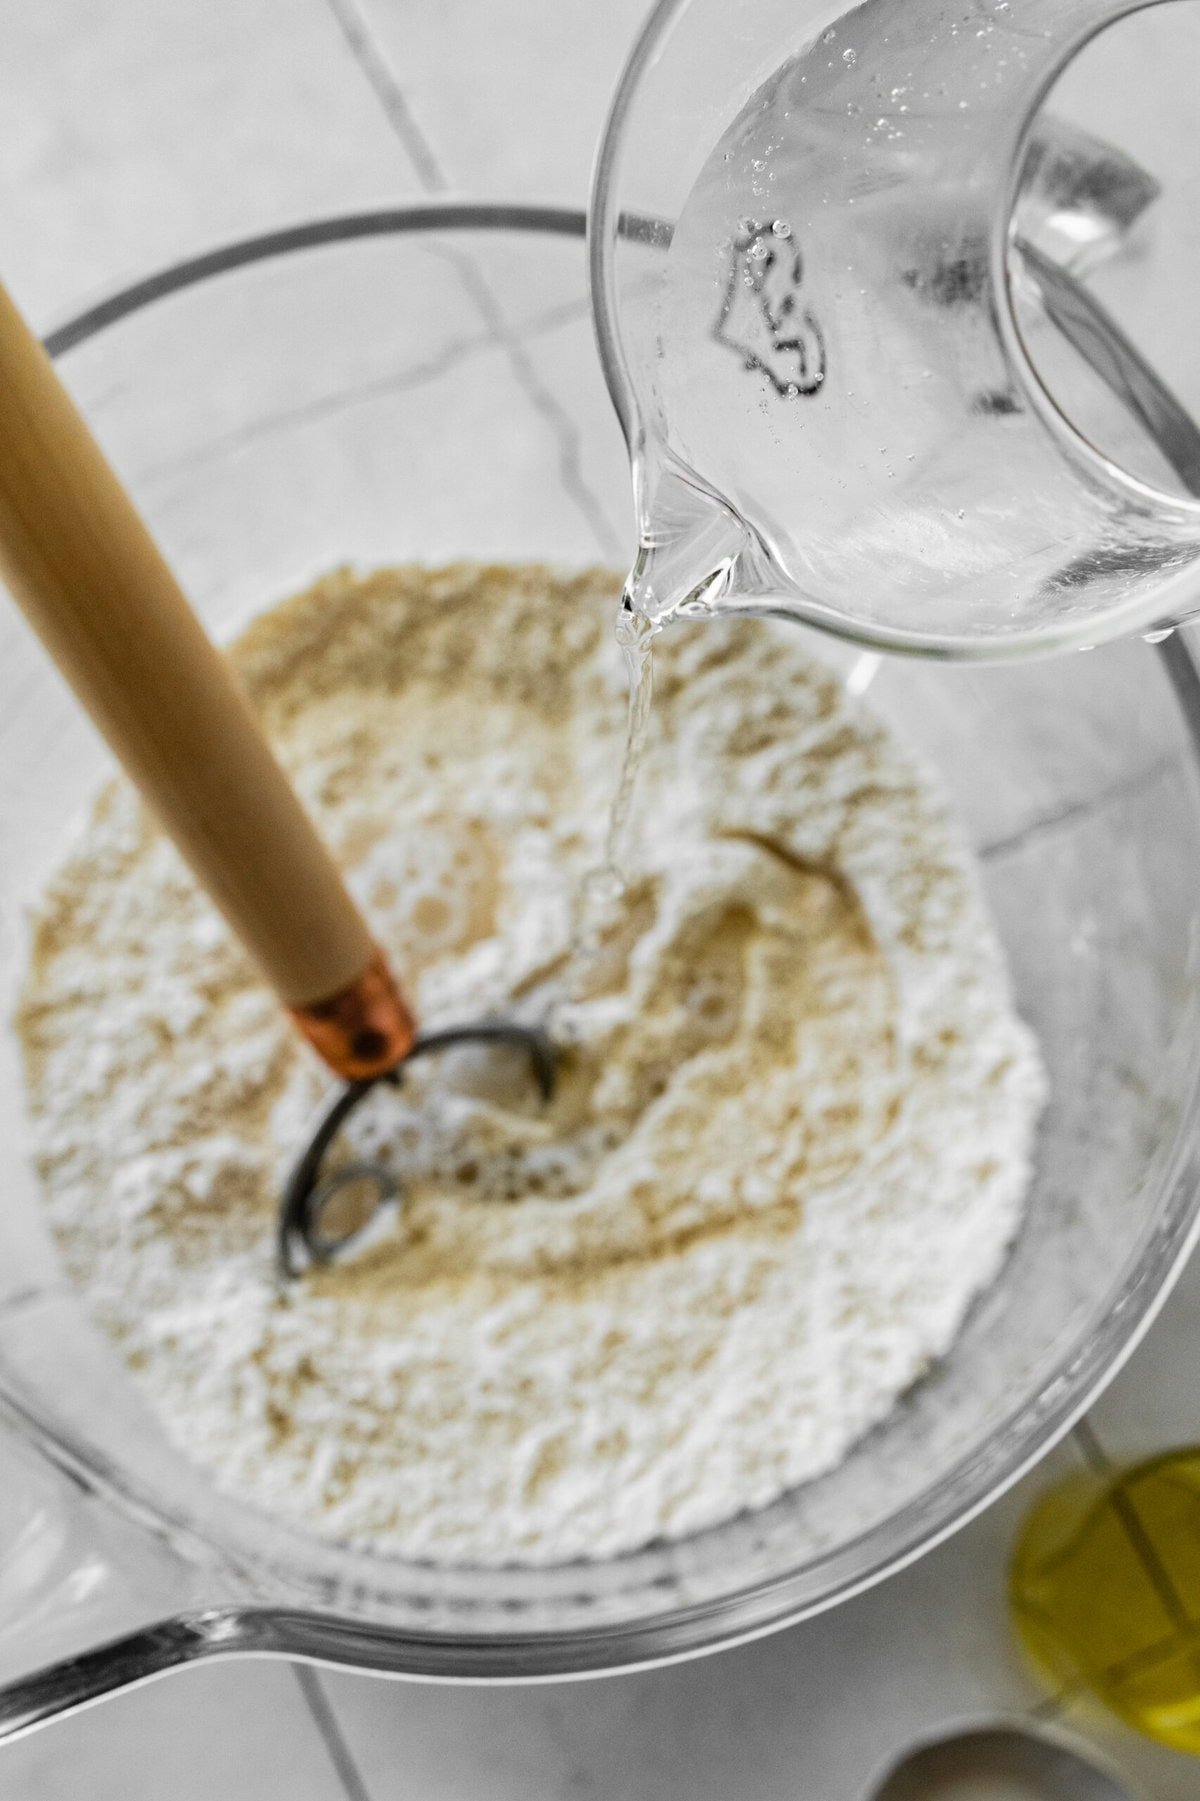
- Gradually add the ice-cold water in 3-4 additions, mixing after each addition. The dough may look shaggy and slightly dry at first as it absorbs the water.
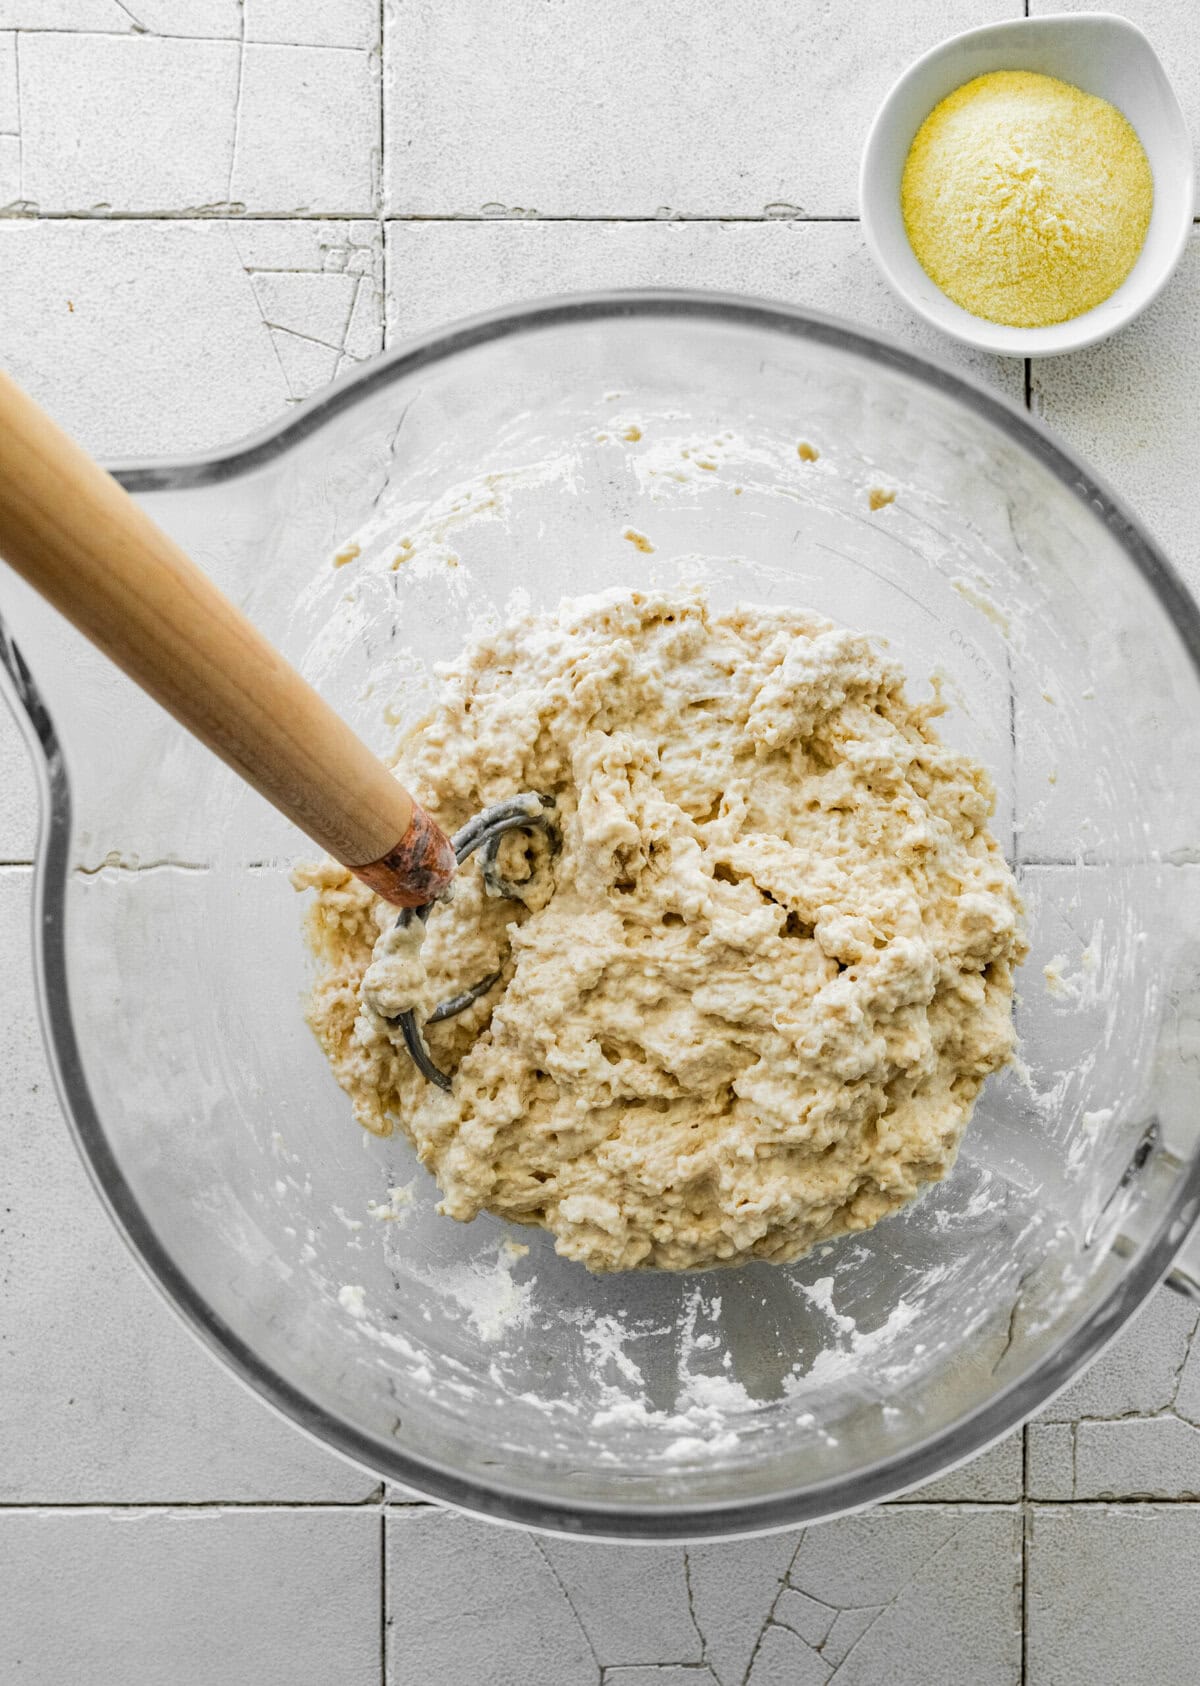
- Add the salt and olive oil, then continue kneading until the dough becomes smooth and elastic.
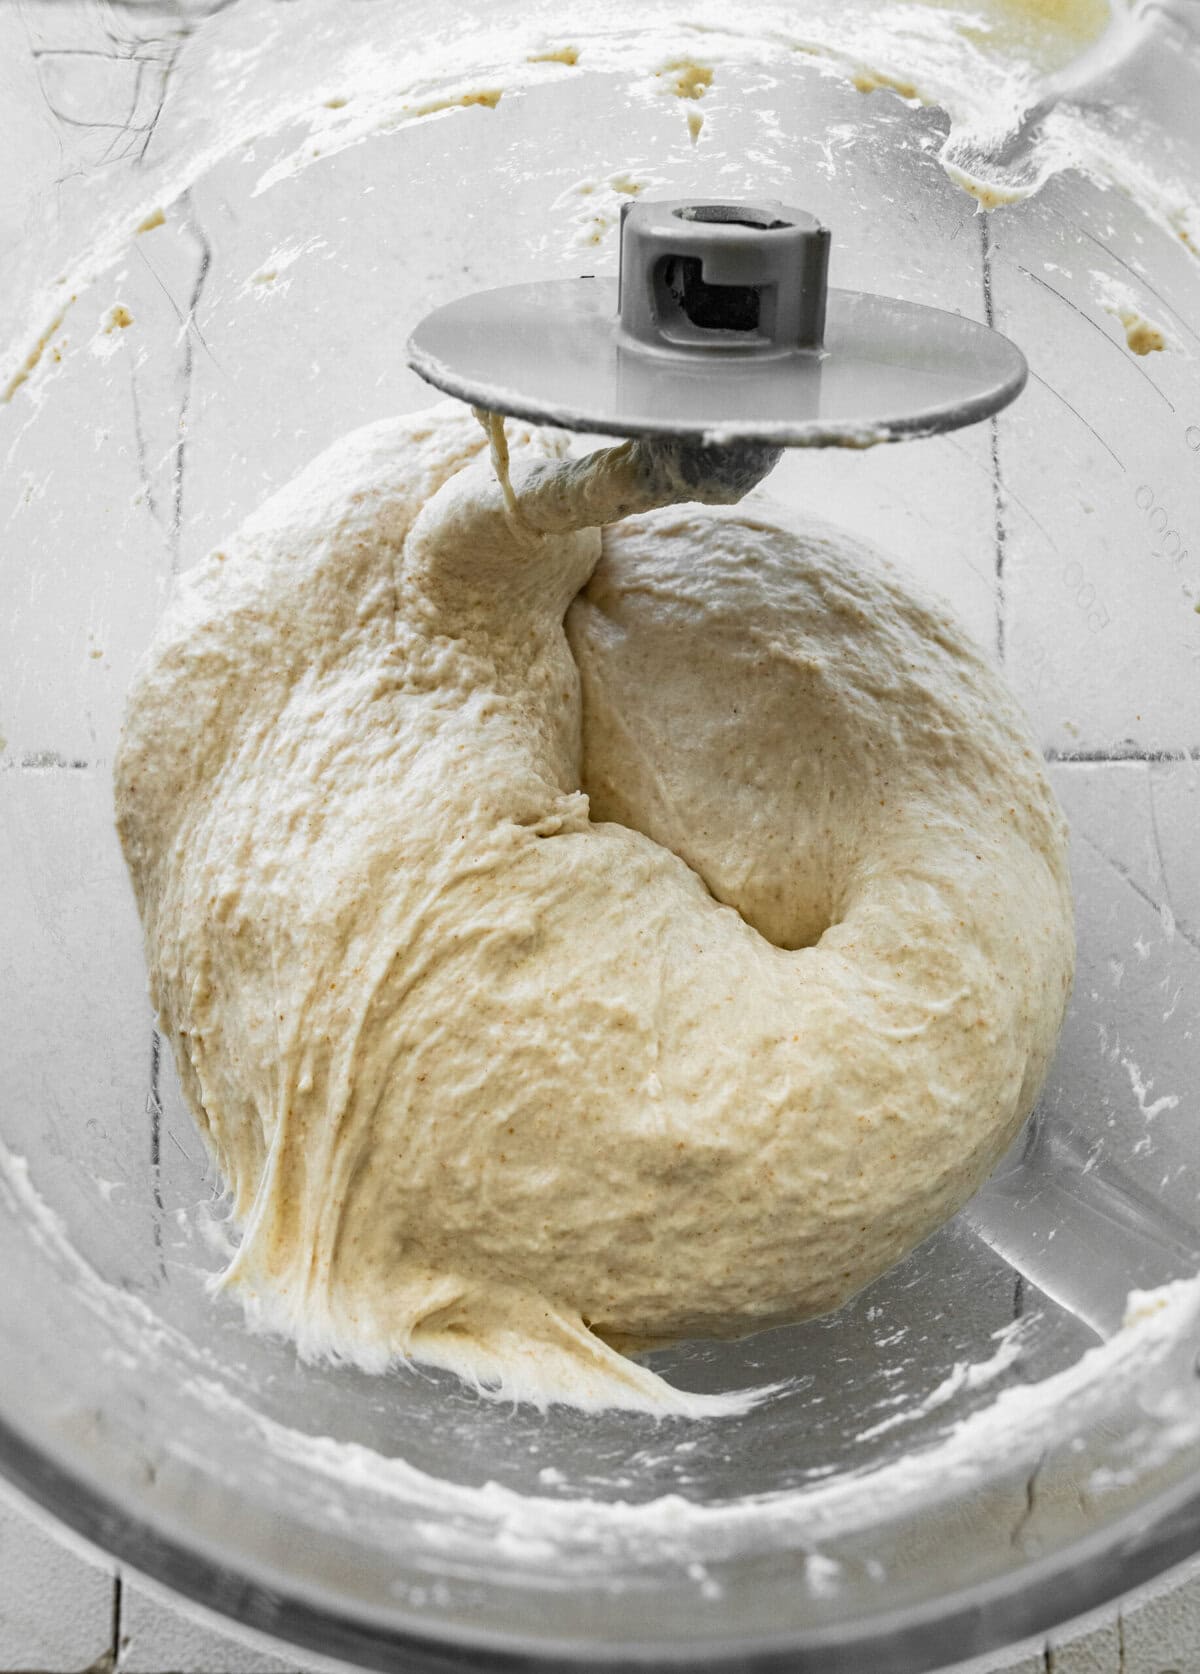
- The dough will be very sticky because of its high hydration. Do not add extra flour simply to make it easier to handle. Knead the dough for about 12 minutes, either by hand or with a stand mixer fitted with a dough hook. The finished dough should be smooth, elastic, and very sticky.
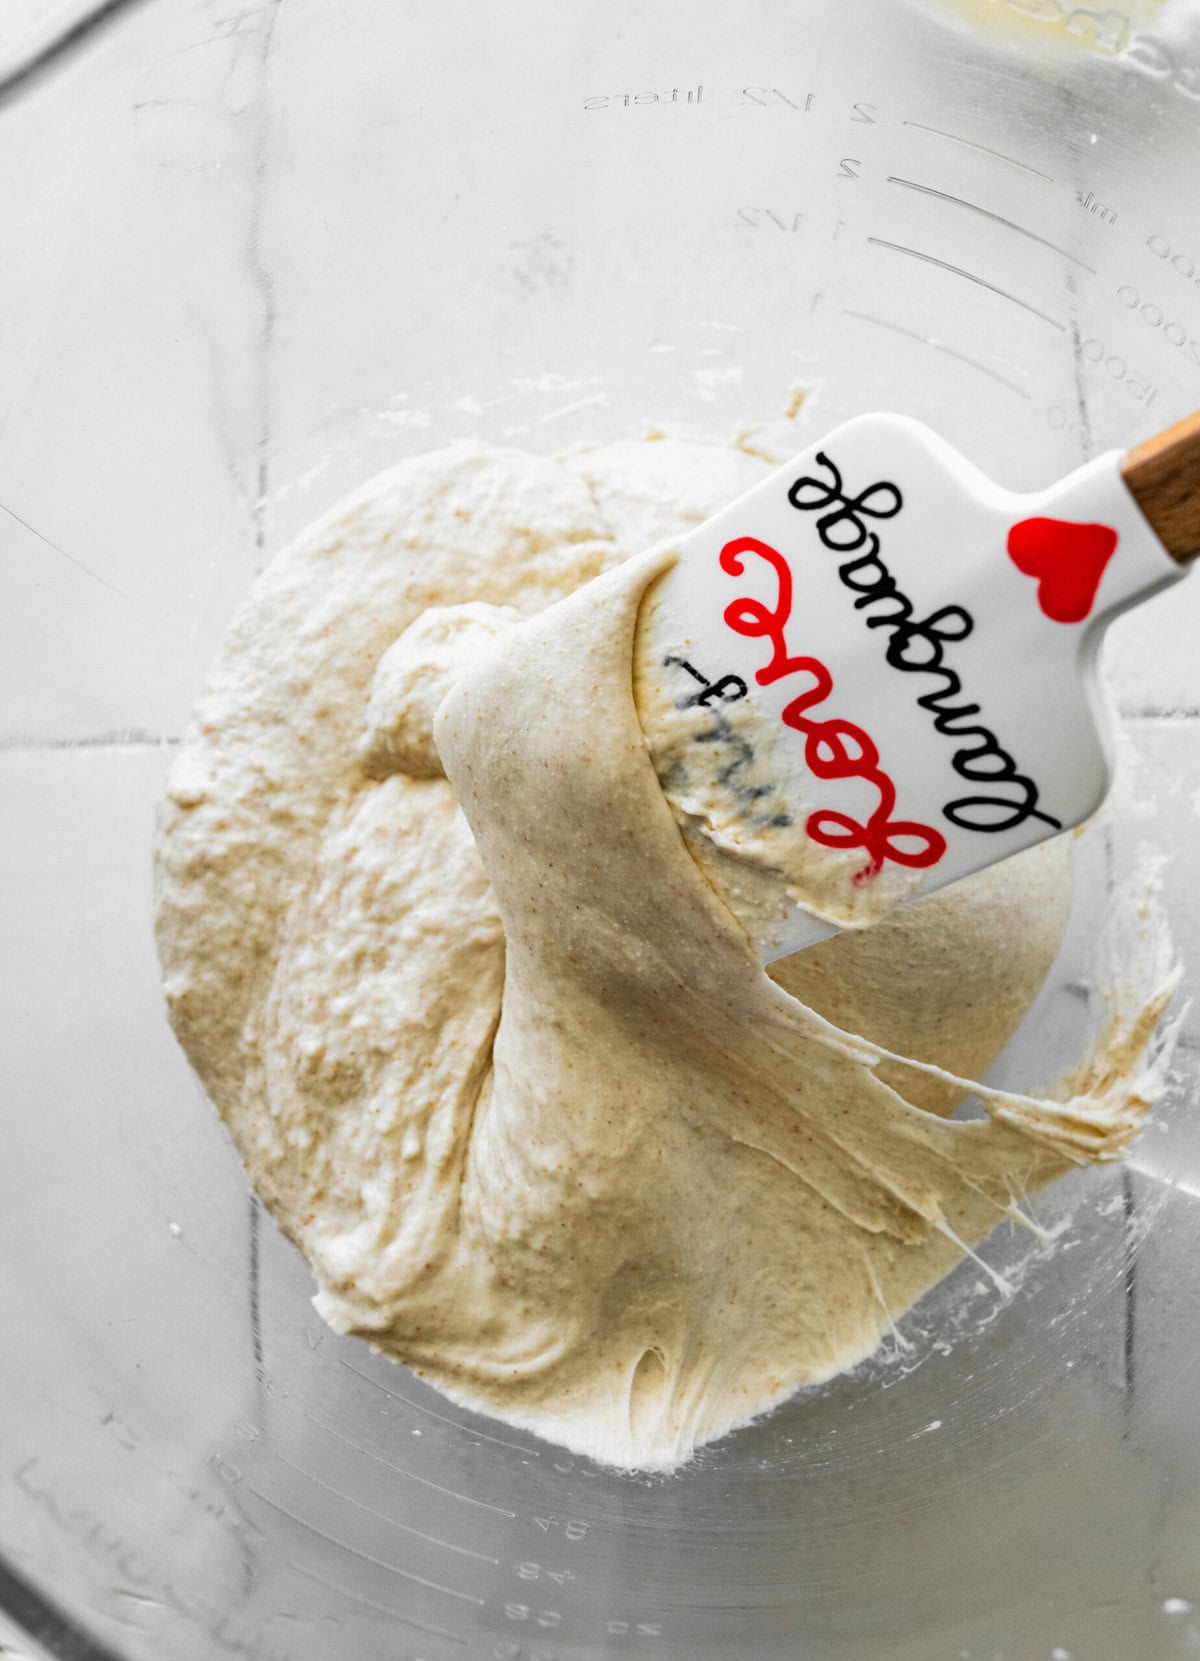
- Transfer the dough to a lightly oiled container. Using wet hands or a rubber spatula, gently lift one side of the dough and fold it over itself toward the center. Turn the container and repeat on all sides.
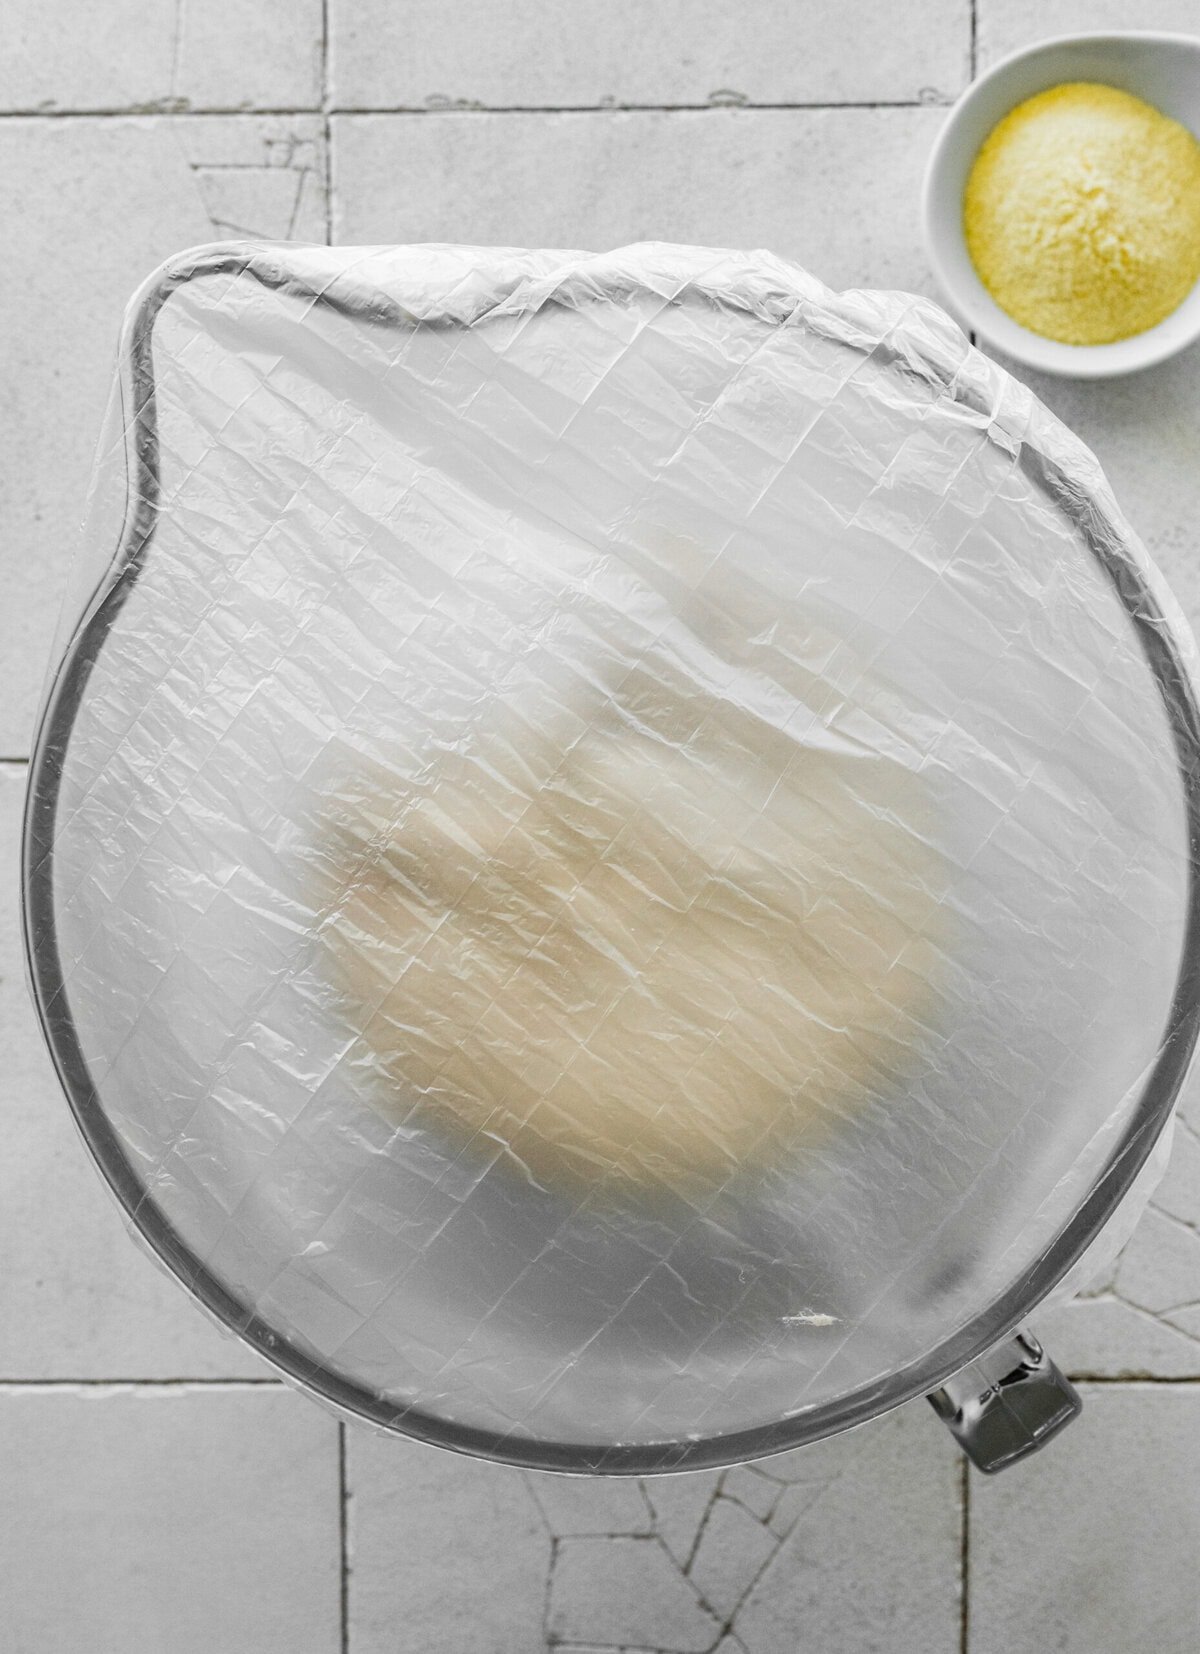
- Let the dough rest, covered, for about 1 hour until it doubles in size, then repeat the stretch-and-fold process.
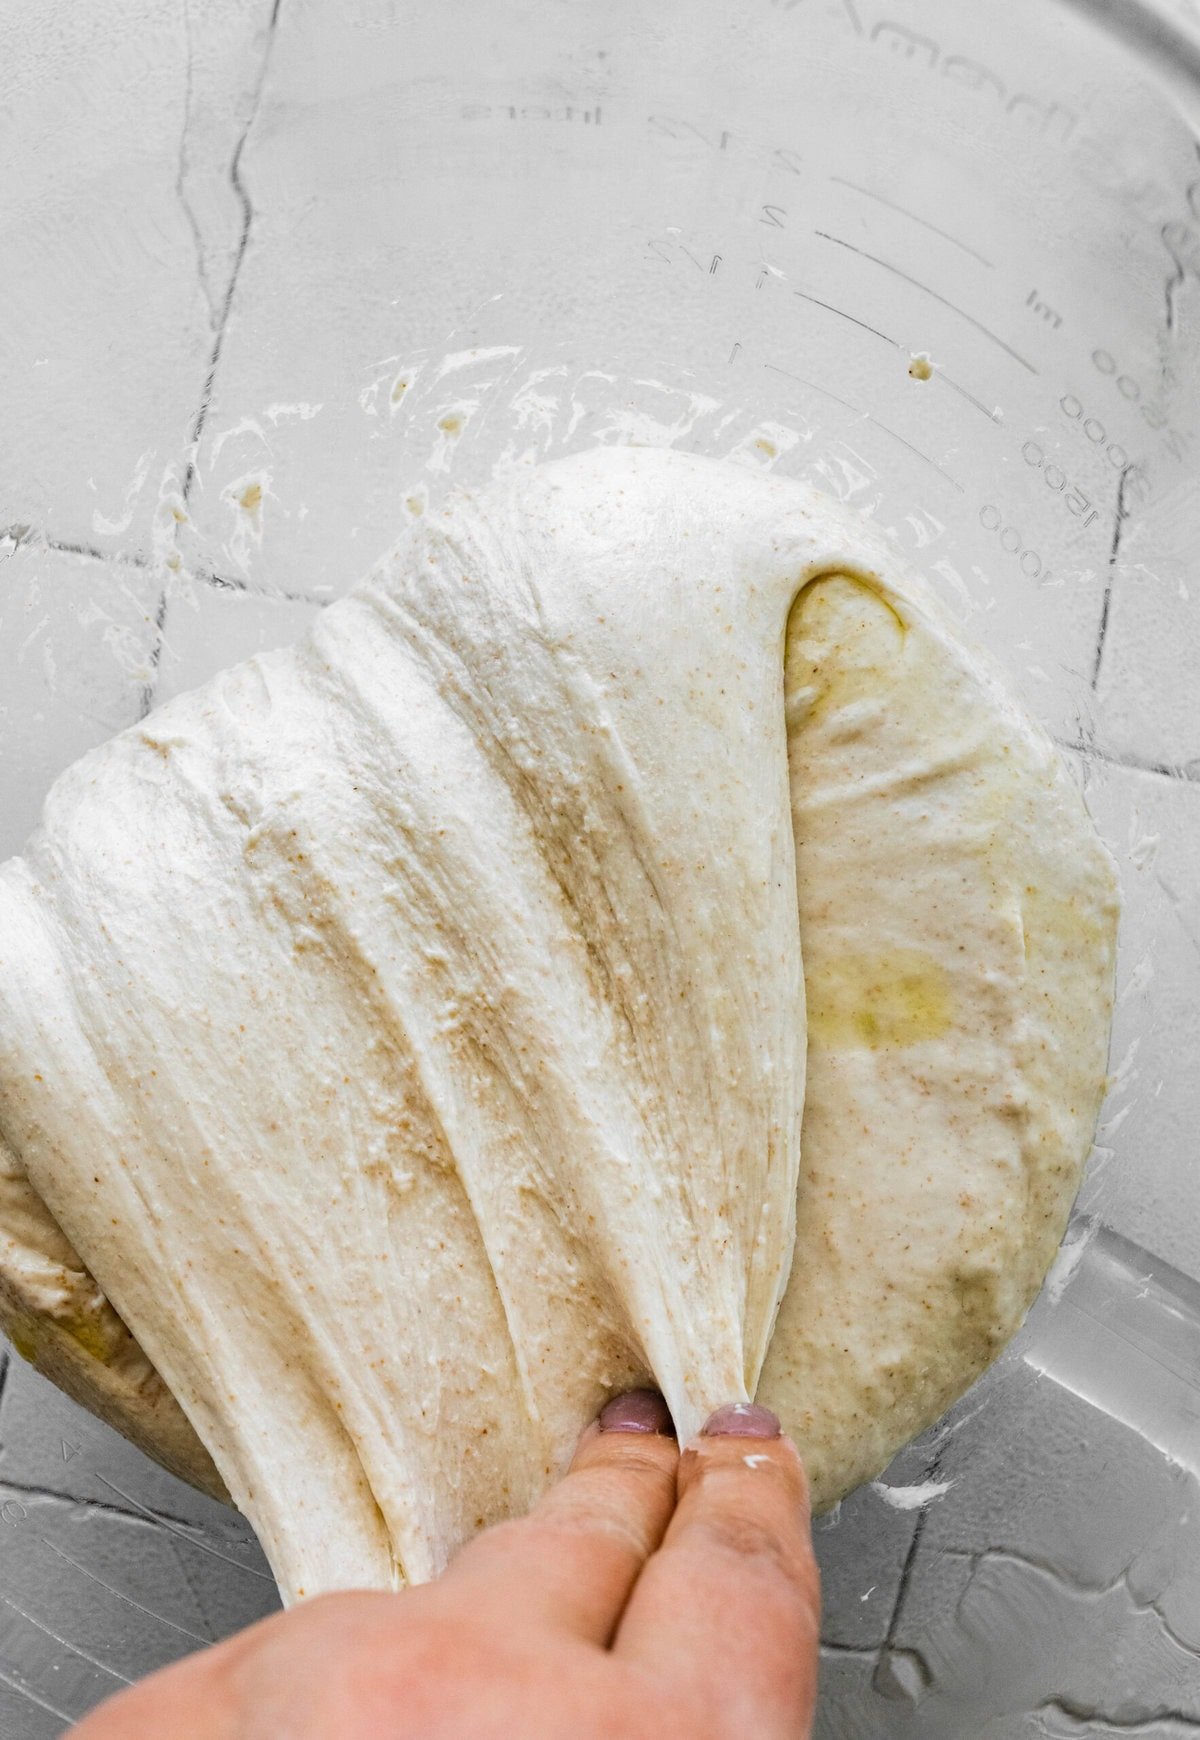
- The dough should become smoother, stronger, and easier to handle with each fold. Place the dough in a clean, lightly oiled bowl.
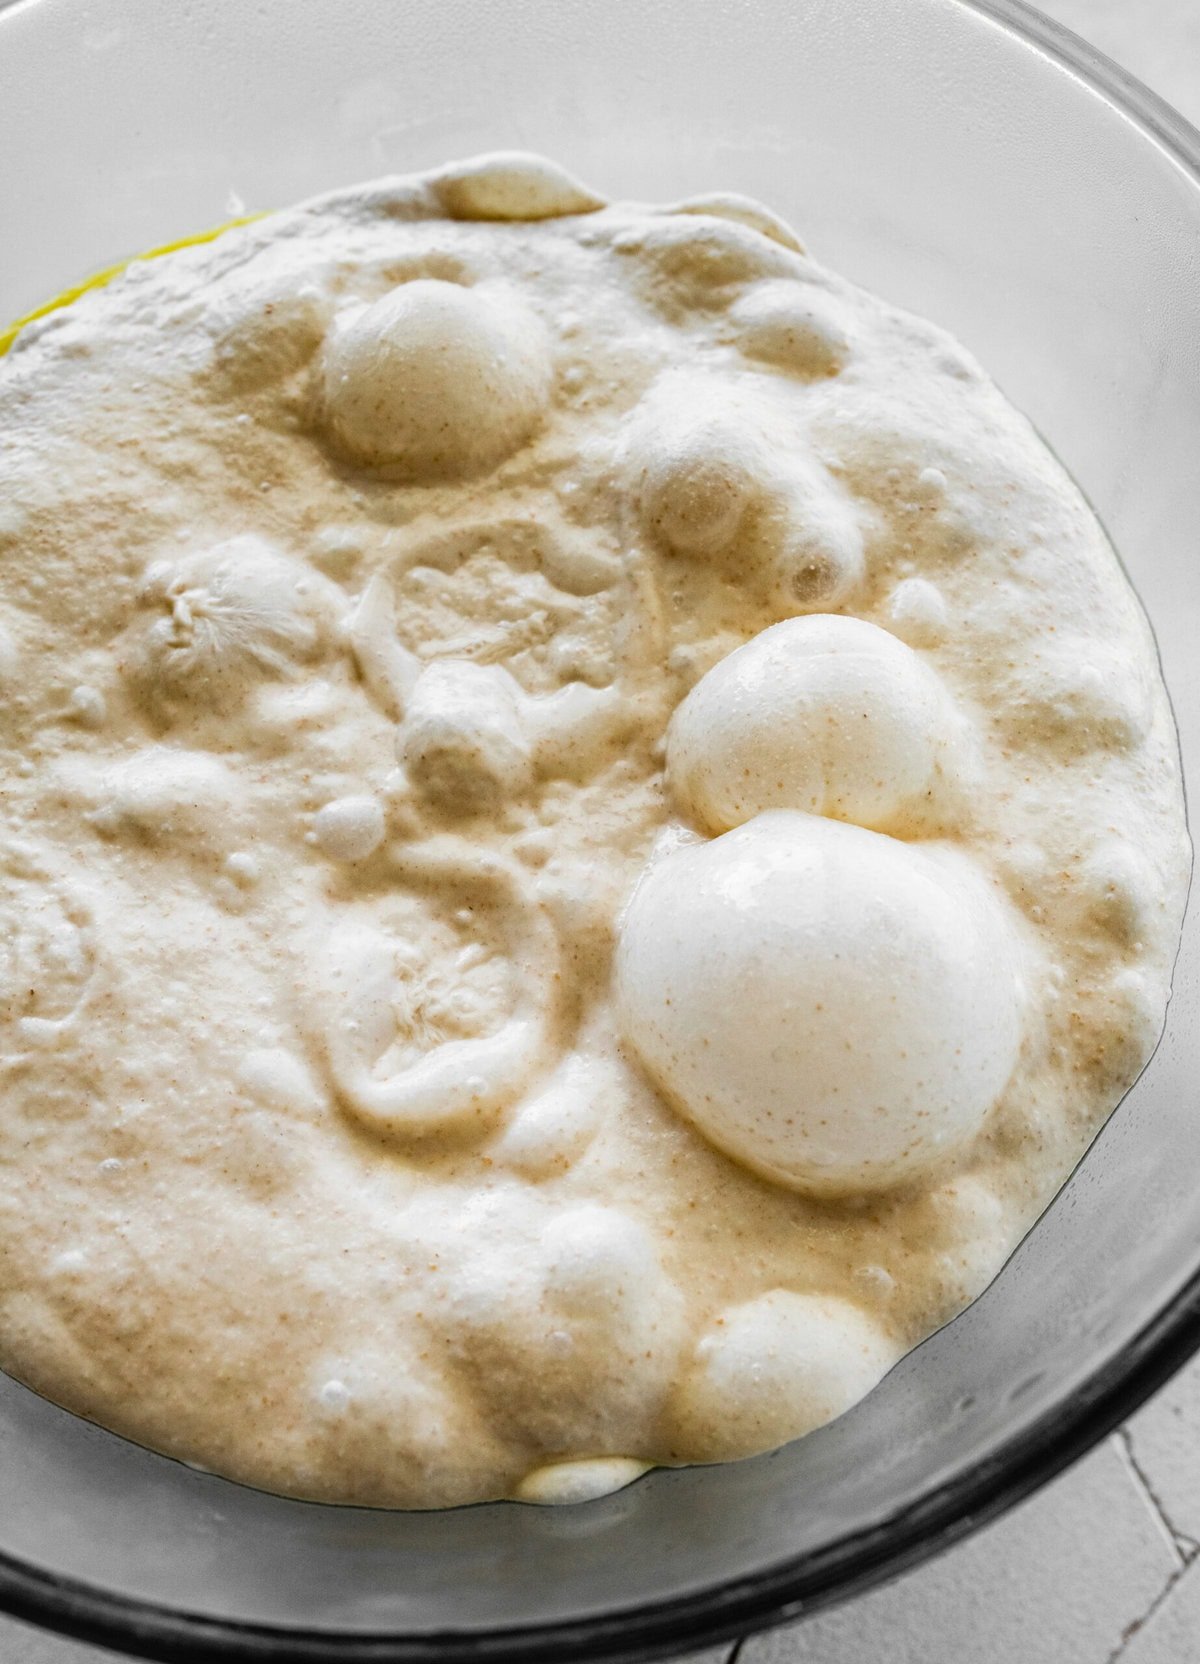
- Cover with plastic wrap and refrigerate for 24–48 hours for the cold fermentation.
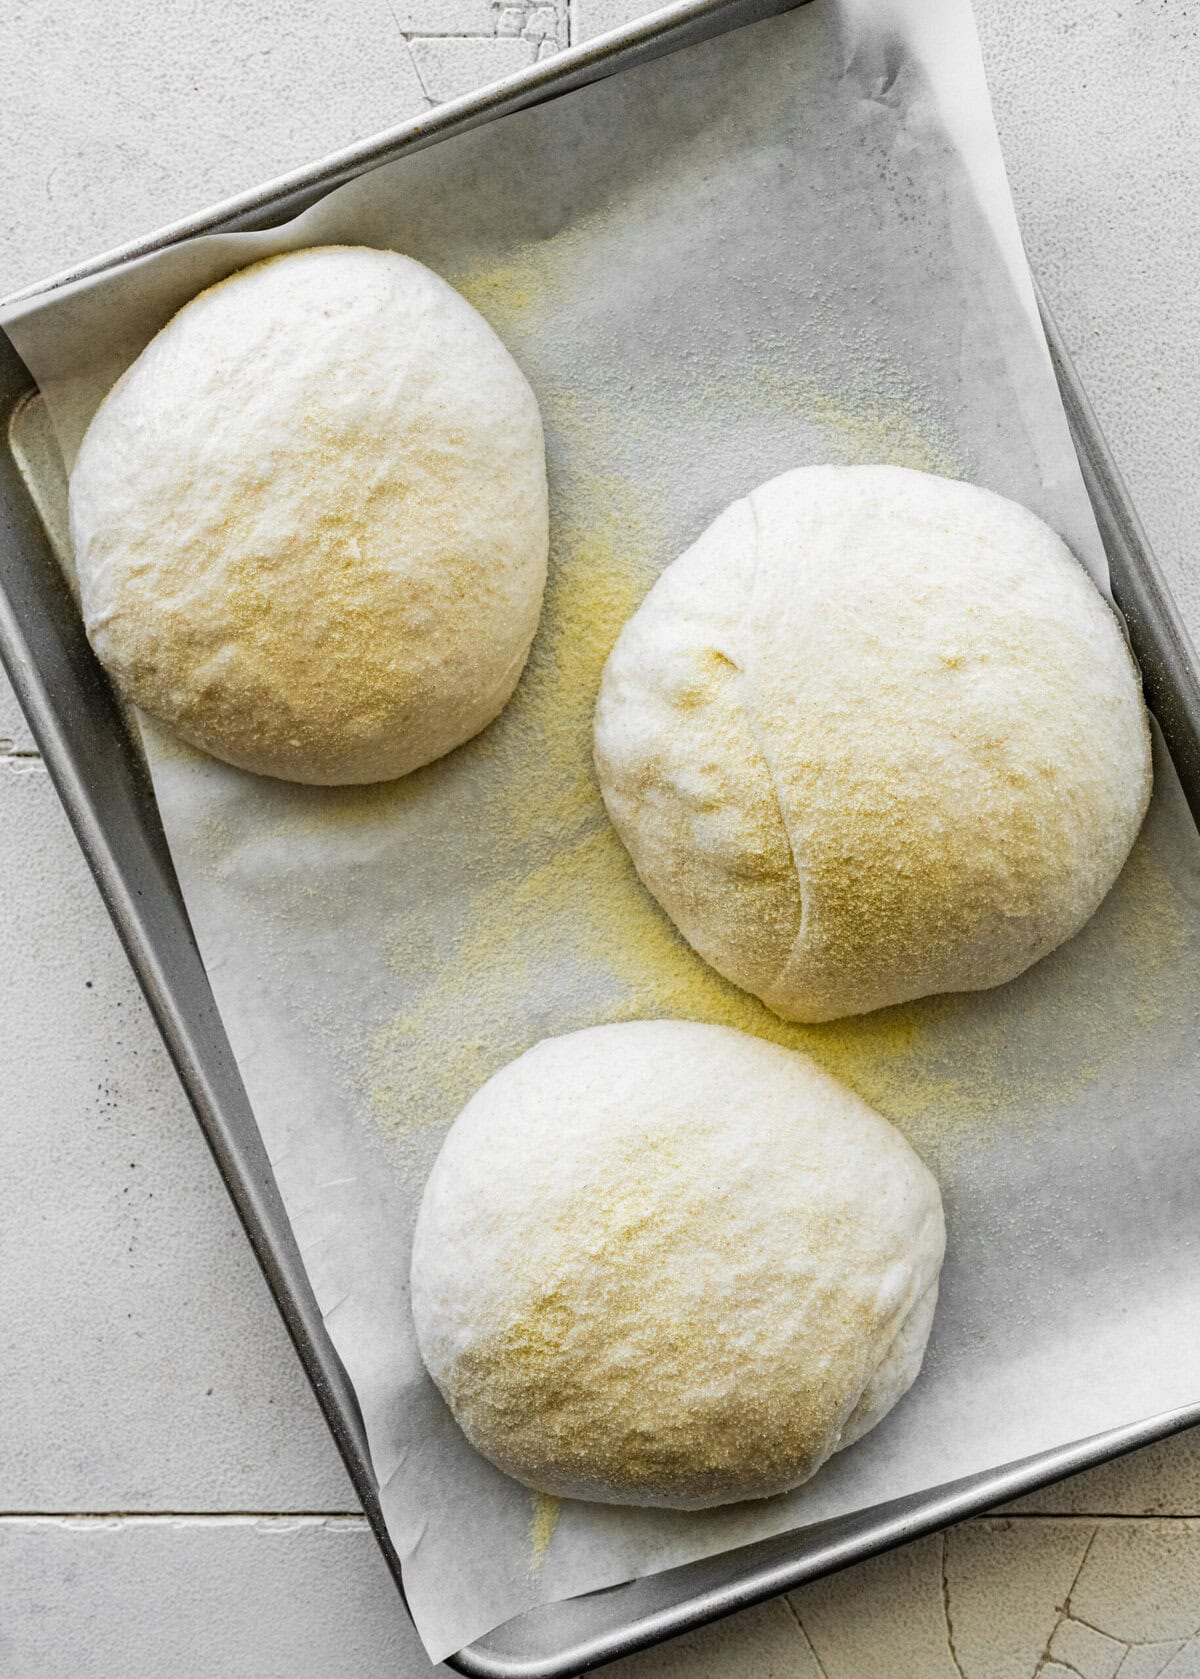
- When ready to bake, preheat the oven to its highest setting, around 480–550°F. Place your pizza stone or baking sheet in the oven while it’s preheating. Divide the dough into 2–3 portions, depending on your preferred pizza size. Coil each portion a few times, then shape it into a dough ball. Sprinkle each dough ball lightly with semolina flour. Cover loosely with plastic wrap or a clean cloth and let rest on a baking sheet for 15–30 minutes.
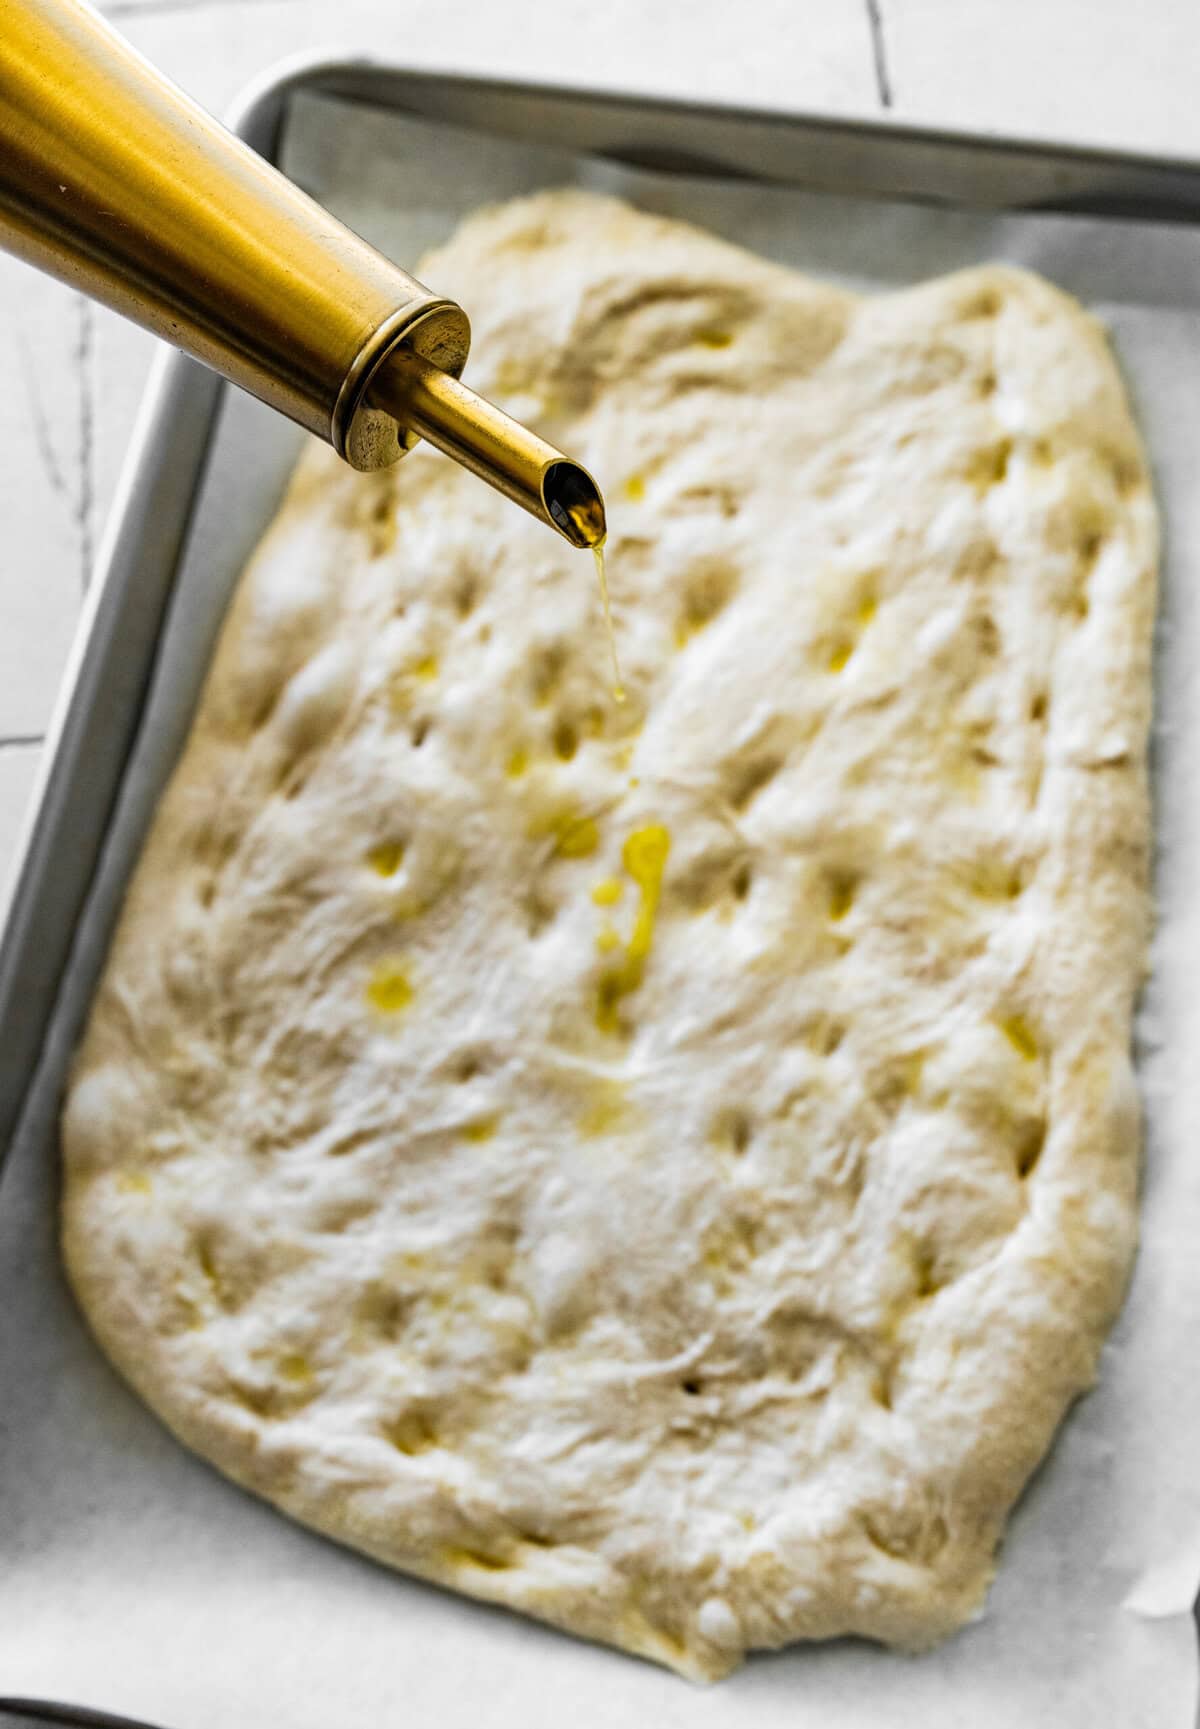
- Sprinkle semolina flour over a clean work surface. Gently stretch each dough ball into an oval, letting gravity help stretch the dough as you hold it in your hands. Transfer it to your work surface and gently dimple the dough with your fingertips. Transfer the shaped dough to an oiled baking sheet or a pizza peel lightly sprinkled with semolina so it can slide easily into the oven.
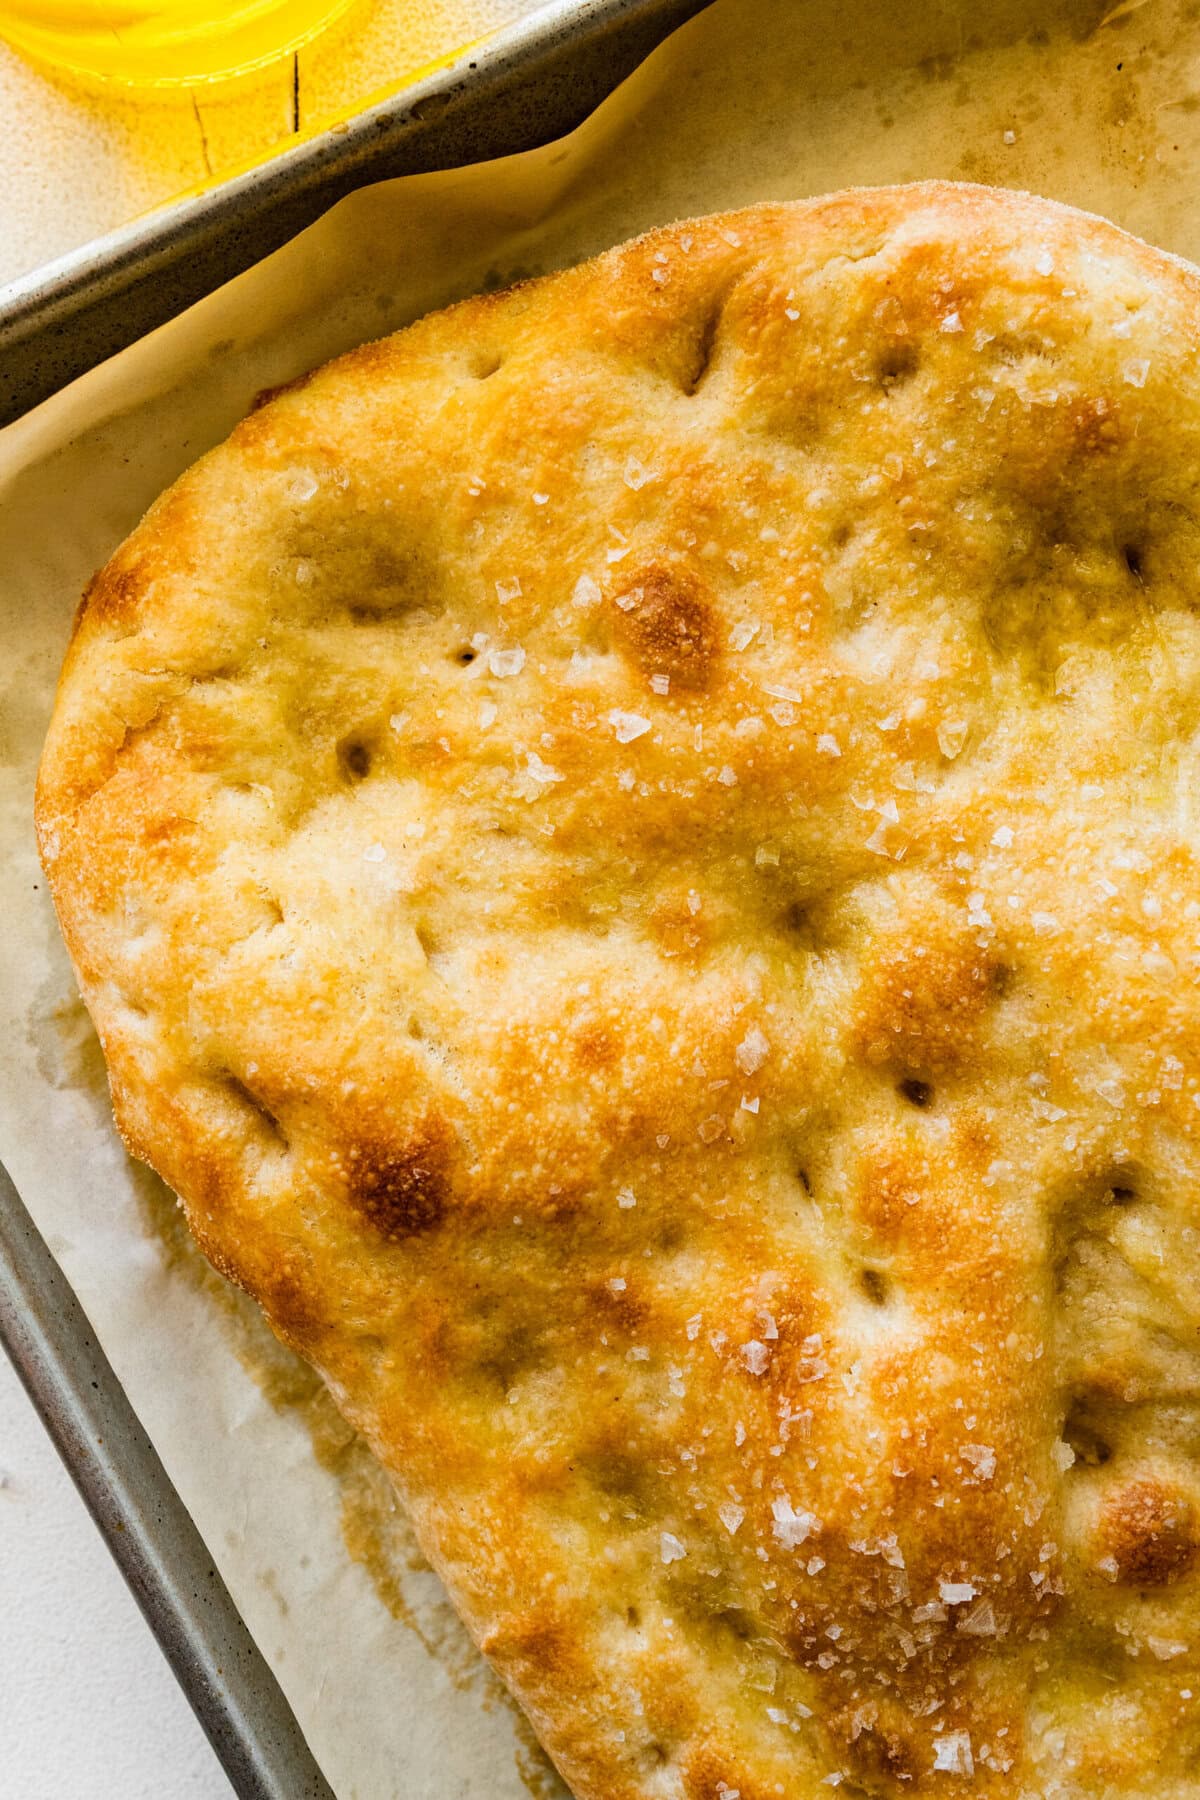
- Bake for 10–12 minutes if you’re not using toppings.
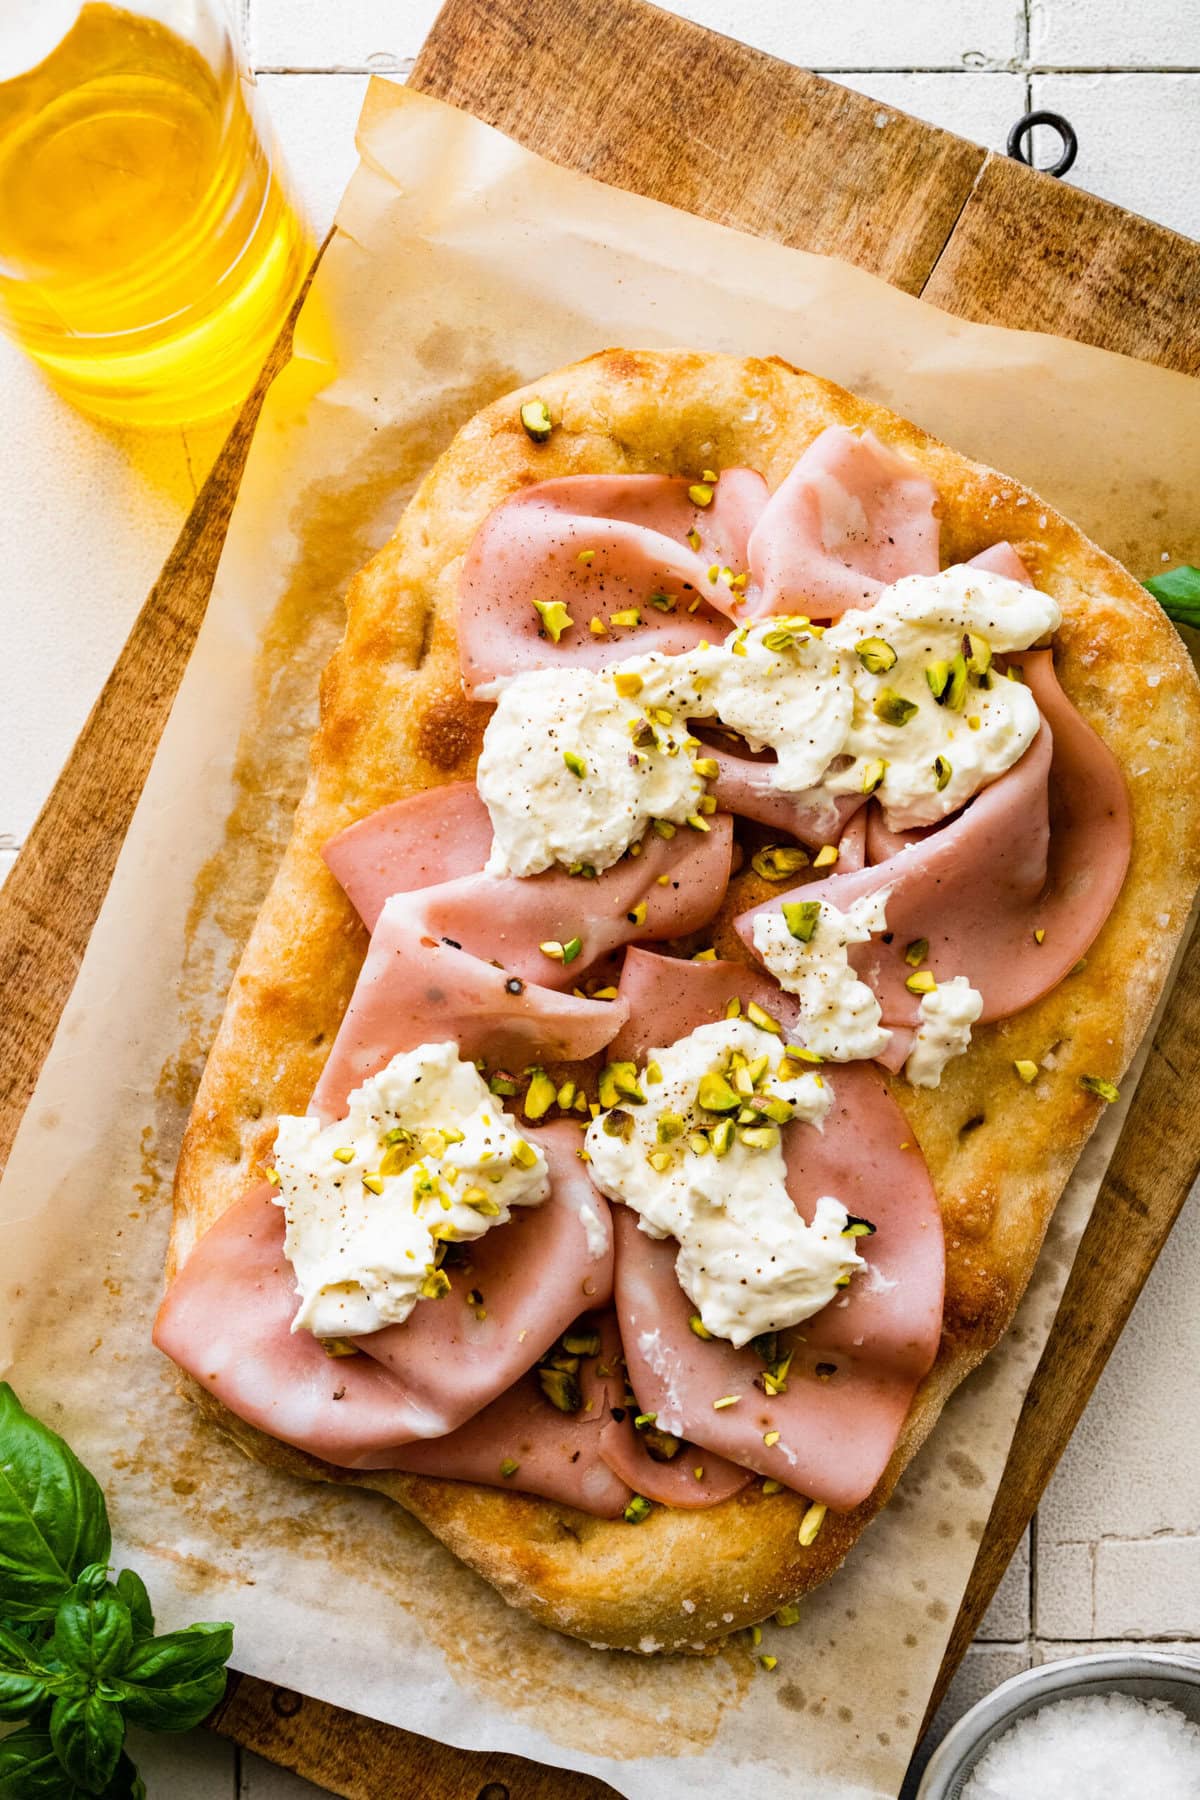
- Bake for up to 20 minutes if baking with toppings.
Pinsa Romana Recipe FAQs
This is a high-hydration dough, so it will feel wetter and stickier than a traditional pizza dough. The recipe uses 460 ml of water with 590 grams of total flour, which is roughly 78% hydration. Don’t add extra flour simply because the dough feels sticky. The higher water content is an important part of the dough’s texture and helps create the light, airy interior associated with pinsa. As you mix and fold the dough, it will gradually become more cohesive and elastic.
Pinsa dough is supposed to be sticky because it has a high level of hydration. Avoid adding large amounts of extra flour. Instead, use lightly oiled or wet hands when handling the dough.
Cold or under-relaxed dough can resist stretching. Give the dough time to relax before trying again. Stretch gently rather than forcing it into shape.
Avoid aggressively pressing or rolling the dough after fermentation. The goal is to preserve the air that developed during the rise. Also make sure the dough has had enough time to ferment according to the recipe.
Let leftover pinsa cool completely, then wrap it well or place it in an airtight container. Refrigerate for up to 3 days. For the best texture, reheat pinsa in a hot oven or toaster oven until the crust is warmed through and crisp again. An air fryer also works well for reheating individual pieces. Avoid microwaving when possible, as it can make the crust soft.
Serving Suggestions
Pinsa Romana is delicious with a variety of toppings. Try it Margherita-style with tomato sauce, mozzarella, Parmesan, and fresh basil, or top it with prosciutto and arugula for a fresh, savory combination. For something extra creamy, add mortadella, burrata, and pistachios after baking. You can also try mushrooms and cheese, or keep it simple with olive oil, flaky sea salt, and fresh herbs.
For a complete Italian-inspired meal, pair pinsa with a Classic Italian Chopped Salad or a simple antipasto platter featuring everything from Marinated Mozzarella Balls to Eggplant Caponata . It also goes well with a bowl of Tortellini en Brodo Soup or a light vegetable side, such as Italian Flat Green Beans
My Pro Tips
Recipe Tips
- Use Cold Water: Use ice-cold water as called for in the recipe to help keep the dough cool while mixing.
- Plan Ahead: The dough needs 24–48 hours of cold fermentation, so prepare it at least one day before you plan to bake the pinsa.
- Handle The Dough Gently: When dividing and shaping, use a light touch to help preserve the air developed during fermentation. Gently stretch the dough rather than rolling it flat.
- Preheat Your Baking Surface: If using a pizza stone, allow it to heat fully in the oven before baking. A hot baking surface helps create a crisp bottom crust.
- Don’t Overload With Toppings: Use a light layer of sauce and toppings so the crust stays crisp and the center bakes properly. Fresh toppings such as burrata, arugula, or herbs can be added after baking.
More Authentic Italian Recipes
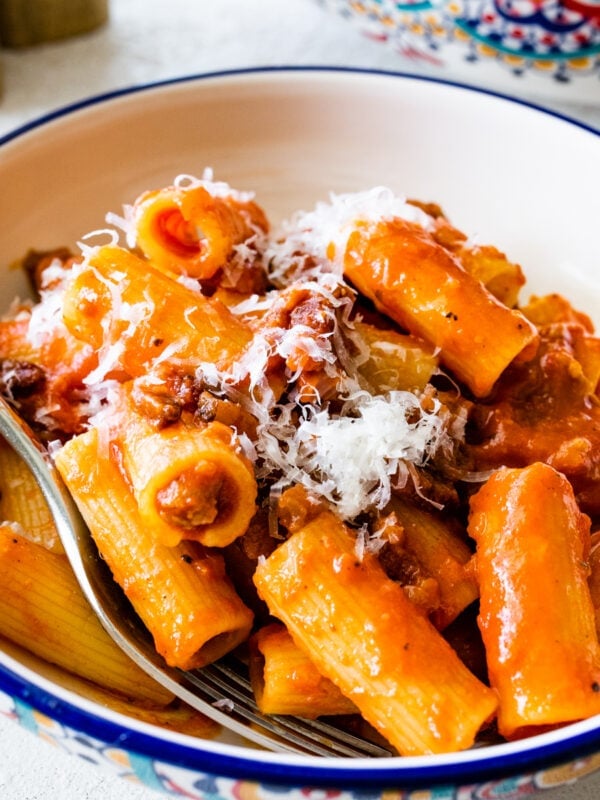
💙 MADE THIS RECIPE AND LOVED IT? 💙 Please leave a ⭐️STAR rating and COMMENT below- I love connecting with you! Tag me with your creations on Instagram and find me on Pinterest.
Pinsa Romana Recipe (Roman Style Pizza Dough)

Ingredients
For the Dough:
- 500 g Italian 00 flour
- 50 g rice flour
- 40 g spelt flour or soy flour
- 460 ml ice cold water
- 2.5 g active dry yeast
- 10 g salt
- 5 ml extra virgin olive oil
- Semolina flour for rolling out dough
Instructions
Mixing the Dough:
- In a large mixing bowl or the bowl of a stand mixer, whisk together the 00 flour, rice flour, spelt or soy flour, and active dry yeast.
- Gradually add the ice-cold water in 3-4 additions, mixing after each addition. The dough may look shaggy and slightly dry at first as it absorbs the water.
- Add the salt and olive oil, then continue kneading until the dough becomes smooth and elastic. The dough will be very sticky because of its high hydration. Do not add extra flour simply to make it easier to handle.
- Knead the dough for about 12 minutes, either by hand or with a stand mixer fitted with a dough hook. The finished dough should be smooth, elastic, and very sticky.
Stretching and Folding:
- Transfer the dough to a lightly oiled container. Using wet hands or a rubber spatula, gently lift one side of the dough and fold it over itself toward the center. Turn the container and repeat on all sides.
- Let the dough rest, covered, for about 1 hour until it doubles in size, then repeat the stretch-and-fold process. The dough should become smoother, stronger, and easier to handle with each fold.
- Place the dough in a clean, lightly oiled bowl. Cover with plastic wrap and refrigerate for 24–48 hours for the cold fermentation.
Shaping and Baking:
- When ready to bake, preheat the oven to its highest setting, around 480–550°F. If using a pizza stone, place it in the oven while it preheats. If you don't have a pizza stone, use a baking sheet.
- Divide the dough into 2–3 portions, depending on your preferred pizza size. Coil each portion a few times, then shape it into a dough ball. Sprinkle each dough ball lightly with semolina flour. Cover loosely with plastic wrap or a clean cloth and let rest on a baking sheet for 15–30 minutes.
- Sprinkle semolina flour over a clean work surface. Gently stretch each dough ball into an oval, letting gravity help stretch the dough as you hold it in your hands. Transfer it to your work surface and gently dimple the dough with your fingertips, similar to shaping focaccia.
- Transfer the shaped dough to an oiled baking sheet or a pizza peel lightly sprinkled with semolina so it can slide easily into the oven.
- Add your desired toppings, being careful not to overload the dough. Too many toppings can make the pinsa heavy and difficult to transfer from the peel.
- Bake for 10–12 minutes, or up to 20 minutes if baking with toppings, until the crust is golden brown and crispy. If using a tomato-based sauce, bake the dough with just the tomato sauce for about 8 minutes. Then add the remaining toppings and continue baking. This helps the crust become crisp and tender without overcooking the cheese.
Notes
- Use Cold Water: Use ice-cold water as called for in the recipe to help keep the dough cool while mixing.
- Plan Ahead: The dough needs 24–48 hours of cold fermentation, so prepare it at least one day before you plan to bake the pinsa.
- Handle The Dough Gently: When dividing and shaping, use a light touch to help preserve the air developed during fermentation. Gently stretch the dough rather than rolling it flat.
- Preheat Your Baking Surface: If using a pizza stone, allow it to heat fully in the oven before baking. A hot baking surface helps create a crisp bottom crust.
- Don’t Overload With Toppings: Use a light layer of sauce and toppings so the crust stays crisp and the center bakes properly. Fresh toppings such as burrata, arugula, or herbs can be added after baking.
Nutrition
Nutrition information is automatically calculated, so should only be used as an approximation.





followed the recipe exactly but the finished product after 72 hours was way to moist
Thank you for trying the recipe and for sharing your experience. Pinsa dough is intentionally a very high-hydration dough, so it will feel much wetter than traditional pizza dough. That said, if the finished dough was overly moist after 72 hours, there are a few factors that may have contributed.
The most common causes are the type of flour used, humidity in your kitchen, or slight variations in measuring. Different brands of flour absorb water differently, and even a small difference can affect the final texture. It’s also possible that your refrigerator temperature was a bit warmer, which can accelerate fermentation and make the dough softer over a long proof.
For next time, I recommend holding back a small amount of the water initially and adding it only if needed, or reducing the hydration slightly if you live in a humid climate. Be sure to use a kitchen scale for the most accurate results.
I appreciate your feedback, and I hope you’ll give it another try. When the dough comes together properly, it creates that signature light, airy texture that makes Pinsa Romana so special.
Made with Amore,
Elena
Hi Elena
I have just made this Pinsa according to your recipe, using all ingredients as stated. Initially the dough was a little wetter than I thought it would be, & very sticky, & although I was tempted to add more flour, I didn’t!🤣 Folded it as best I could, then into the fridge for 48 hours & then made it up as a pinsa pizza, ham, olives, capers, mozzarella, tomato paste & onto a pizza stone into the oven for 8 minutes at 250°C.
Bewdiful!! Crispy, light & fluffy , I was impressed.😊
It’s a pity there is no facility for adding photos, as they turned out really well!
Love the recipe & we will have friends over in a while & I will make these again but this time will use my hand built wood fired pizza oven.😊
Ciao
Wally🇦🇺🦘😊
First of all, “Bewdiful!!” made me smile so much. 😊 You described the pinsa exactly how it should turn out – crispy on the outside, light, airy, and fluffy inside. And good for you for resisting the urge to add more flour! That sticky dough is the secret to that beautiful texture after the long fermentation.
Your topping combination sounds incredible too – ham, olives, capers, mozzarella… so classic and delicious. And now I can’t stop thinking about how amazing these will be in your hand-built wood fired pizza oven! That sounds like an absolute dream. Your friends are very lucky.
I wish there was a photo feature too because I would LOVE to see them! Can yo9u email them to me? I’ll repost on social media! Messages like yours are the next best thing though, and I truly appreciate you taking the time to write.
Next time, you might also enjoy my pizza al taglio or Neapolitan pizza dough recipes if you love making homemade Italian-style pizza.
Grazie mille from Utah all the way to Australia! 🇦🇺😊
Ciao,
Elena
OK – the dough was VERY wet after mixing but I didn’t add more flour per instructions. It rose very nicely at 40 hours – but there was no way to even slightly form the dough – added flour (knowing that wasn’t good, but…) — of course, the final product was very doughy (expected) — used King Arthur 00 flour – thinking to try again with less water. Thoughts ??
Thank you so much for trying this, and for sharing all the details, that really helps.
You’re right, this dough is meant to be very wet, but it should still be manageable. If it felt impossible to shape, a couple things likely happened:
Hydration was too high for your flour – even with 00 flour, absorption can vary. Reducing the water slightly next time is a great idea
It needed more strength development – try a few gentle stretch-and-folds during the first rise to help the dough hold together
Handling technique matters – instead of forming it like traditional dough, work on a well-floured surface and gently “scoop and stretch” it rather than shaping tightly
Adding flour at the end will definitely make it heavier, so you were right to note that, but if you feel like you want to add just a bit it might be okay.
You’re very close, I would try again with just a bit less water and that stretch-and-fold step, and I think you’ll get that light, airy result you’re looking for.
If you enjoy working with dough, you might also love my focaccia next time, it’s a bit more forgiving but still gives you that beautiful texture.
💛 Mangia!
I followed your recipe right up to now and it is NOT doubling after resting covered for one your.. How can it? It’s a cold dough..It’s impossible !!! So I will let it sit out for another hour and see if it doubles..if not then I’ll go on with recipe instructions and refrigerate it 48 hours for fermentation..I’ll be back to let you know what happens,,In the meantime..if you get this message please reply because I had to buy all these flours which were NOT cheap and I hope I don’t fail on this recipe
Because this is a cold dough, it may not visibly double in one hour, especially depending on your kitchen temperature and the yeast you’re using. The first rest is more about allowing the yeast to begin activating and the flours to hydrate, not necessarily a dramatic rise.
If your kitchen is cool, you can let it sit a little longer at room temperature until you see some movement, small bubbles and slight expansion are enough. It does not need to fully double before refrigeration. The real magic happens during the 48-hour cold fermentation.
As long as:
• Your yeast is active
• The dough isn’t overly cold straight from the fridge
• You see some slight aeration
You’re on the right track.
Pinsa dough can feel different from traditional pizza dough because of the flour blend, but trust the process. That long fermentation is what develops structure and flavor.
You absolutely did not waste your flours. Keep going.
Hi Elena, thankyou for the recipe
I made this dough 2 days ago and substituted fresh milled flour (1/2 hard red & 1/2 hard white berries) plus rice flour and fresh milled spelt flour. The yeast reaction was as expected and after folding the dough a few times I put it in the fridge. After the 2nd day there’s not much change in the dough, its still wet and sticky. I cut off a small piece, flattened it and baked it in the oven at 450 F for 10 minutes without toppings and then 10 minutes with toppings. The dough seemed to cook ok but it sure feels like it’s still rising in my belly. Any thoughts if something is amiss? I’m not sure how to attach a photo of the dough
Thank you so much for trying the recipe and for explaining your process so clearly. Nothing sounds “wrong,” but the flours you used do change things quite a bit.
Fresh-milled flours, especially hard red, hard white, and spelt, behave very differently than commercial 00 or bread flour. They absorb water more slowly, stay wetter and stickier longer, and continue fermenting more actively, which can definitely make the dough feel heavier after baking.
A few suggestions for next time:
Try reducing the hydration slightly when using fresh-milled flour.
Give the dough a longer cold ferment (up to 72 hours) so fermentation fully develops.
Make sure the bake is very hot and thorough, pinsa benefits from a well-set interior.
You might also try blending fresh-milled flour with some bread or 00 flour for a lighter result.
You’re clearly very close, and experimenting like this is part of the fun. I wish I could see the photo, but your description is very helpful. Thank you again for baking along with me! 💛
Thankyou for the quick reply Elena, I’m brand new to making breads and doughs and am using fresh milled flours as a healthy benefit O(hopefully)
I actually have had the dough resting covered at room temperature for the last few hours and the dough has almost doubled in size. I gave it another fold and I’m hoping this will do. I’m guessing that it’s too late for another 24 hrs in the fridge?
You can do one more rise in the fridge! Let me know how it goes 🙂
Tried this for the first time just with olive oil and sea salt. Excellent. Tomorrow I will try with toppings.
Love the simplicity of the oil and salt. Here’s to many more topping ideas!
Hello, when are the doses?
Bast wishes
Please see the printable recipe card right above where you left this comment and everything is there for you!
Absolutely amazing!! Easy to make, delicious to enjoy.
So happy you loved it! It’s a go-to recipe at our house!
With a little planning ahead of time to allow for the fermentation, you are on your way to the most delicious meal! I love the plain pinsa with sea salt and olive oil because it allows for a beautiful crispy top and amazing texture, but then I also love the amazing toppings Elena suggested, I don’t think I can choose a favorite. The whole family really loved this and I plan on making it often!
Yay! Happy you and the family loved our pinsa dough recipe. It has the most amazing texture! Yes, so many toppings to try.
The MOST authentic Pinsa recipe you will find! It truly is the best!