Italian Brioche
This post may contain affiliate links. Please read our disclosure policy.

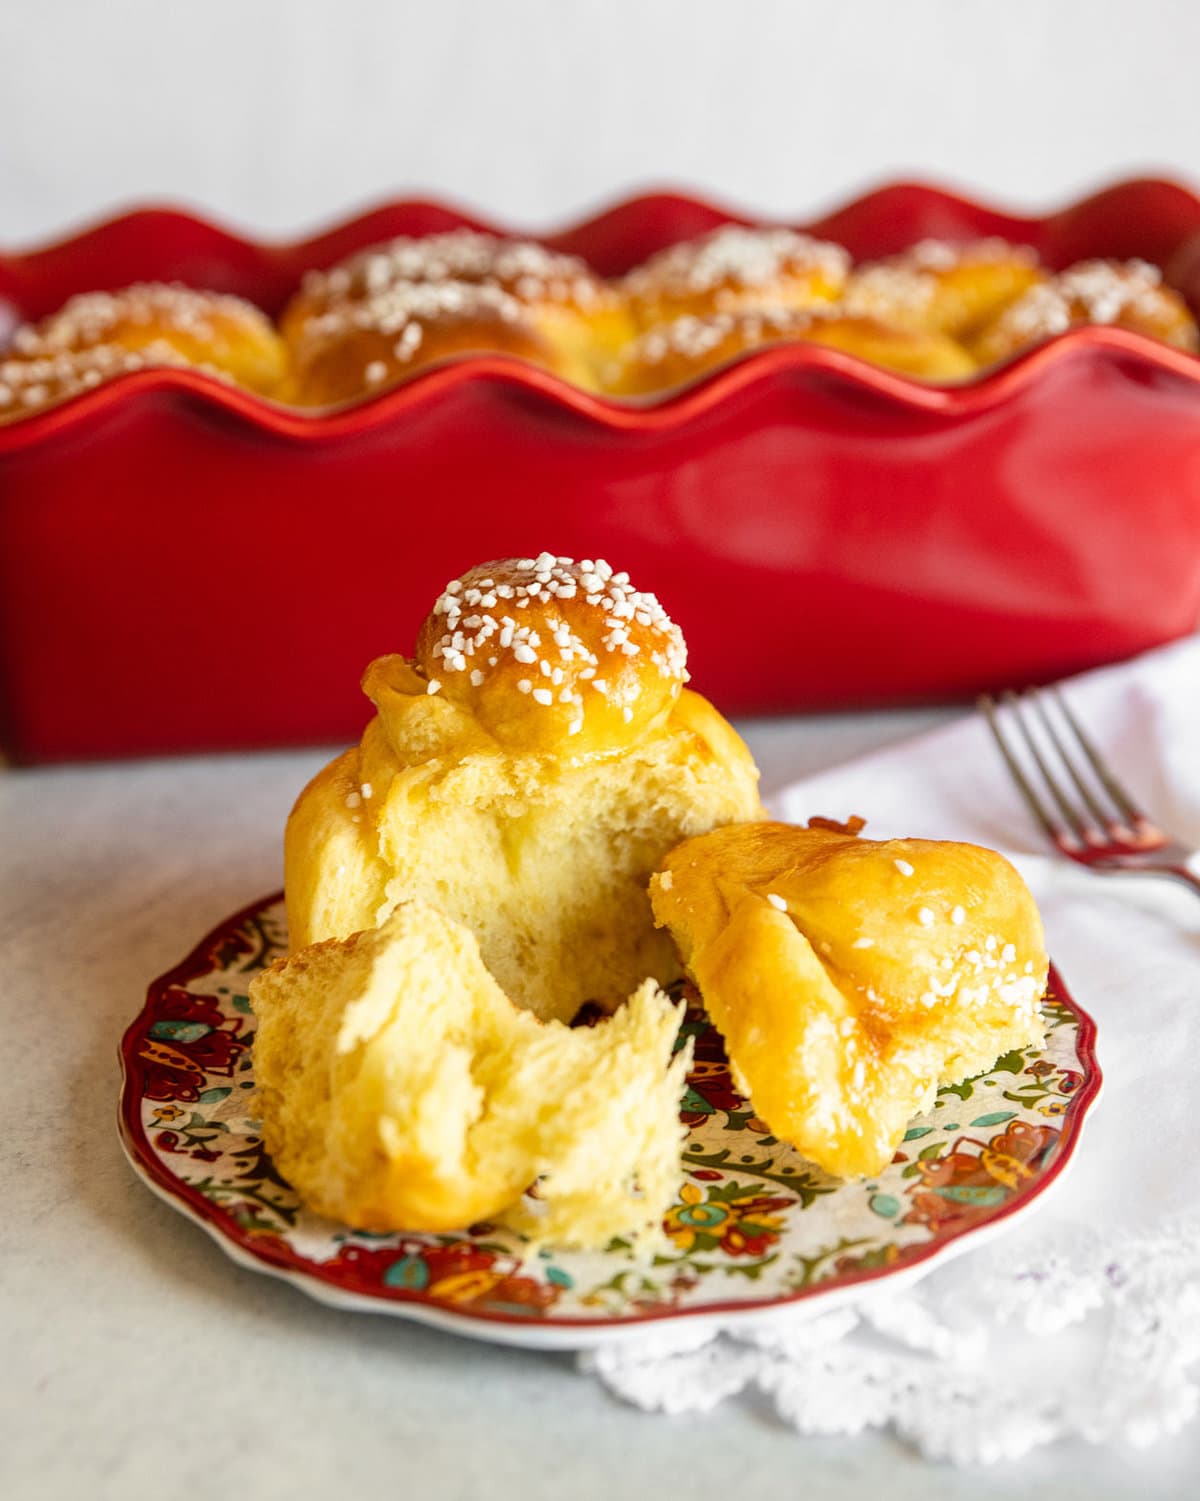
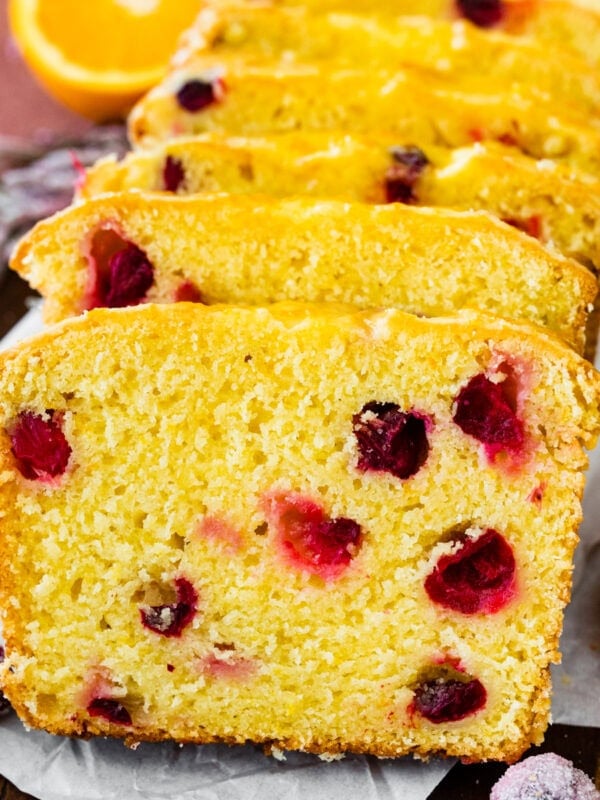
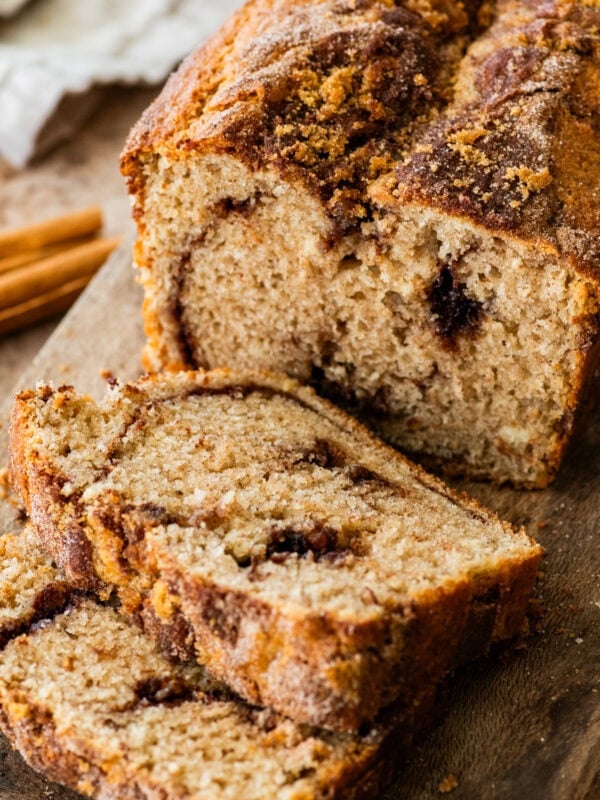
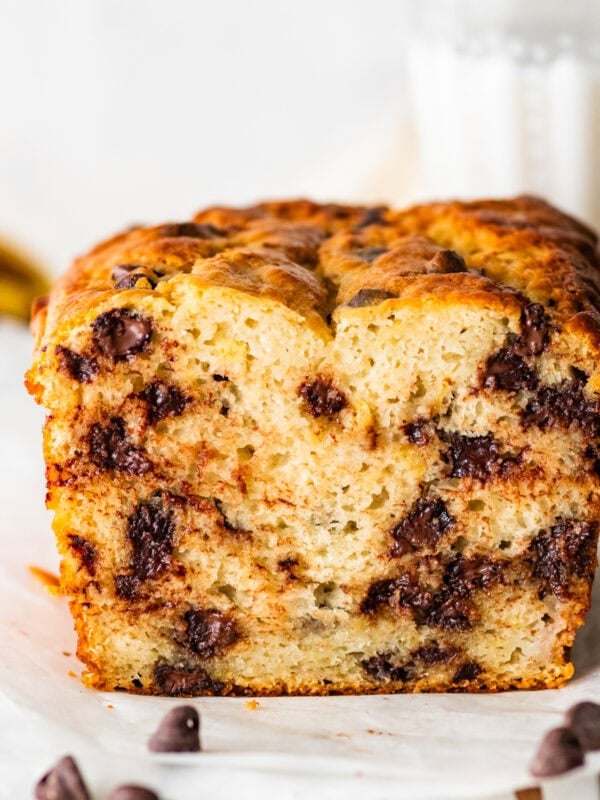
This Italian brioche bread is rich, buttery, slightly sweet, tender, and absolutely delicious! This traditional Italian dessert is surprisingly easy to make, and is even make ahead friendly. You will want to make this amazing sweet bread again and again!
Love making homemade bread? Don’t miss my family favorite recipes for Italian focaccia with apples and cheese and traditional Italian panettone!

Quick Look: Italian Brioche
- Prep Time: 30 minutes
- Cook Time: 35 minutes
- Total Time: 1 hour 5 minutes (not including rising time)
- Servings: 16 people (if made in 2 standard loaf pans)
- Dietary Info: Vegetarian; can be made Dairy Free with vegan butter
- Method: Oven Baked
- Technique: Mix the dough and knead to build up the gluten, then incorporate the butter. Let it rise, then shape, rise again, and bake. Decorate as desired.
- Flavor & Texture: This Italian brioche recipe has a delightfully fluffy texture, incredible aroma, and lightly sweet flavor that makes it irresistible!
Why You’ll Love This Family Favorite!

I have countless memories eating a variety of delicious brioche breads in Italy. It is my pleasure to share this recipe with you, and I hope you enjoy it as much as I have.
This bread is rich, buttery, slightly sweet, tender, and absolutely scrumptious! I love this even better than French brioche, especially with the added lemon and orange zest, which sets this recipe apart. Enjoy the extra “zest” of flavor!
You’ll also love these sweet bread recipes for Braided Easter Bread, Focaccia with Raspberries and Balsamic Glaze, and St. Lucia Sweet Saffron Rolls.
Made With Amore,

“Great brioche recipe. Very light, fluffy and flavorful. A sweet dough rather than the heavier French or American style. The family is addicted to this one. Thanks for the great instructions!”
– Andre
Table of Contents
Simple Ingredients
This Italian brioche recipe takes simple ingredients that you probably already have in your pantry. Get these key ingredients ready along with a few others, and you can get baking!
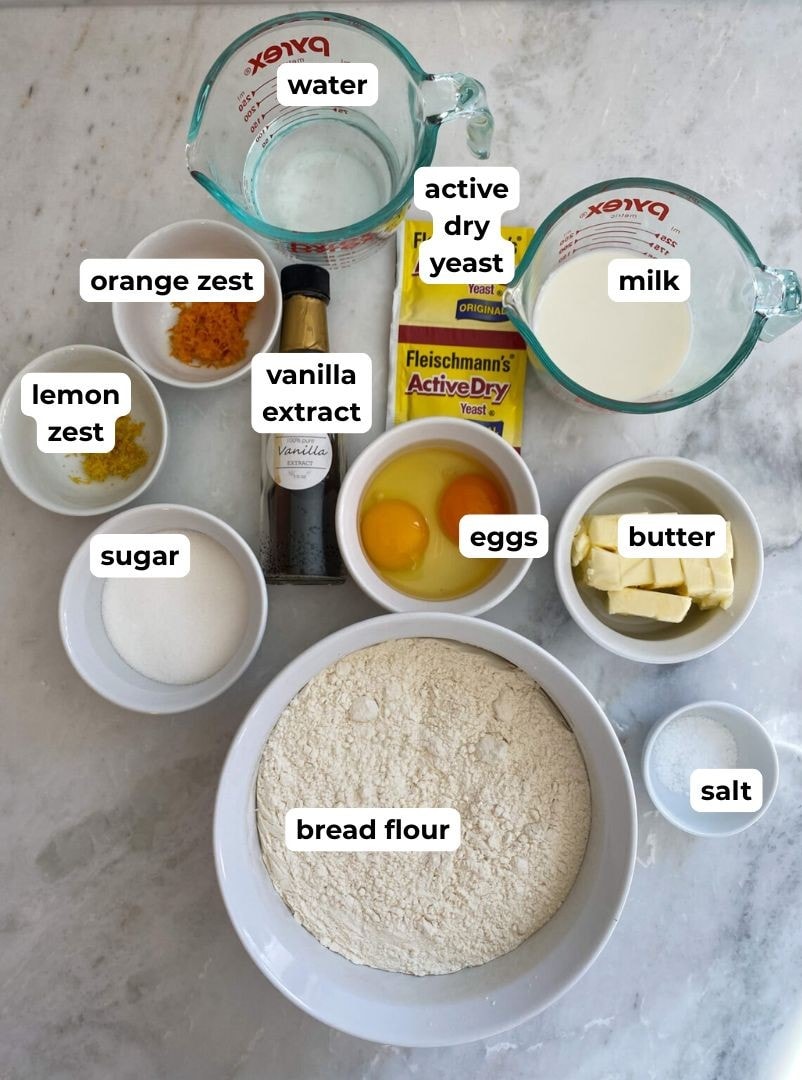
- Bread Flour: It’s really important to use bread flour in this recipe to get a high rise and fluffy texture. All-purpose flour doesn’t contain enough protein to create the gluten necessary for the best Italian brioche.
- Active Dry Yeast: Ensure that your yeast hasn’t expired and is still active before you begin! If you dissolve it in a little warm water with a bit of sugar and let it stand for 10 minutes, it should foam up, indicating that it’s active.
- Butter: Use good-quality butter (grass fed if possible) and make sure it’s at room temperature before you start to help it easily incorporate into the dough.
- Lemon and Orange Zest: Adding freshly grated citrus zest to the dough gives it a wonderful aroma and a subtle citrus flavor that’s delicious in the finished bread. Use a microplane grater to zest a lemon and orange.
- Optional Toppings: If you want a shiny glaze for the crust, you’ll need some apricot jam. For an even fancier finish, grab some pearl sugar to sprinkle on top.
See recipe card for full information on ingredients and quantities.
Variations & Substitutions
- Large Braided Version: Divide the brioche dough intro three strands and braid it as you would hair. Lay it on a baking sheet for the second rise and baking.
- Individual Buns: Shape the dough into buns before placing them in the baking dish. Bake with their sides touching for softer sides and a higher rise, or space them apart for a crisp crust on each one.
- Flavorings: Add ground spices and extracts to the dough, such as cinnamon, cardamom, nutmeg, even saffron, and/or almond extract. (If you really like saffron and almond, try my St. Lucia Sweet Saffron Rolls with almond filling!)
How to Make Italian Brioche
This classic Italian sweet bread recipe is easy to make, and will be a new favorite with your family! Scroll down to the recipe card for the full ingredients and instructions.
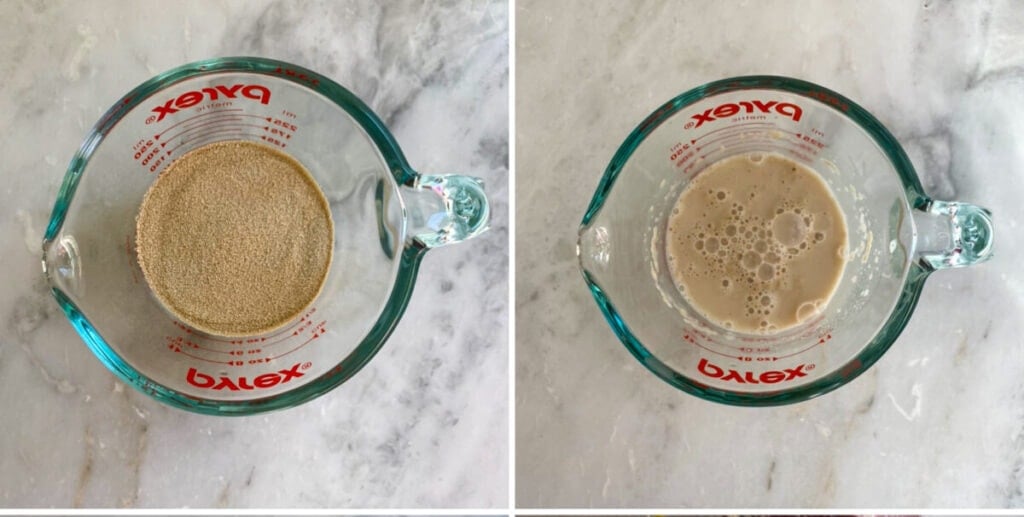
- Dissolve the yeast in warm water, stirring gently. Let it stand until foamy.

- Add the flour to the bowl of a stand mixer. Mix the wet ingredients and zest in a separate bowl, then add to the dry ingredients and mix with a dough hook.
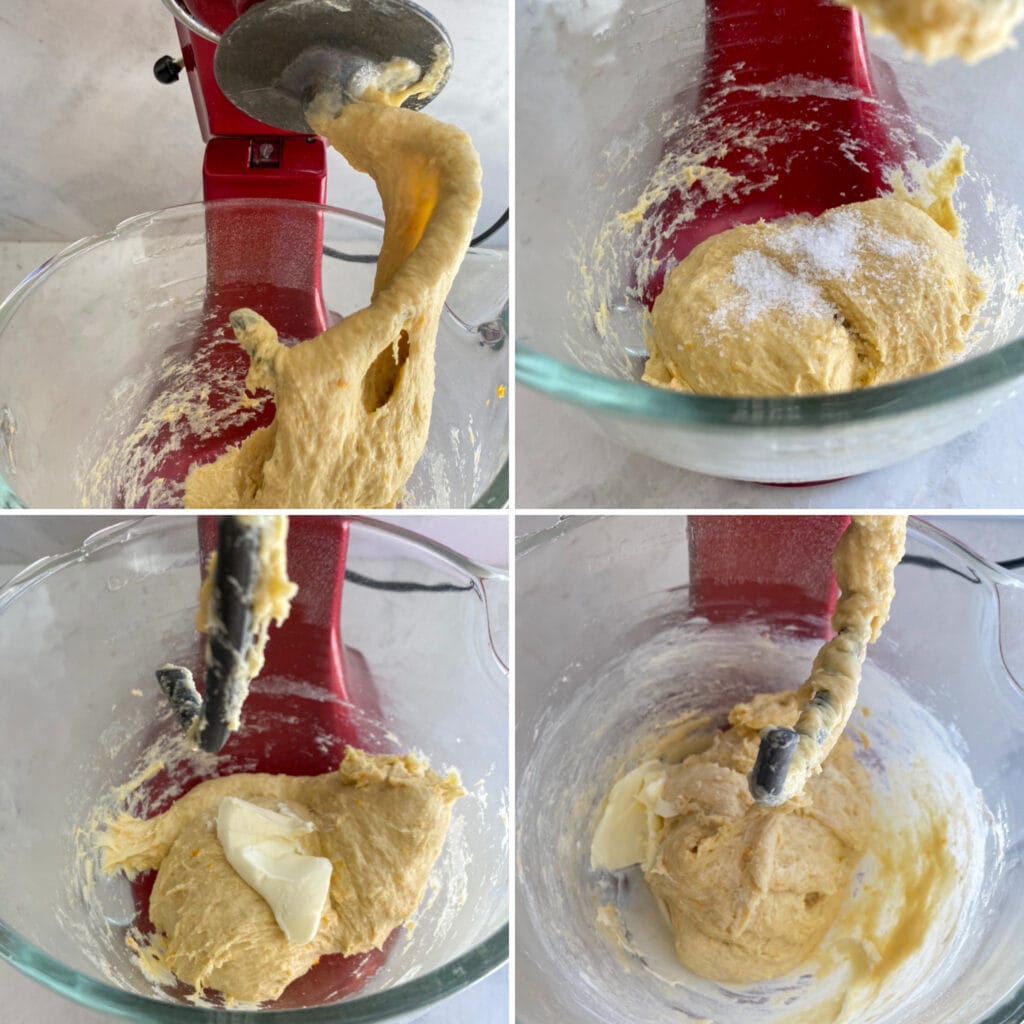
- Add the salt and mix to incorporate; the dough will be very sticky and shaggy. Add the butter a little at a time, mixing between each addition. Mix on low speed for about 10 minutes, or until the butter is completely incorporated.
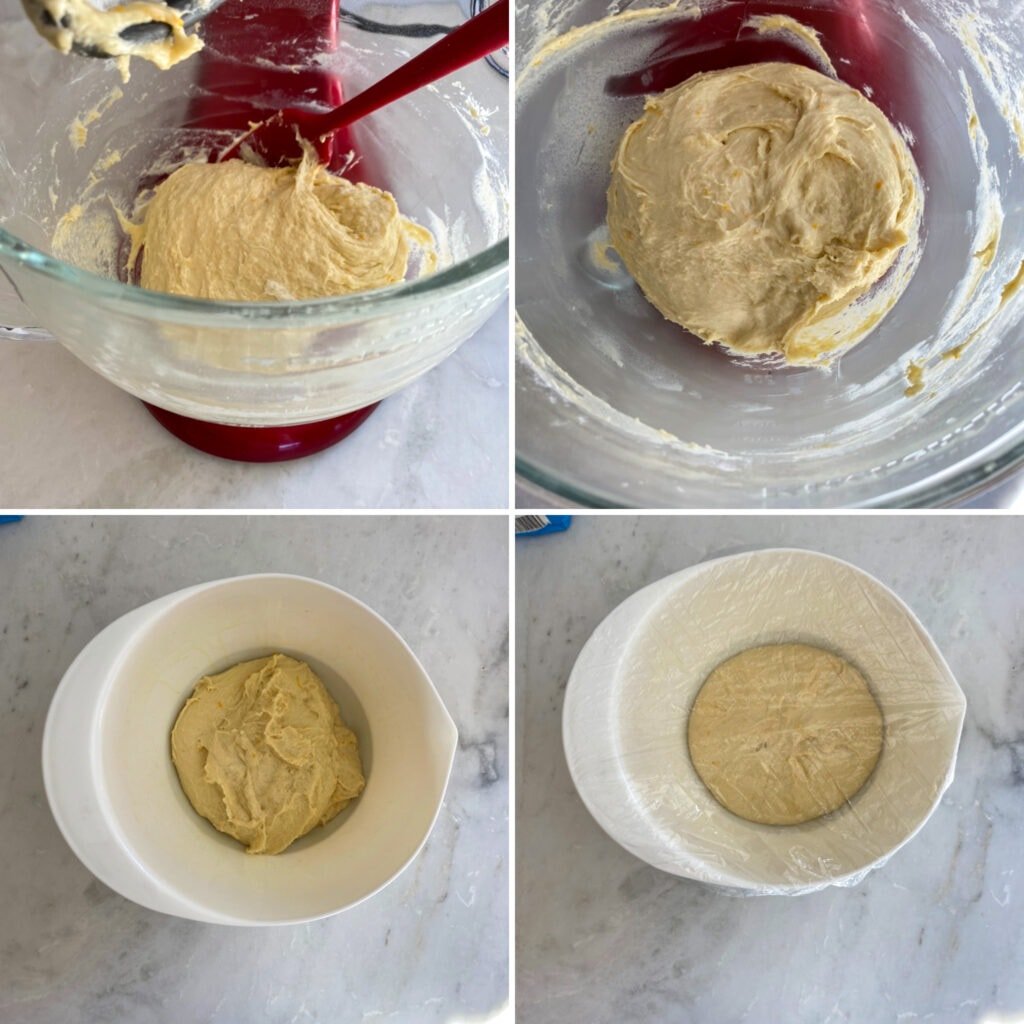
- Scrape down the sides of the bowl. The dough is ready when it’s smooth and stretchy and can be picked up in one piece, but it will remain sticky.
Place the dough in a large oiled bowl and cover it with plastic wrap. Allow the dough to rise for 60 minutes in a warm place. (You can also freeze it or store it in an airtight container in the fridge for up to 1 week.)
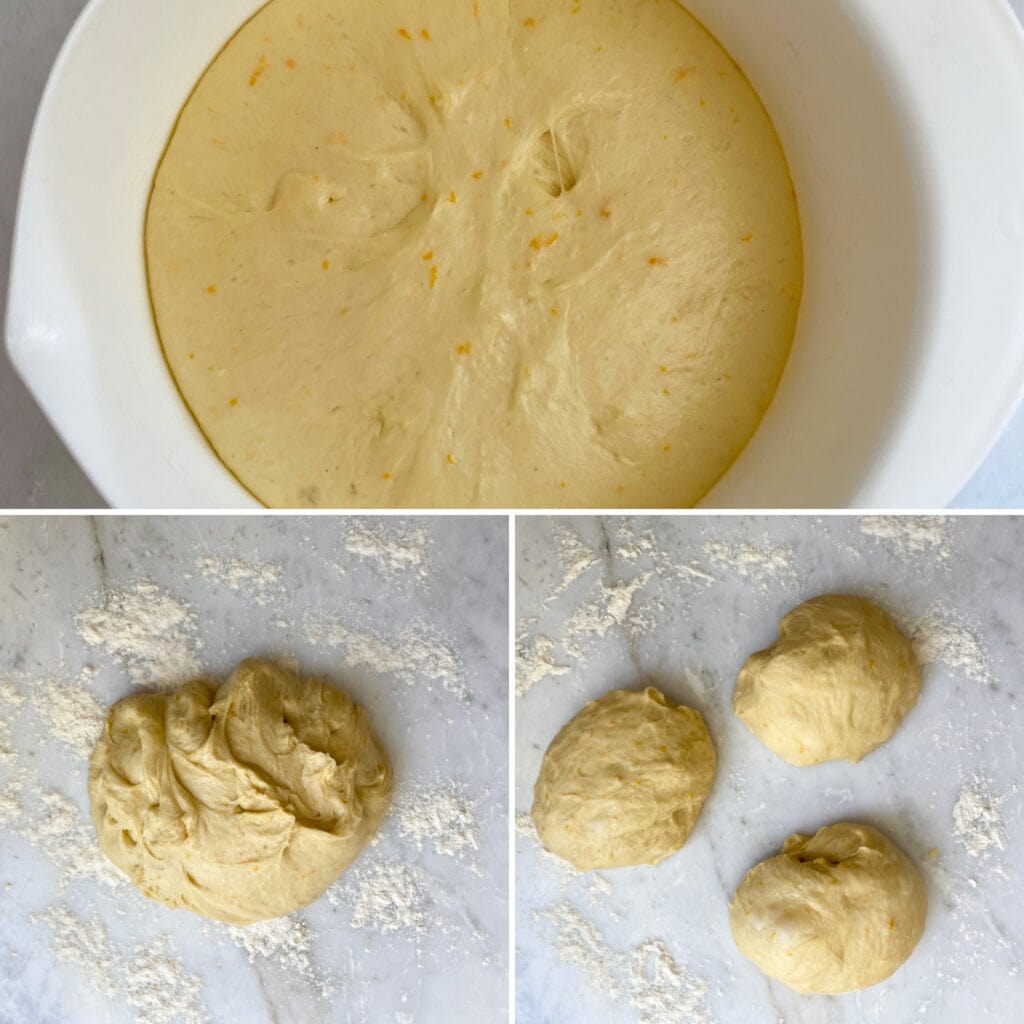
- After the first rise, you can shape the dough in a variety of ways. Either divide it into pieces and braid it, shape it into buns, or make it into a loaf. Then, let rise again until nearly doubled in size (about 45-60 minutes).

- Bake at 350°F for 35-45 minutes, or until the bread is golden on top and the interior temperature is 210°F. Brush with the warm apricot jam and sprinkle with the pearl sugar if desired. Cool the loaves in the pans for 30 minutes, then turn out onto a wire rack to cool completely. Slice and enjoy!
Italian Brioche FAQs
When making bread it is very important to use bread flour instead of all-purpose flour. Bread flour has an increased amount of protein, which creates more gluten, resulting in a lighter, fluffier dough. Gluten makes the dough supple and flexible (just compare gluten free bread to gluten bread to see this difference). All-purpose flour can be used, but bread flour is always better if your goal is a “fluffier” bread.
Brioche, a soft loaf with a high egg and butter content, is considered a pastry. Italian bread often contains a bit of milk or olive oil, and sometimes a bit of sugar. French bread tends to be longer and narrower, while Italian bread loaves tend to be shorter and plumper.
Brioche dough that’s too wet will be slack and hard to handle, and it won’t have as much oven spring (rise) during baking. Dough that’s too dry will give you brioche that’s heavy and dry, rather than light and fluffy. Also, be sure to weigh the flour with a kitchen scale rather than using measuring cups, as it’s easy to pack too much flour into the cups–which gives you dry bread!
Dry, crumbly brioche means that the mixing and handling of the dough was at fault rather than the recipe. Brioche is especially high in fat (butter), which in most formulas is 50-60% of the flour’s weight. How well the gluten is developed and how the fat is incorporated determines the final texture of the brioche.
To store, make sure the baked bread is container. It can be kept at room temperature for a couple of days. In the refrigerator for up to 1 week.
To freeze, place the baked bread in a freezer-safe bag or airtight container for up to 2 months. You can also use the leftovers to make stuffing for Thanksgiving.
Serving Suggestions
Want to make your Italian brioche a little “extra”? Try serving it with a delicious Italian Pastry Cream, Italian Chocolate Pastry Cream, or Italian Pistachio Cream. (You can also pair it with this homemade pistachio butter as a spread!)
This bread also is the perfect addition to a brunch spread with other favorites like my Italian Frittata with Peas, Onions, and Ricotta, Potato and Egg Breakfast Casserole, and Berry and Goat Cheese Salad. Use up any leftovers in this Overnight Blueberry French Toast and swap the challah for slices of brioche.
My Pro Tips
Expert Tips
- Use room temperature eggs and butter (soft, not melted) to make the dough easier to work with, as the ingredients will bind together better. Simply leave them out for an hour or so before making the dough.
- Check the date on your yeast. If your yeast is old and not active, you will do a lot of work for nothing.
- Don’t be afraid of buttery, slimy, sticky dough! When you’re incorporating the butter, it will be this way, but just keep mixing–it will all come together.
- Gluten develops well in water, but fat hinders gluten development, especially in an enriched dough like brioche. However, it also keeps the dough super soft and rich in flavor, giving it an almost cake-like texture! That is why brioche dough needs to be kneaded for much longer, and preferably with a stand mixer, as it will be sticky and slack.
Other Sweet Bread Recipes You’ll Love

💙 MADE THIS RECIPE AND LOVED IT? 💙 Please leave a ⭐️STAR rating and COMMENT below- I love connecting with you! Tag me with your creations on Instagram and find me on Pinterest.
Brioche Recipe

Ingredients
- ½ cup warm water, at 110-115°F
- ½ cup warm milk, at 110-115°F
- 4½ teaspoons active dry yeast, 2 packages
- 3¼ cups bread flour
- 7 tablespoons granulated sugar
- 1¼ teaspoon salt
- 1 teaspoon pure vanilla extract
- 1 teaspoon lemon zest
- 1 teaspoon orange zest
- 1 whole egg + 1 egg yolk
- ½ cup unsalted butter, at room temperature, cut into 8 pieces
For the Topping & Decoration
- ½ cup apricot jam, for glaze; optional
- pearl sugar, for decoration; optional
Instructions
Preparing the Dough & First Rise
- Stir the warm water and yeast together and allow the yeast mixture to sit for 2 minutes.
- Add the flour to the bowl of a stand mixer fitted with a dough hook. In a separate bowl, combine all of the ingredients except for the salt and butter. Mix wet ingredients well, then add to the flour. Mix the ingredients on low speed for 3 to 4 minutes, until the dough has come together.
- Stop the mixer and scrape down the sides as needed, pushing the dry ingredients into wet patches. Once the dough has come together, beat on low speed for 3-4 additional minutes. The dough will be stretchy and sticky. Mix in the salt.
- On low speed, add the butter a little at a time, mixing after each addition until it disappears into the dough. Continue mixing on low speed for about 10 minutes, stopping the mixer occasionally to scrape down the bottom and sides of the bowl. It is important for all of the butter to be mixed thoroughly into the dough. If necessary, stop the mixer to break up the dough with your hands to help mix in the butter.
- Once the butter is completely incorporated, turn the mixer to medium speed and beat for another 8-10 minutes, or until the dough becomes sticky, soft, and somewhat shiny. Continue beating until the dough turns smooth and silky.
- Turn the mixer up to medium-high and beat for 1-2 minutes. You should hear the dough making slapping sounds against the sides of the mixer bowl. Test the dough by pulling it and stretching it thin. You want the dough to stretch, but also give a bit. If it feels too loose, easily breaks off into pieces, or looks shaggy, continue to mix on medium speed for 2-3 additional minutes. It's ready when it's smooth and stretchy and can be picked up in one piece. The dough will remain sticky.
- Place the dough in a large oiled bowl and cover it with plastic wrap. Allow the dough to rise for 60 minutes in a warm place. (Optional: place dough in fridge overnight to allow the dough to proof and develop flavor. At this point, the dough may also be frozen or stored in an airtight container in the fridge for up to 1 week.)
Shaping & Second Rise
- To make two brioche loaves, grease two standard loaf pans liberally with butter. (You could also use a springform pan, cast iron skillet, or flat baking sheet.) Divide the dough into two halves, and shape the dough into loaf shapes by stretching the edges under creating a rounded surface. Place the shaped dough into the loaf pans.
- Cover the loaves lightly with plastic wrap and place them in a warm spot (75-85°F is ideal) for 45-60 minutes, or until the loaves have nearly doubled in size. They should have risen to the edge of the pan and have rounded tops. The dough should feel soft, pillowy, and delicate.
- While the bread is rising, position a rack in the center of the oven and preheat to 350°F.
Baking & Decorating
- In a small bowl, microwave the apricot jam for 15 seconds. With a pastry brush brush the top of the bread with a thin layer of the jam. Add a sprinkle of the pearl sugar.
- Bake for 35-45 minutes, until the tops and sides of the loaves are completely golden brown and the internal temperature reads 210°F.
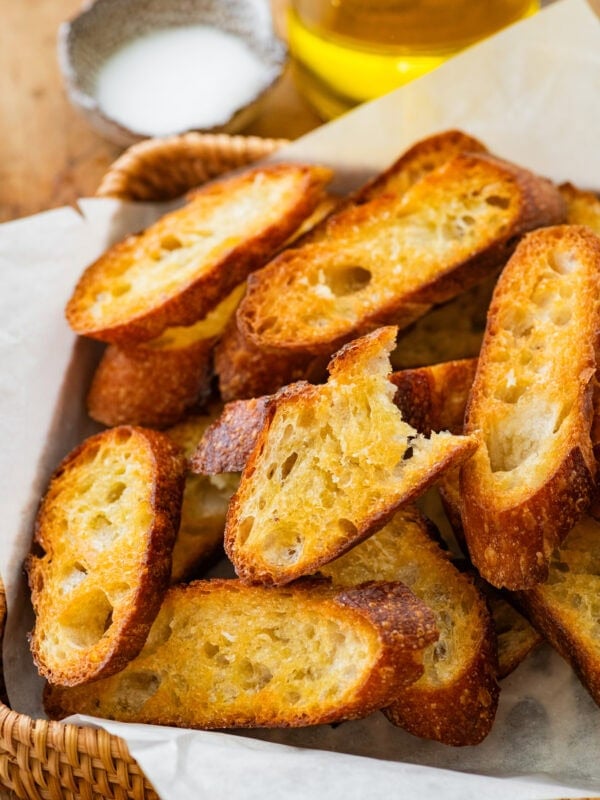
- Cool the loaves in the pans for 30 minutes, then turn out onto a cooling rack and let them finish cooling completely. The bread may be stored for up to three days wrapped tightly in plastic, and makes great French toast when stale.
Notes
- Use room temperature eggs and butter (soft, not melted) to make the dough easier to work with, as the ingredients will bind together better. Simply leave them out for an hour or so before making the dough.
- Check the date on your yeast. If your yeast is old and not active, you will do a lot of work for nothing.
- Don’t be afraid of buttery, slimy, sticky dough! When you’re incorporating the butter, it will be this way, but just keep mixing–it will all come together.
- Gluten develops well in water, but fat hinders gluten development, especially in an enriched dough like brioche. However, it also keeps the dough super soft and rich in flavor, giving it an almost cake-like texture! That is why brioche dough needs to be kneaded for much longer, and preferably with a stand mixer, as it will be sticky and slack.
Nutrition
Nutrition information is automatically calculated, so should only be used as an approximation.


Please beware: the weight measurements for the double and triple recipes are not correct–they are the weights for the single recipe.
Sorry about that.
Great brioche recipe. Very light, fluffy and flavorful. A sweet dough rather than the heavier French or American style. The family is addicted to this one. Thanks for the great instructions!
-Andre
Yes! You nailed it. That is exactly how this Italian brioche is supposed to be. Thrilled you loved it. Enjoy for years to come.
Truly, the softest and best brioche dough!