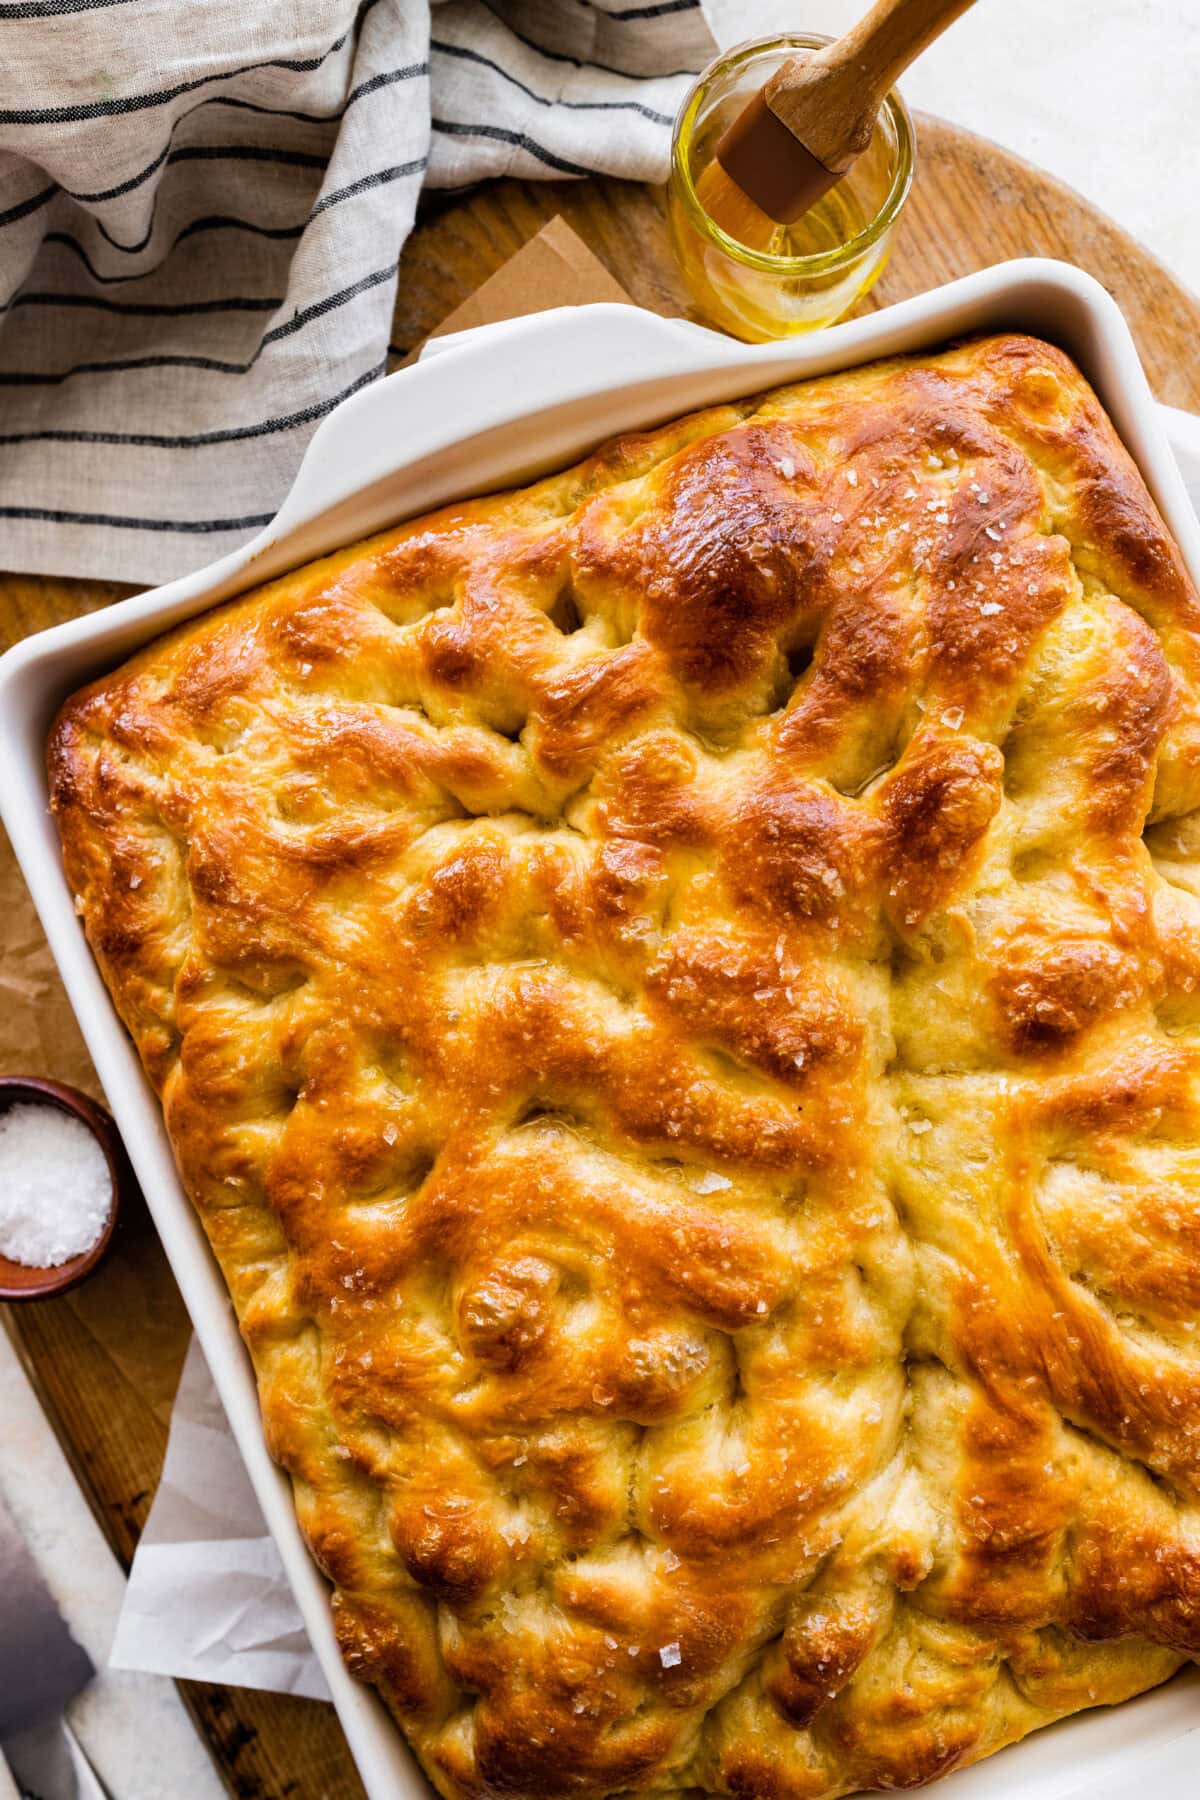
No Knead Italian Focaccia Bread
This post may contain affiliate links. Please read our disclosure policy.
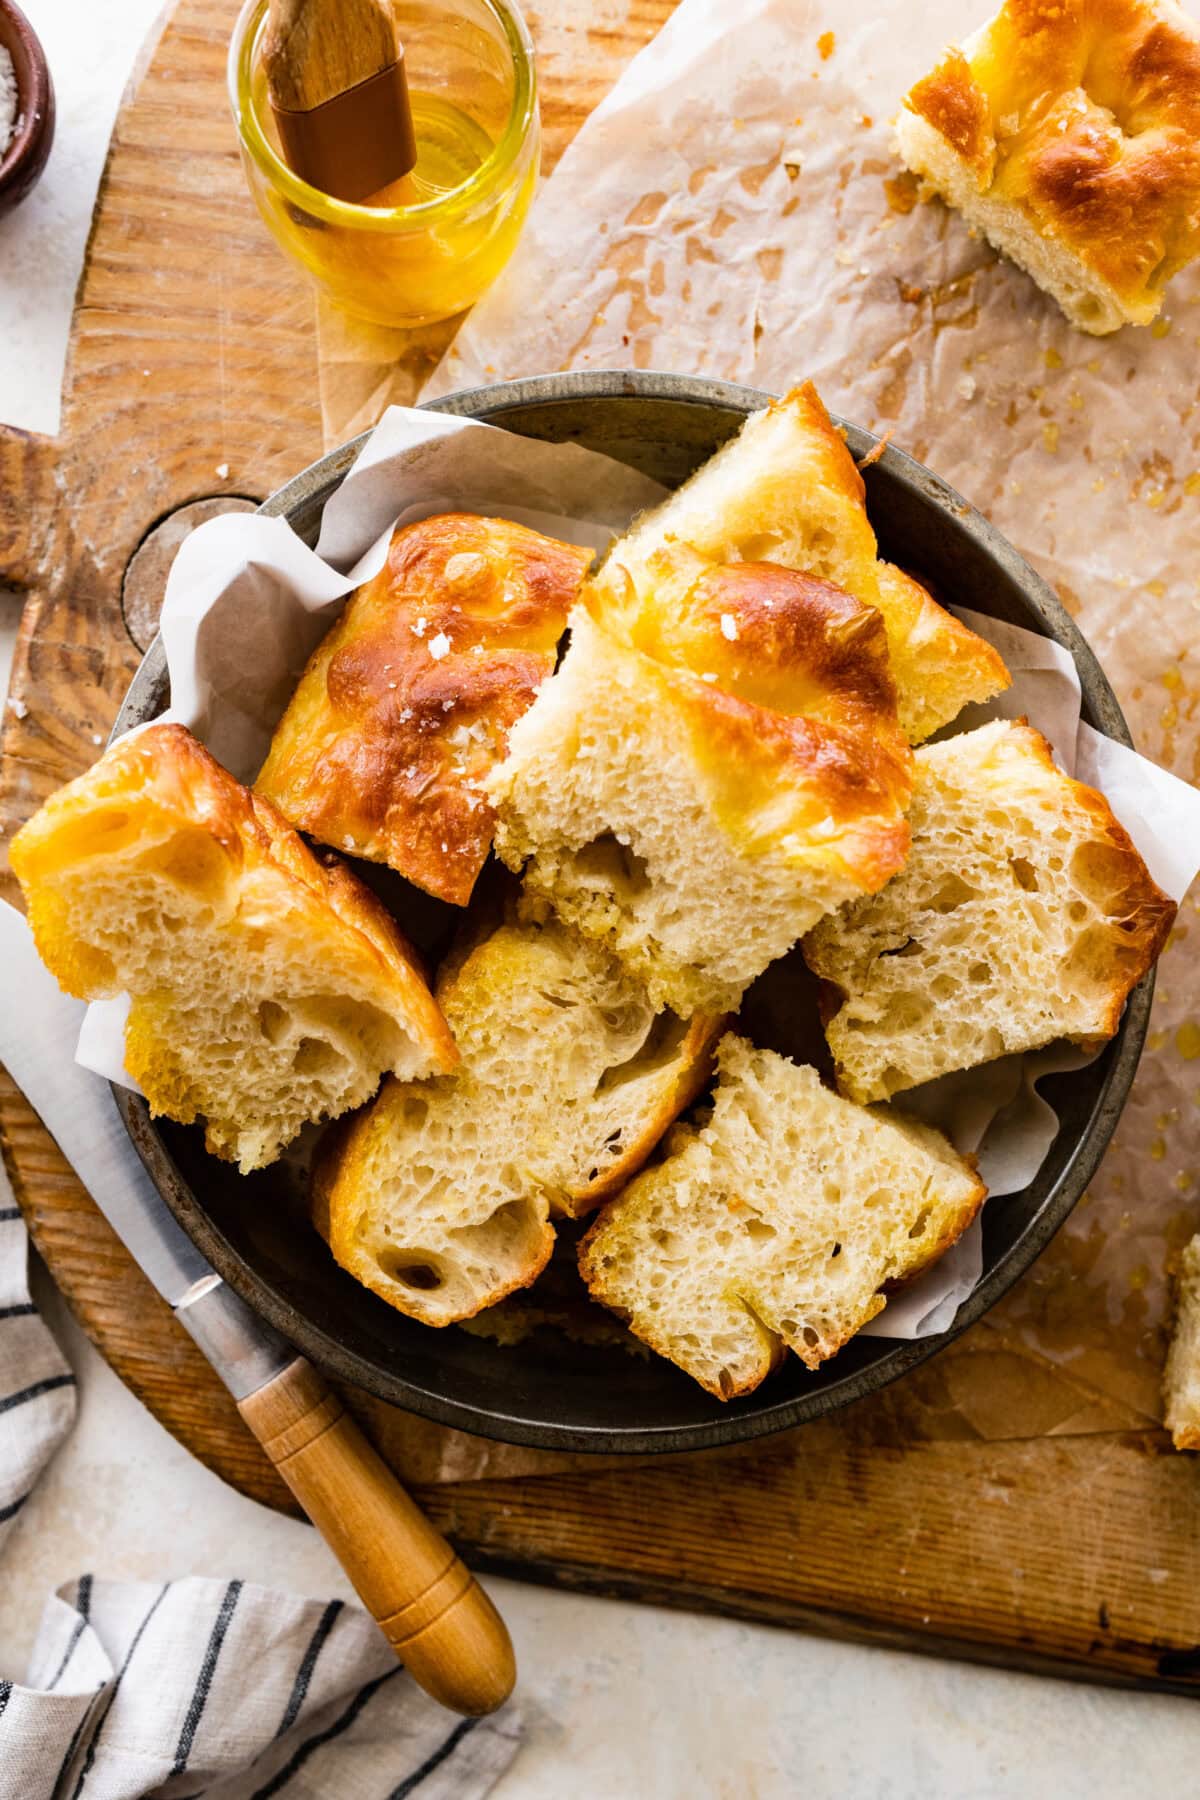
No-Knead Italian Focaccia Bread—Can you believe I am calling this recipe easy? If you’ve never made focaccia, this is the recipe to get you started! The steam created during baking gives rise to a soft interior with a slightly chewy crust that is simply divine. This is a recipe you will come back to time and time again!
Best Focaccia Recipe
“This was amazing- I have wanted to try making focaccia for years and felt so intimidated, but I made this recipe and had no problem following the directions. I am so happy I tried this and we will be making this often in my home.”
– DIANNA
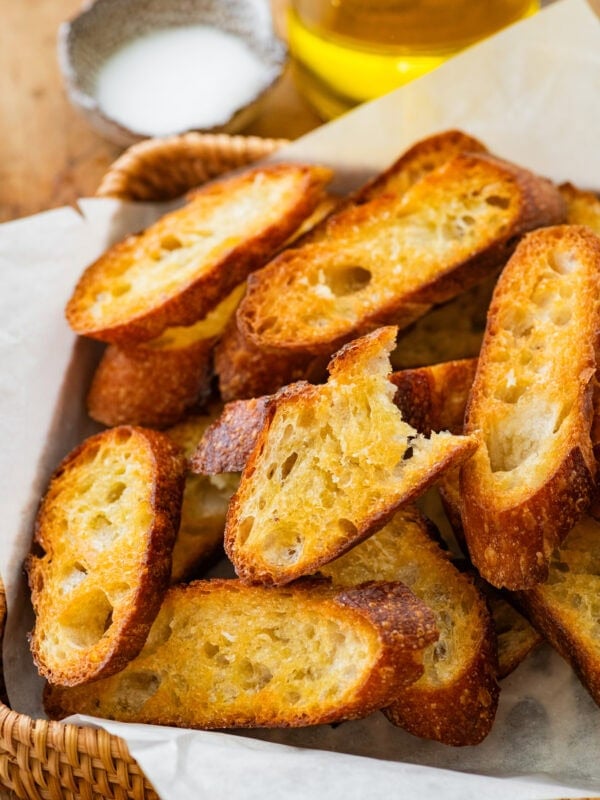
Try my Ciabatta Bread, Crusty Bread, Neaopletan pizza, and Pinsa Romana next!

Table of Contents
Simple Ingredients
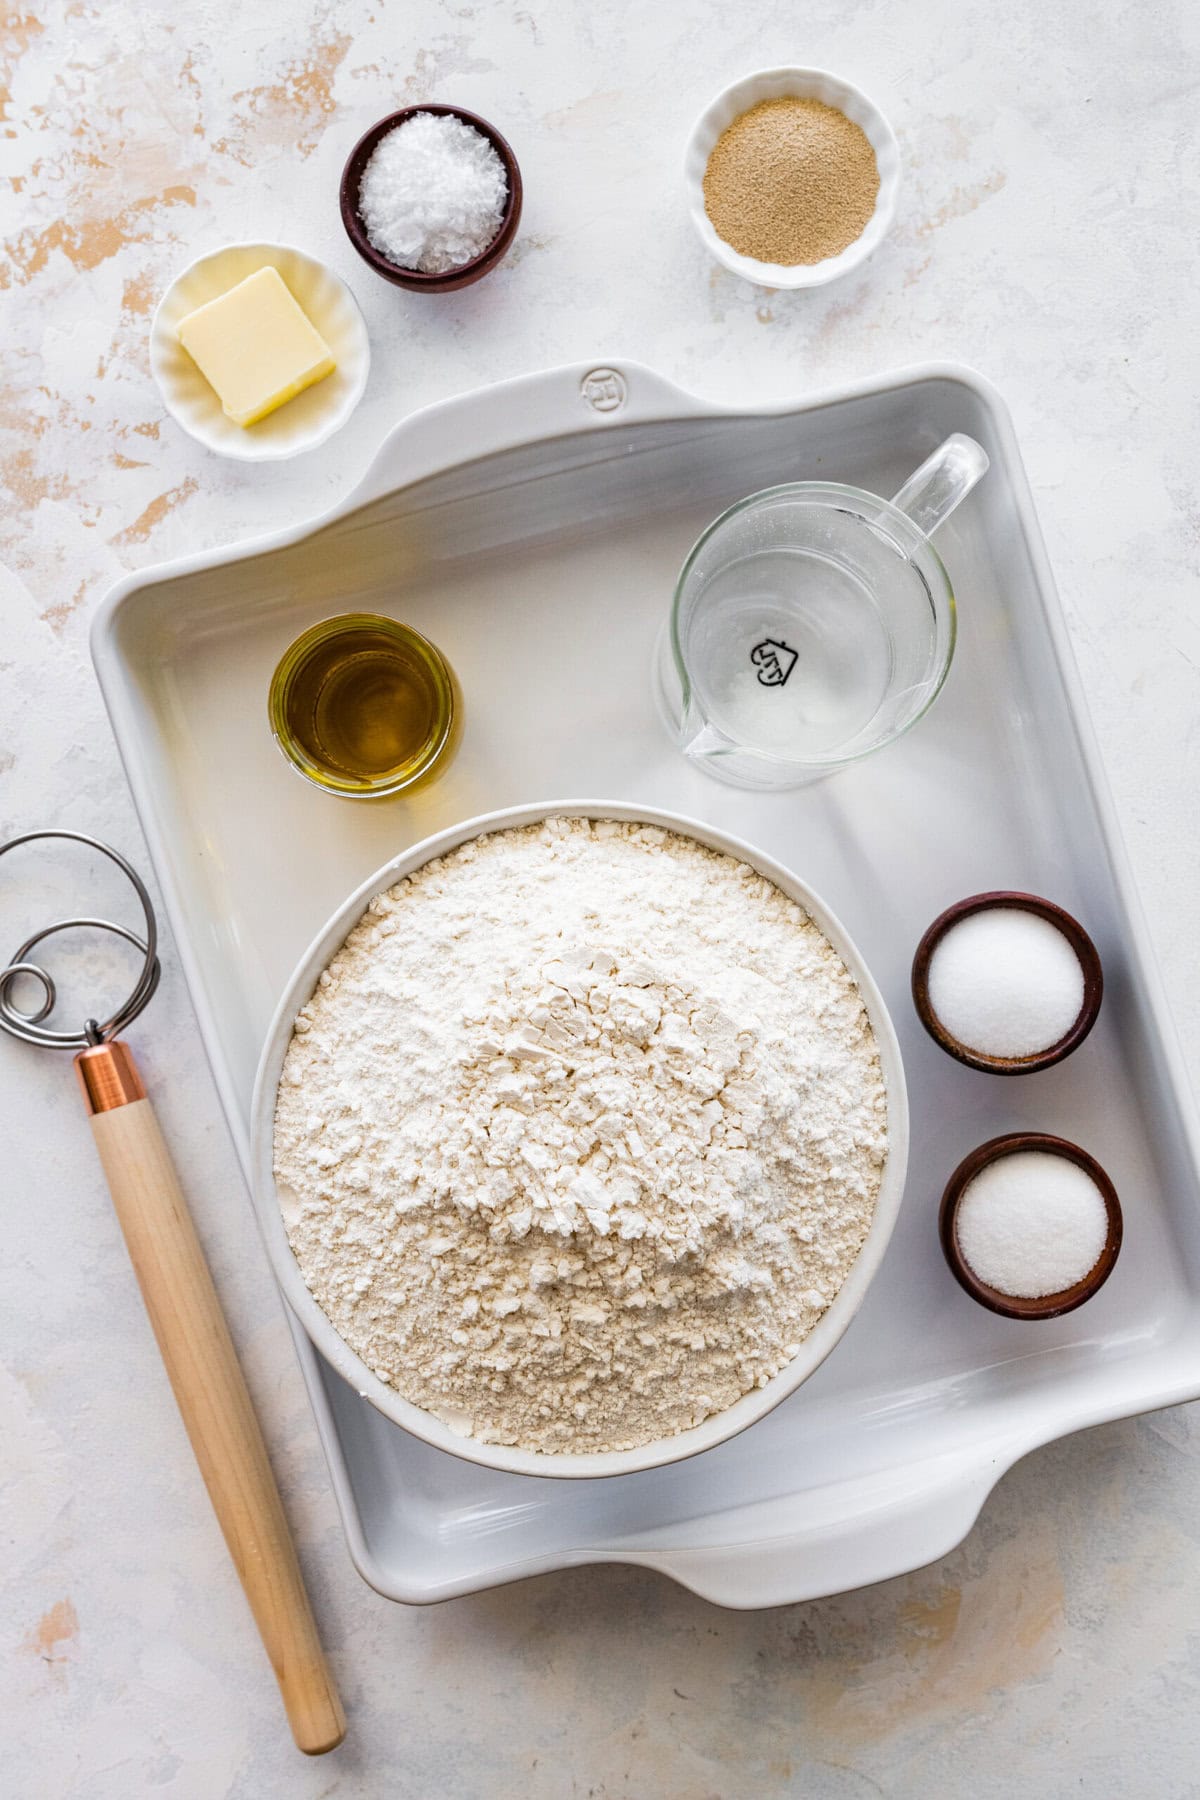
- Flour: Bread flour or all-purpose flour will work equally well for focaccia. You can also use Cup4Cup gluten free flour!
- Yeast: I prefer instant yeast, but active dry yeast works just as well. See the recipe box for instructions on how to use active dry yeast in place of instant.
- Salt: I say this all the time, but a big part of making a good loaf of bread comes down simply to using the right amount of salt given the amount of flour you are using by weight.
- Flake Salt: used to top the focaccia and give it a nice salty crust.
- Water: This dough has a very high hydration level because it contains a lot of water. The water helps produce a light, airy, pillowy dough.
- Good Olive oil: Olive oil, both in the bottom of the pan and on top of the dough, is essential for encouraging nice browning, flavor, and that traditional oiliness we all love about focaccia.
See the recipe card at the bottom of the post for exact measurements.
How To Make Focaccia Bread
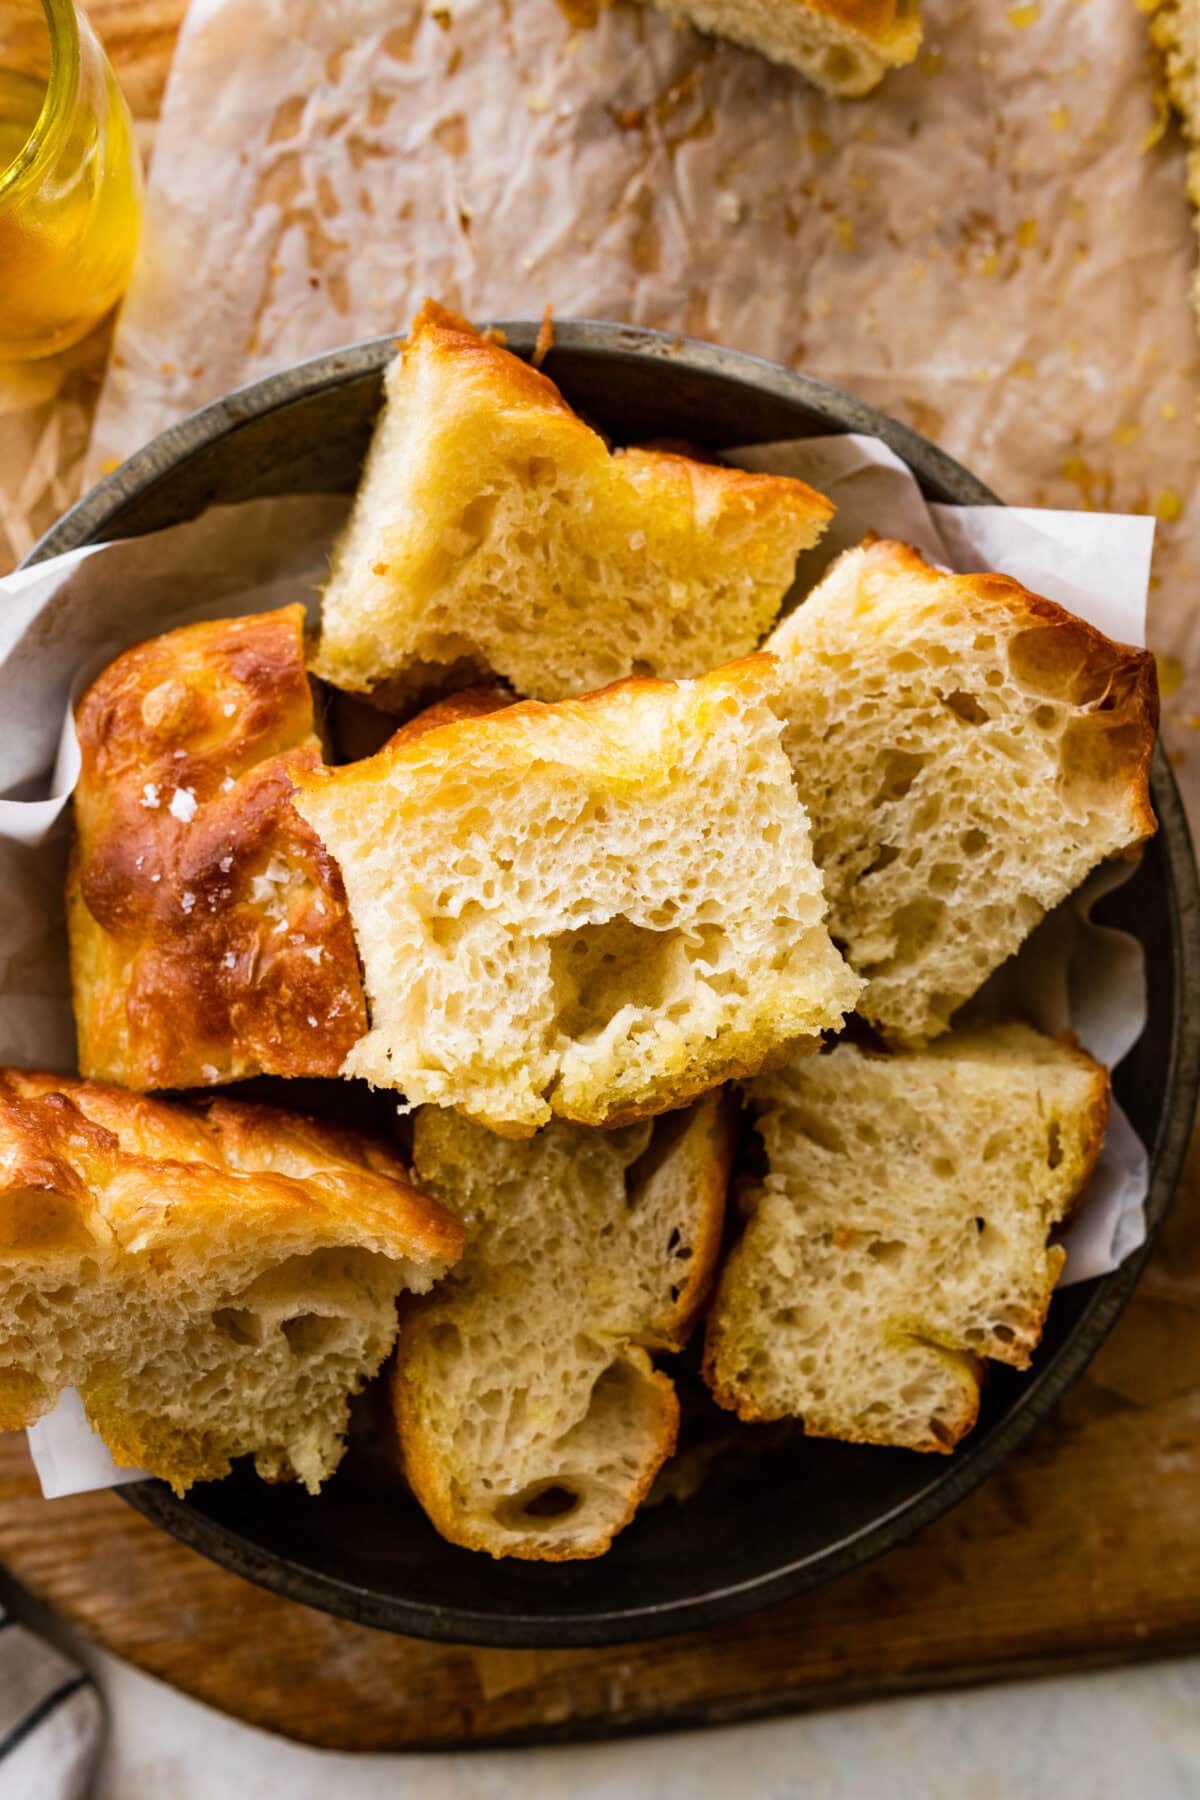
The beauty of no-knead focaccia lies in its simplicity. Without extensive kneading, the dough relies on a long, slow fermentation process. This develops a complex flavor and creates a wonderfully porous, light texture. It’s a perfect recipe for beginners and seasoned bakers alike. See the recipe at the bottom for complete instructions.


Add the yeast to the warm water.
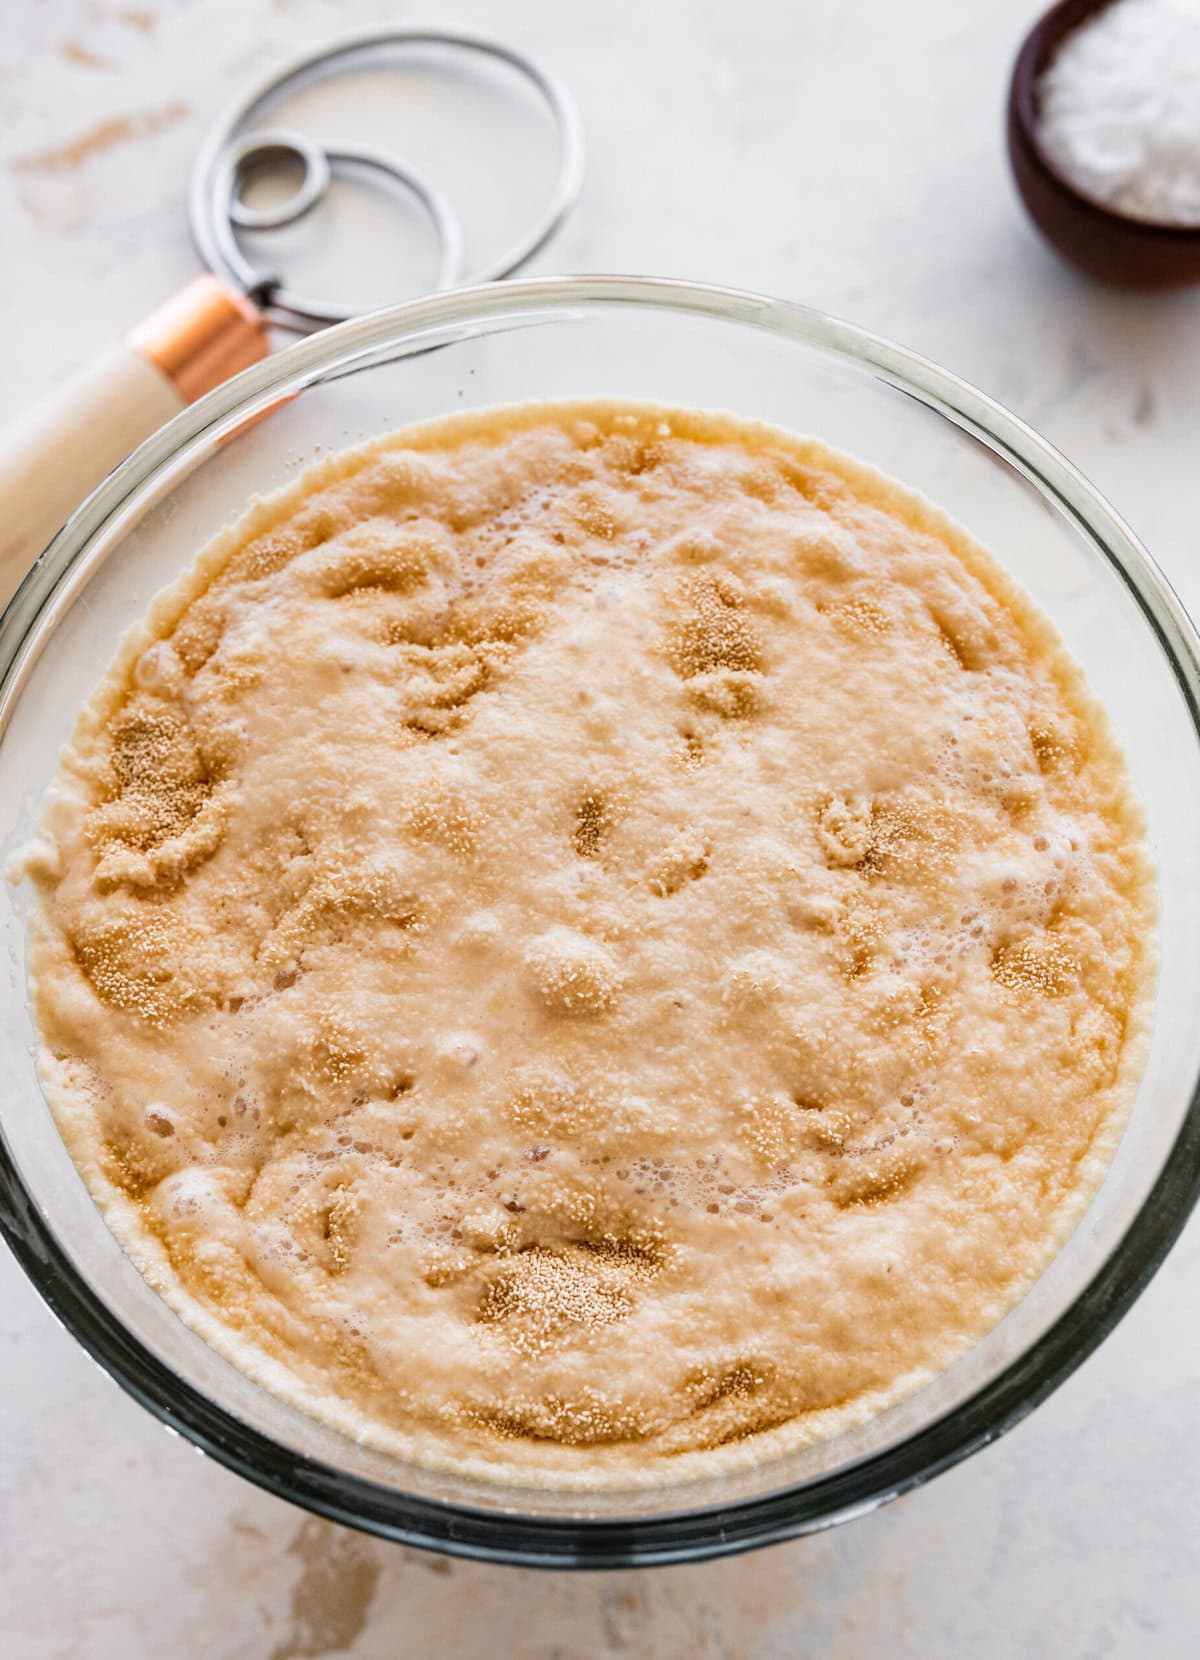
After the water, yeast, and sugar rest it should get nice and bubbly.
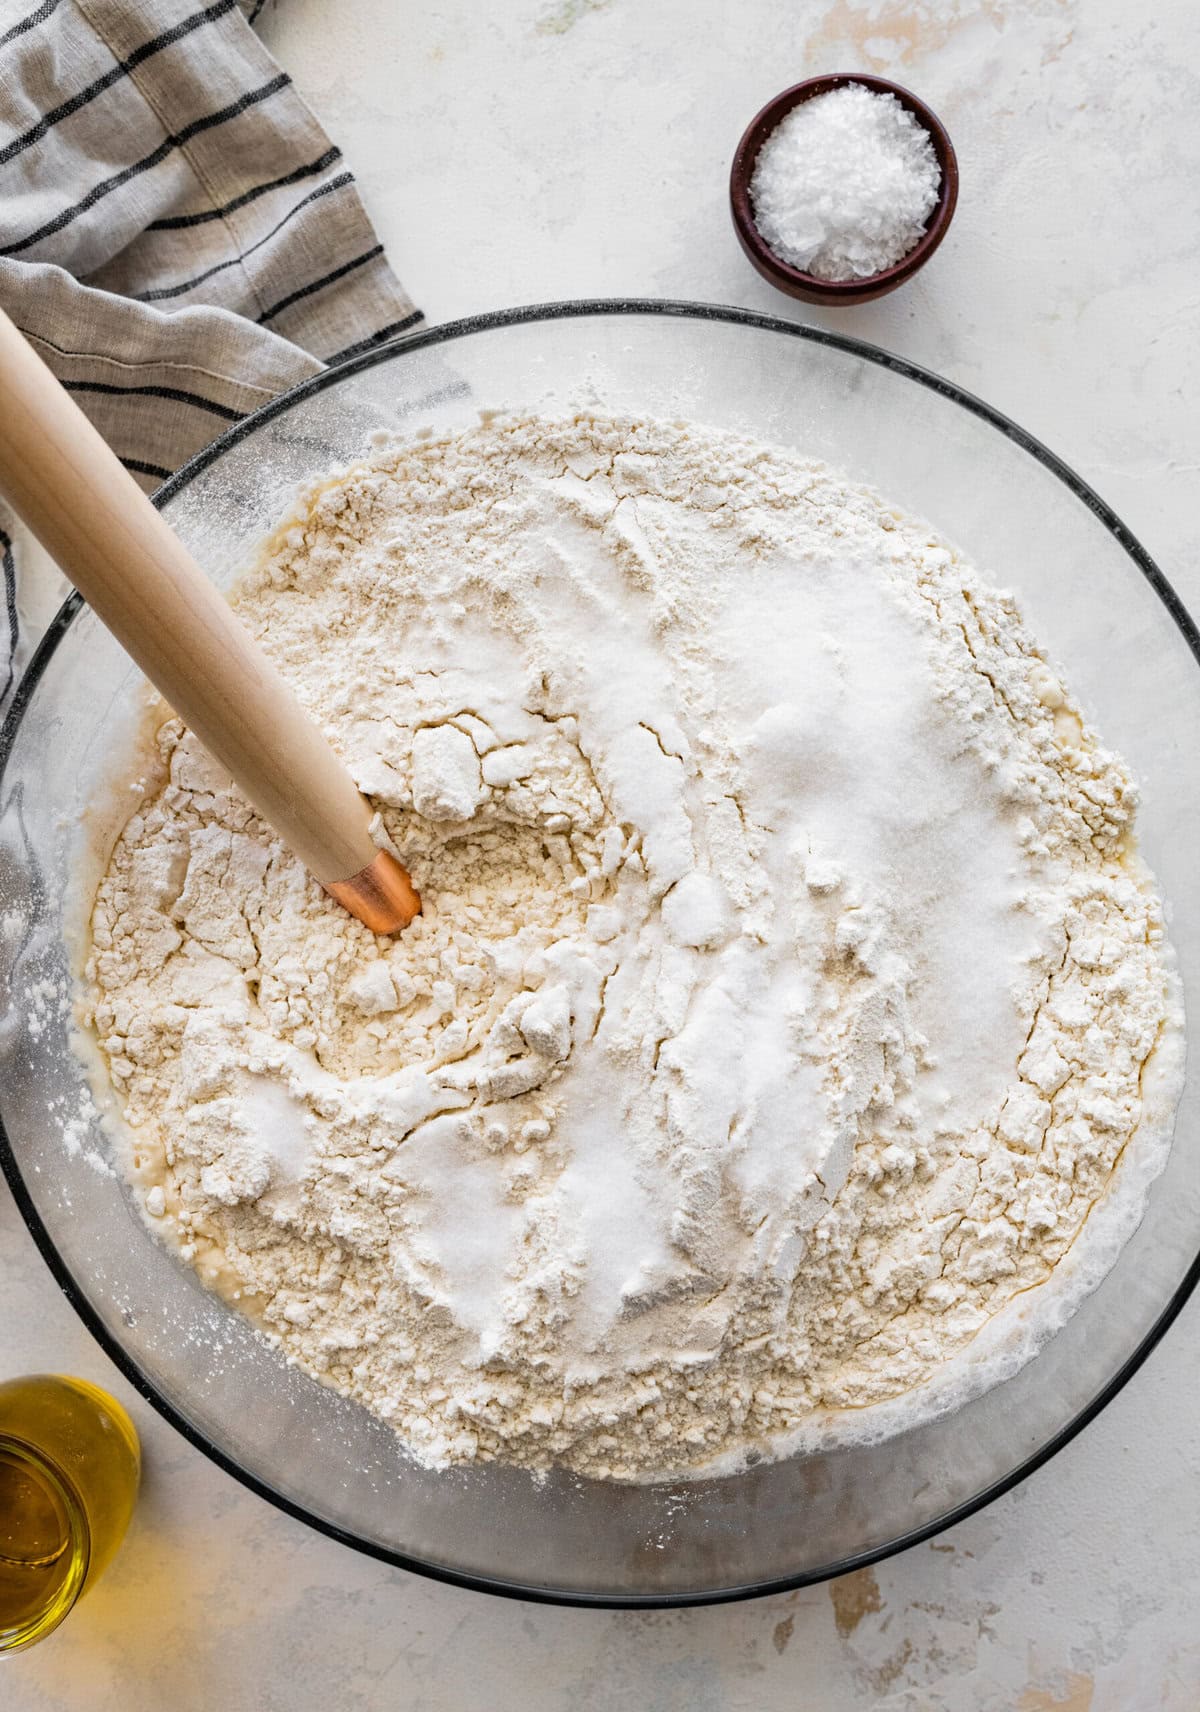
Add the flour.
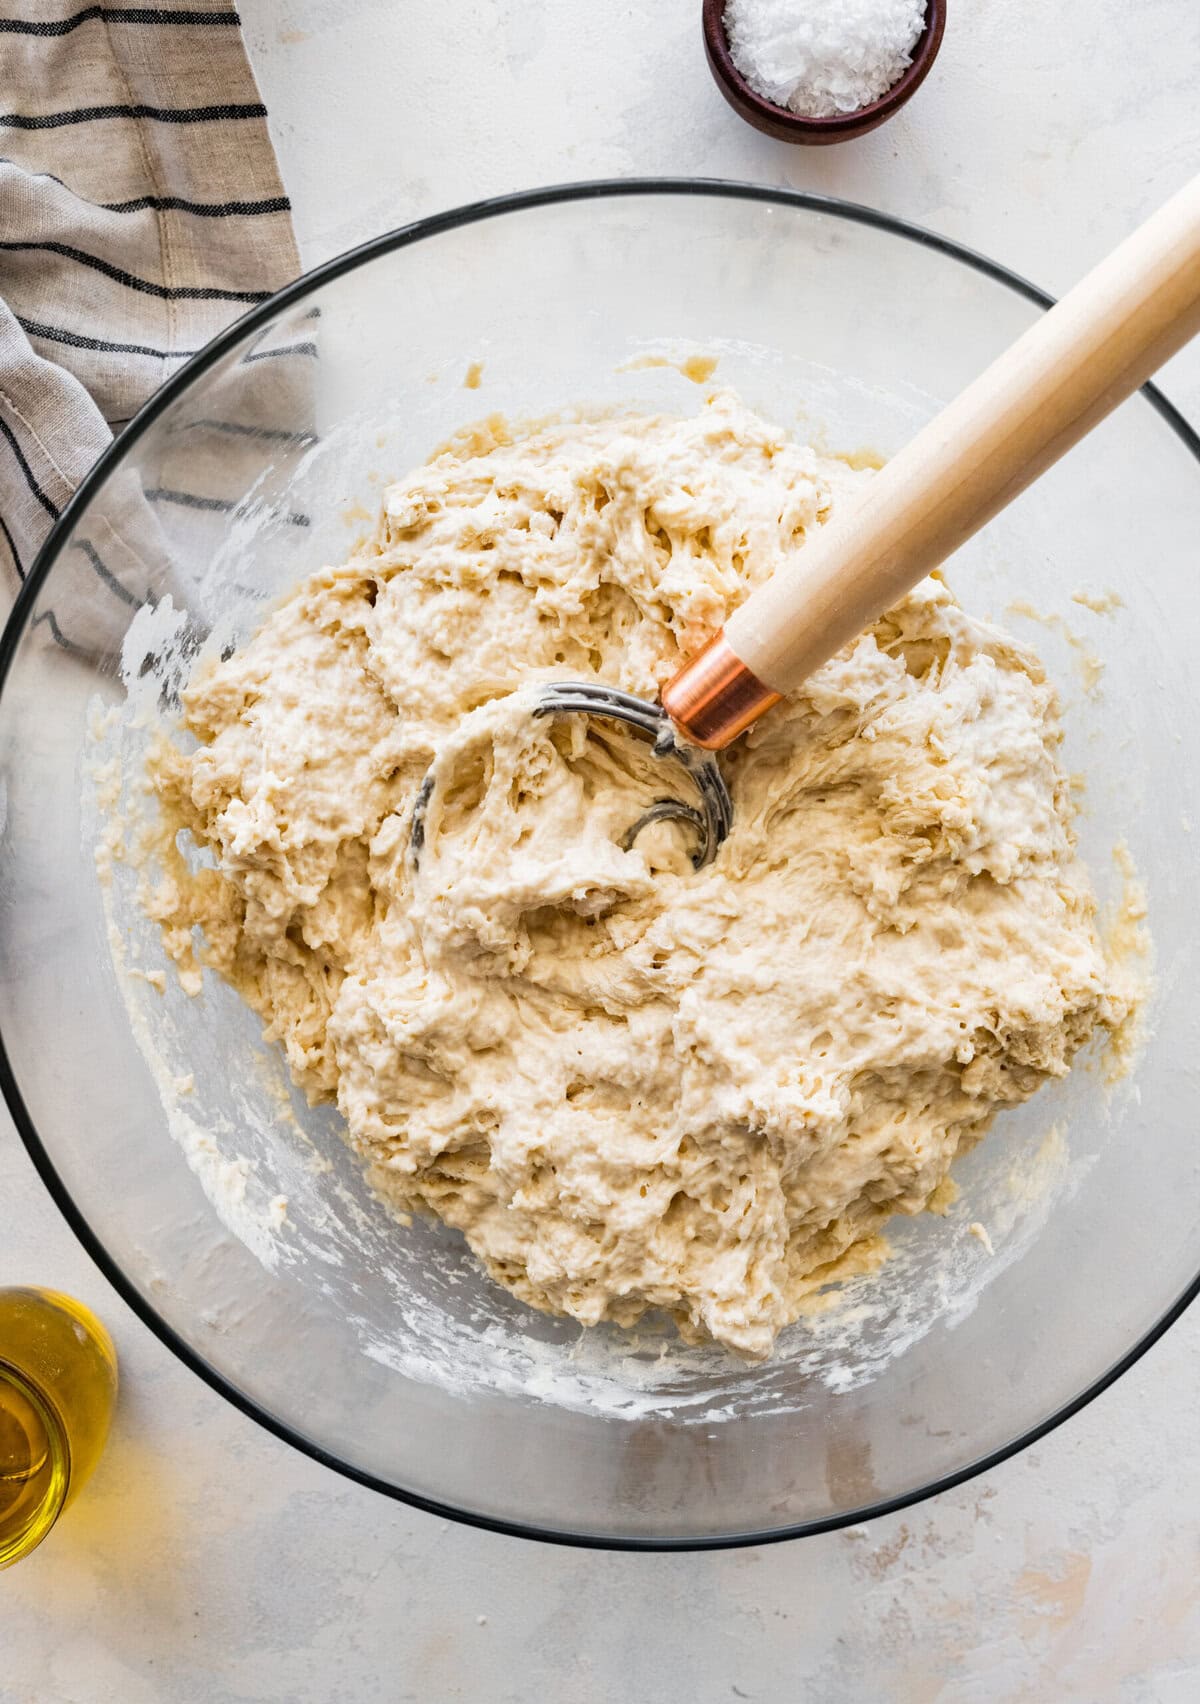
Mix until a shaggy dough forms.
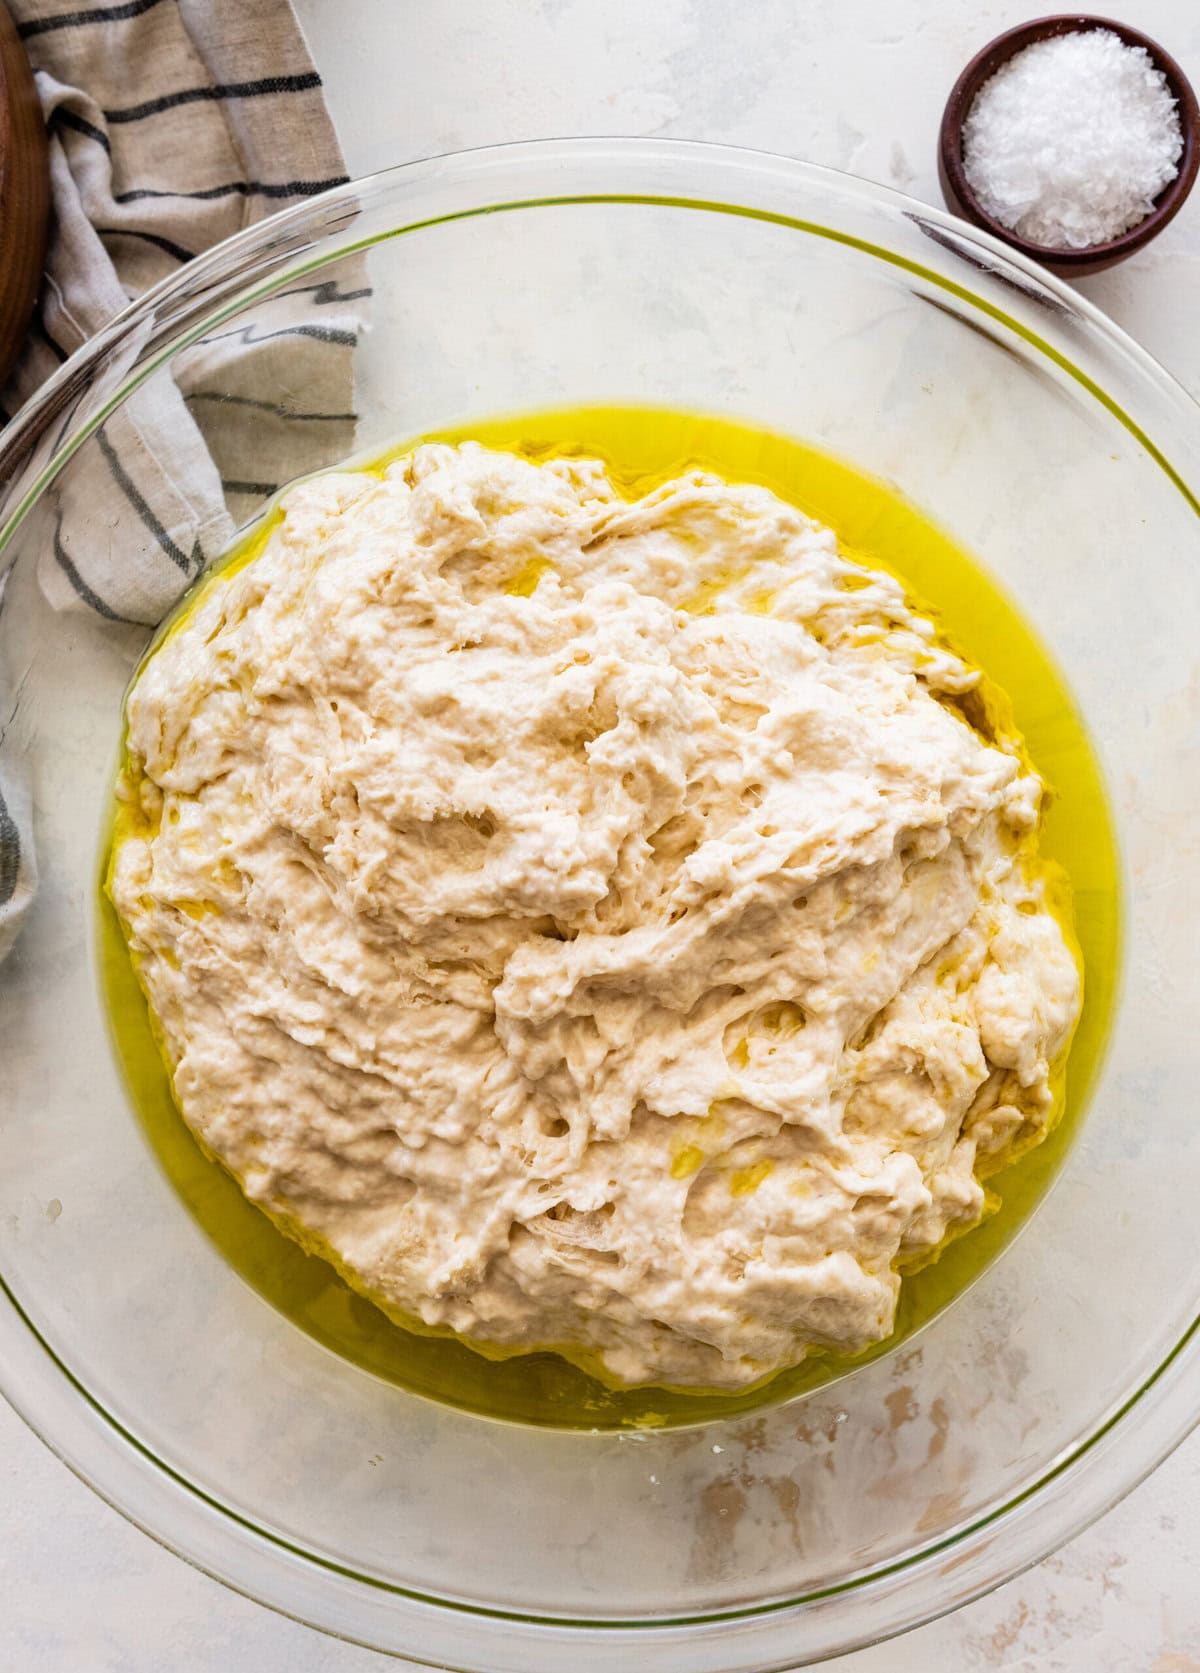
Add the shaggy dough to an oiled large bowl. Fold over a few times.
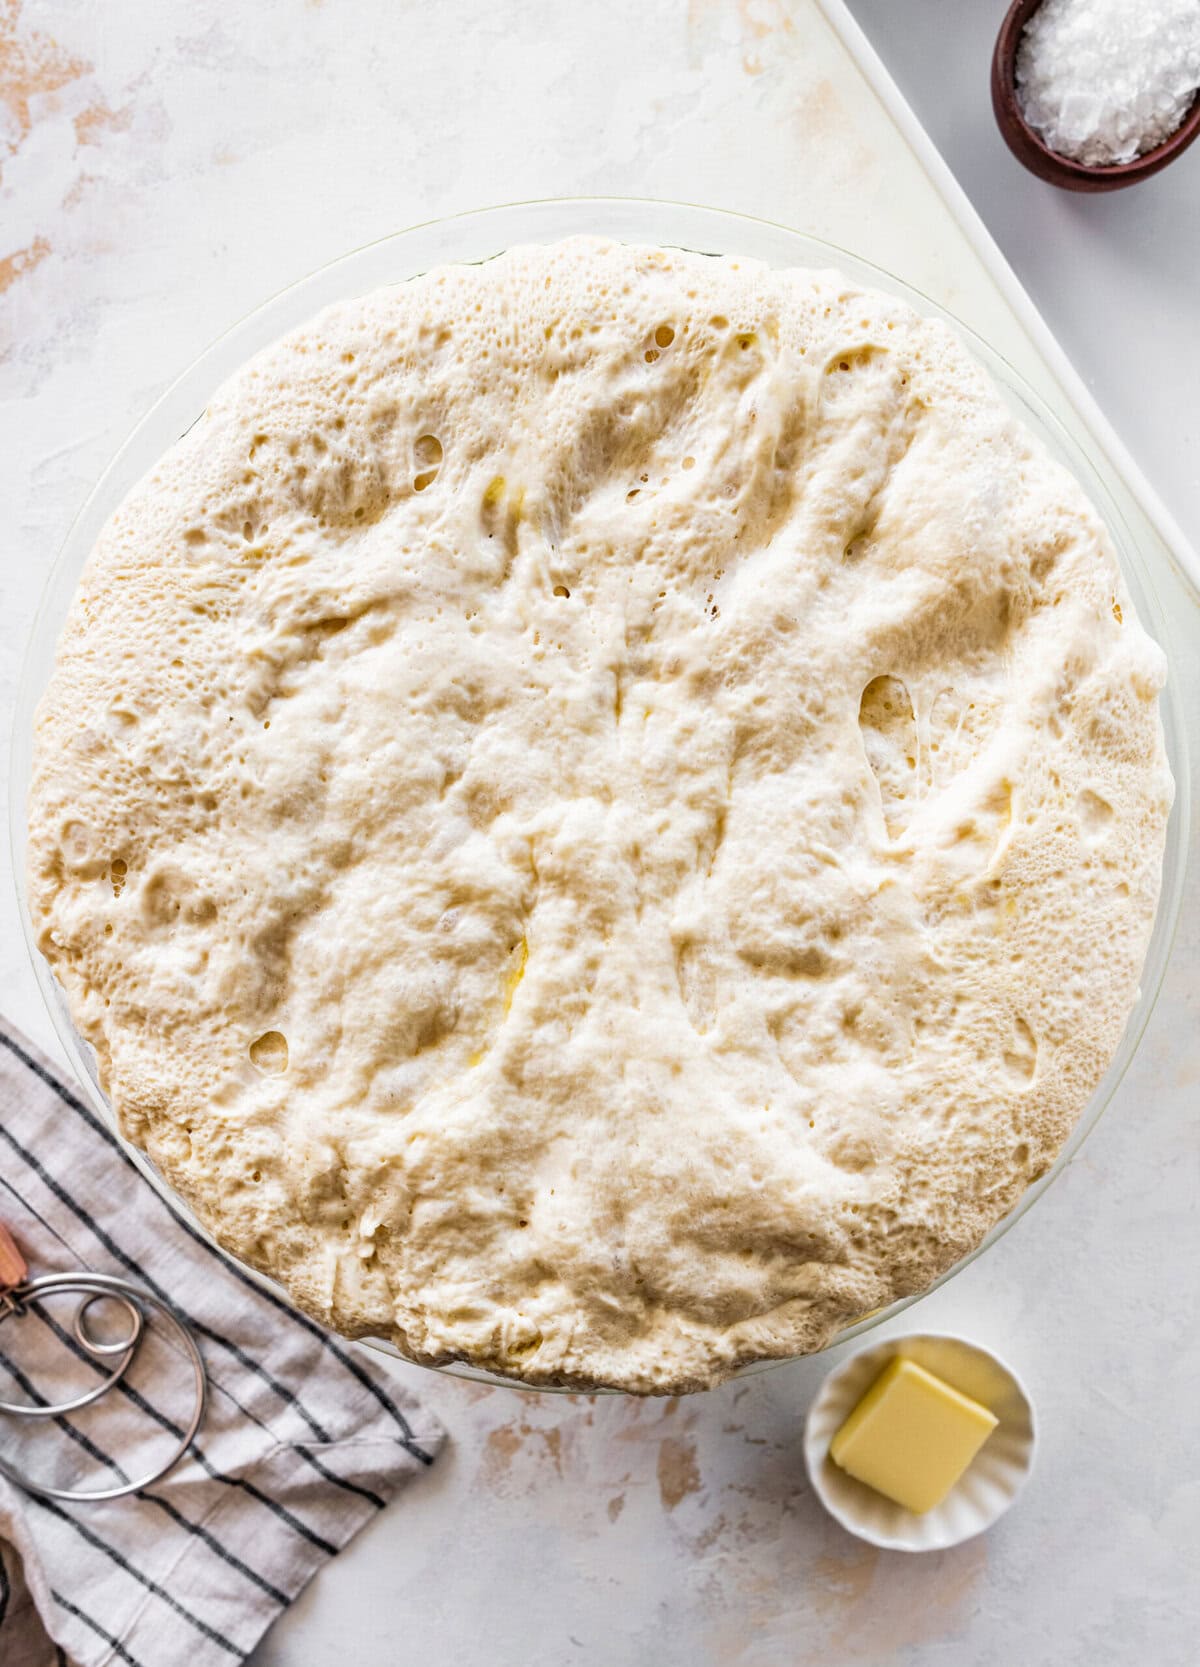
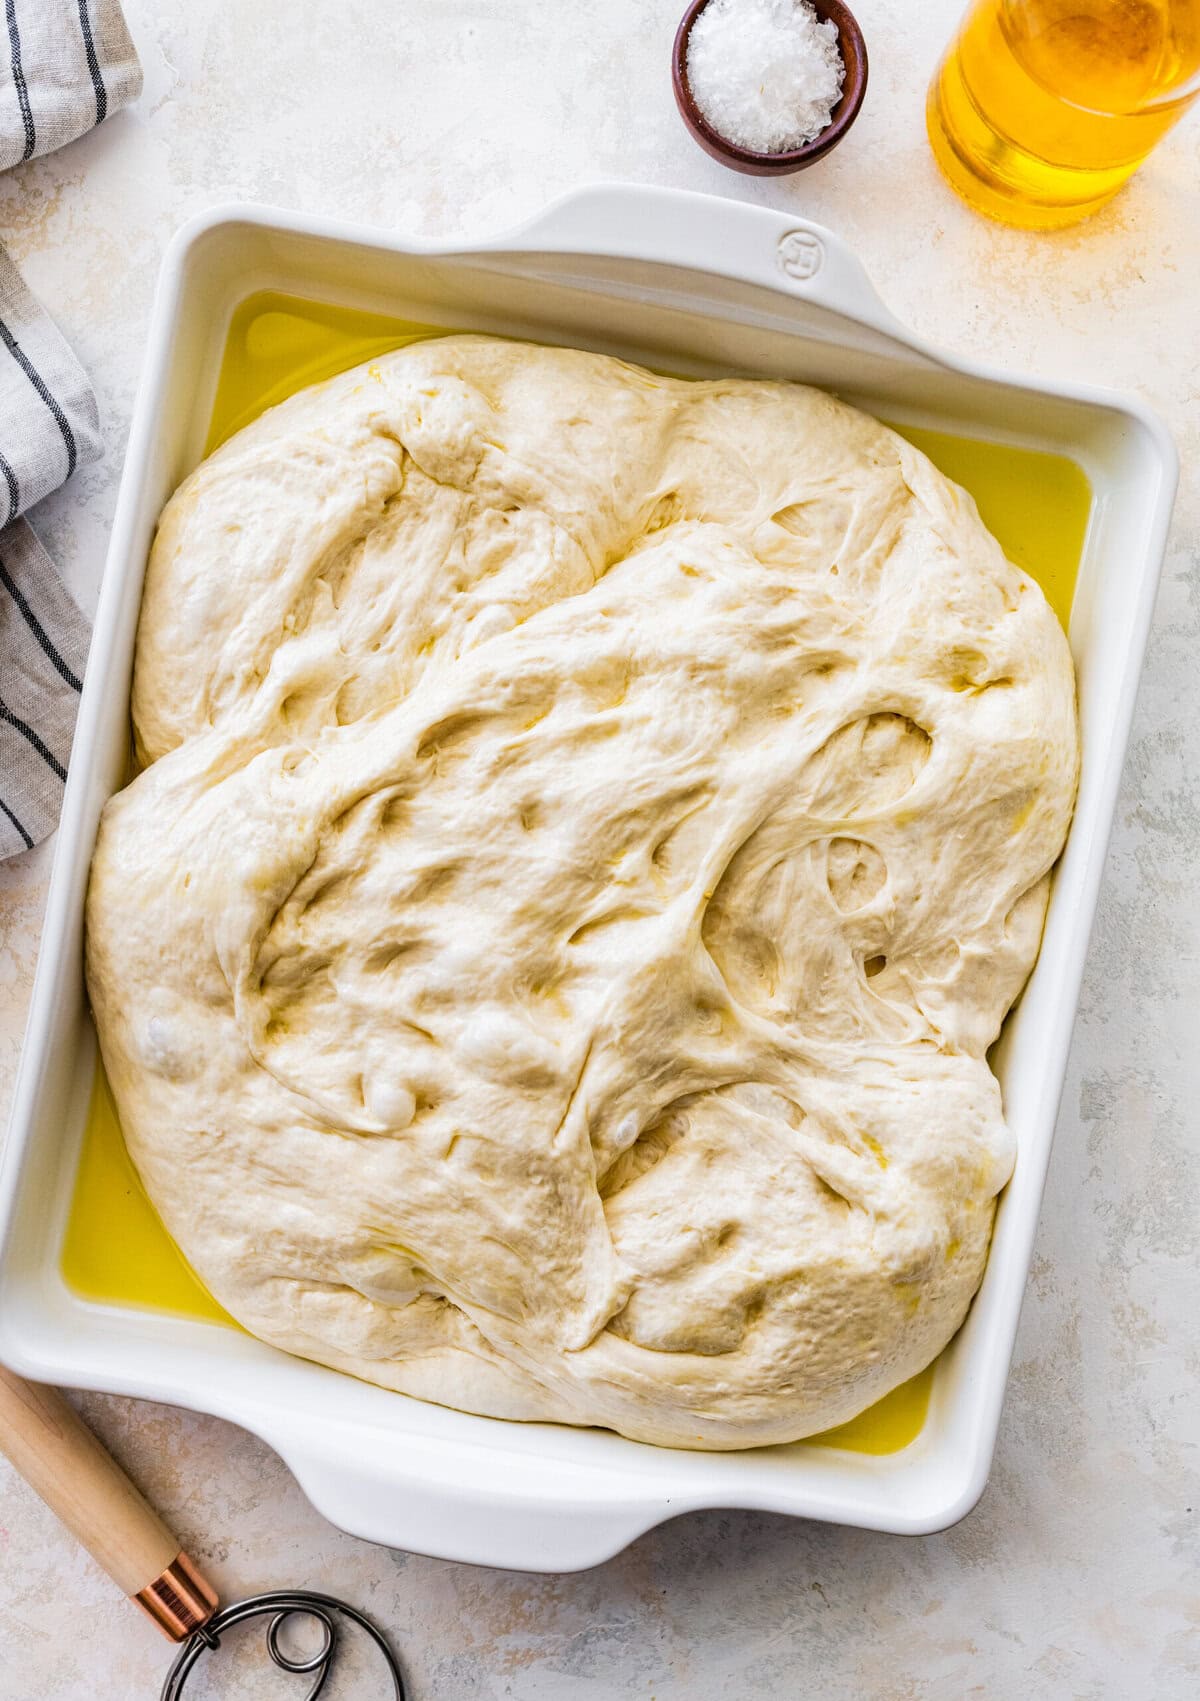
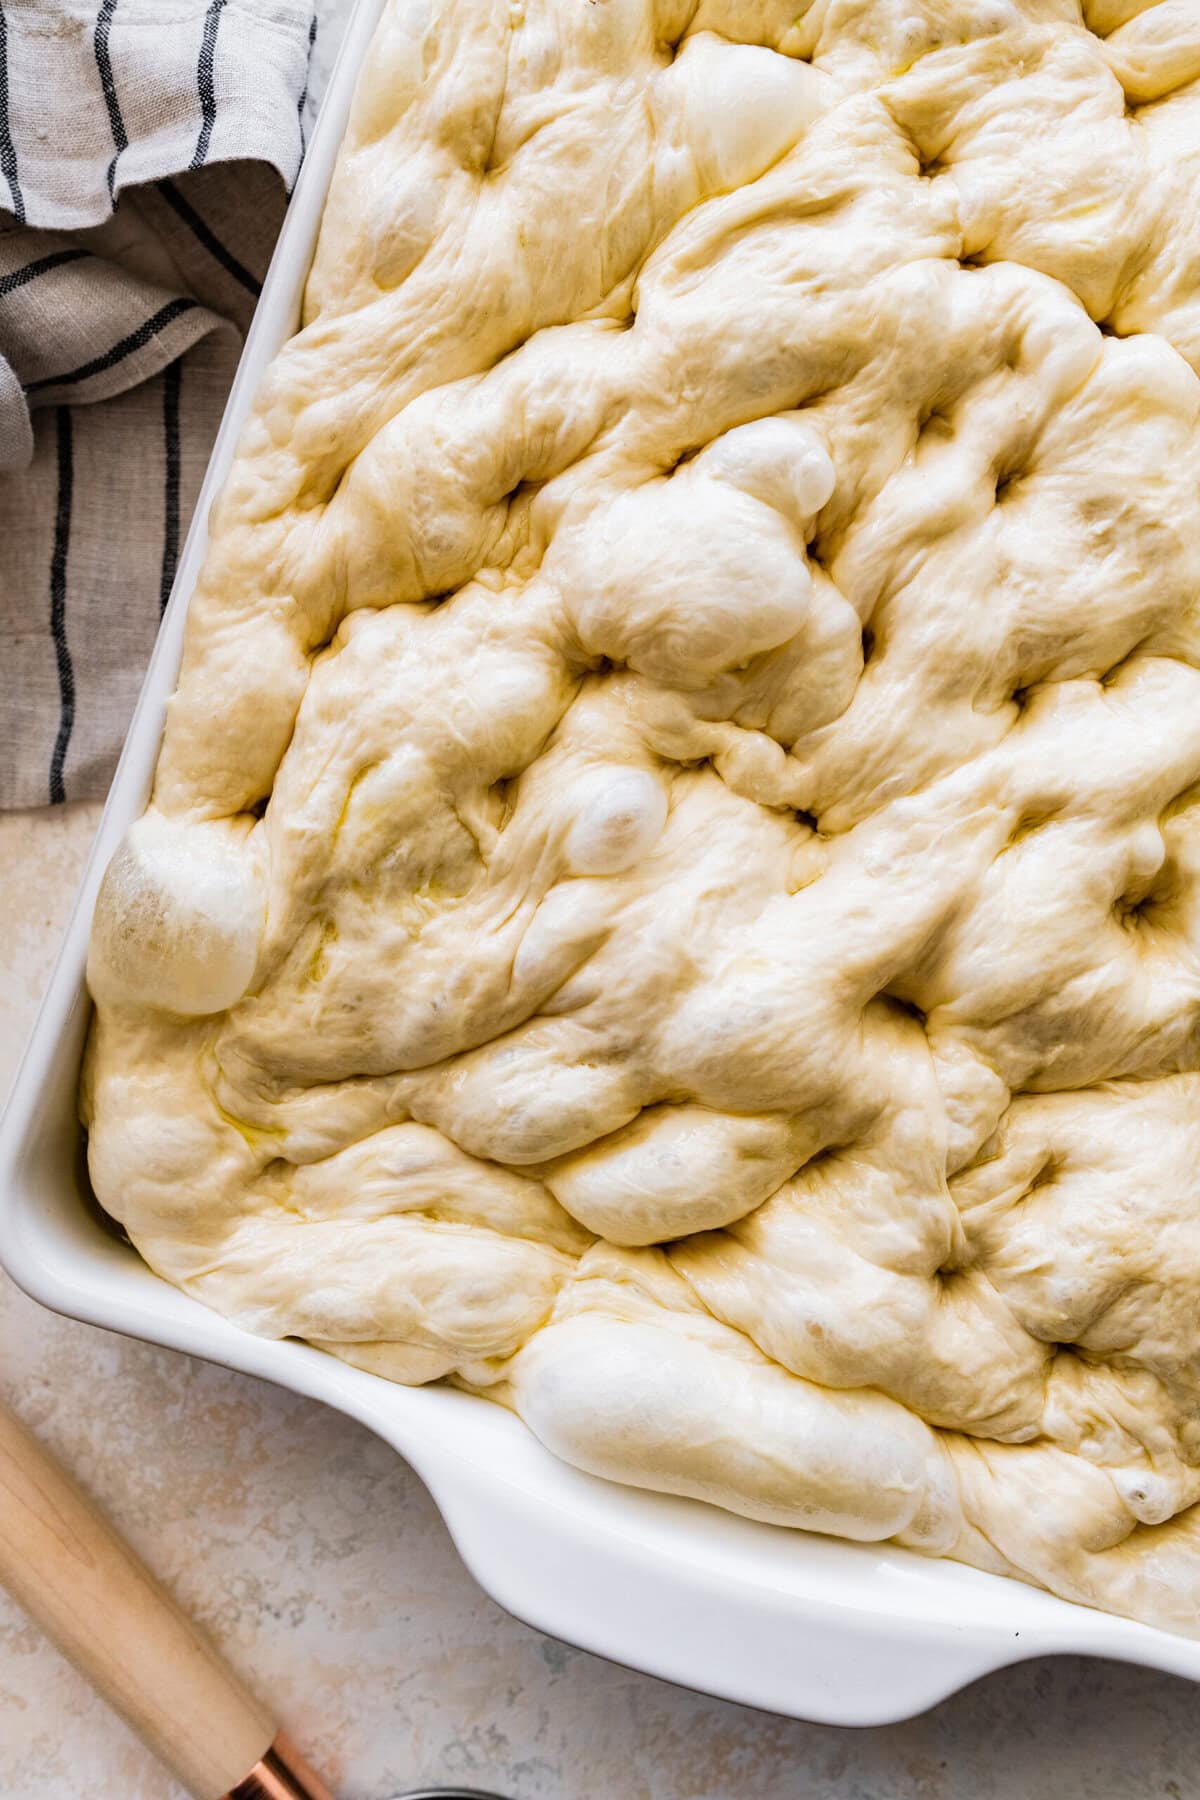
Let the dough proof in the fridge overnight (see recipe card for quick-rise version). Then, place it in a baking tray or baking pan and let it rise again.
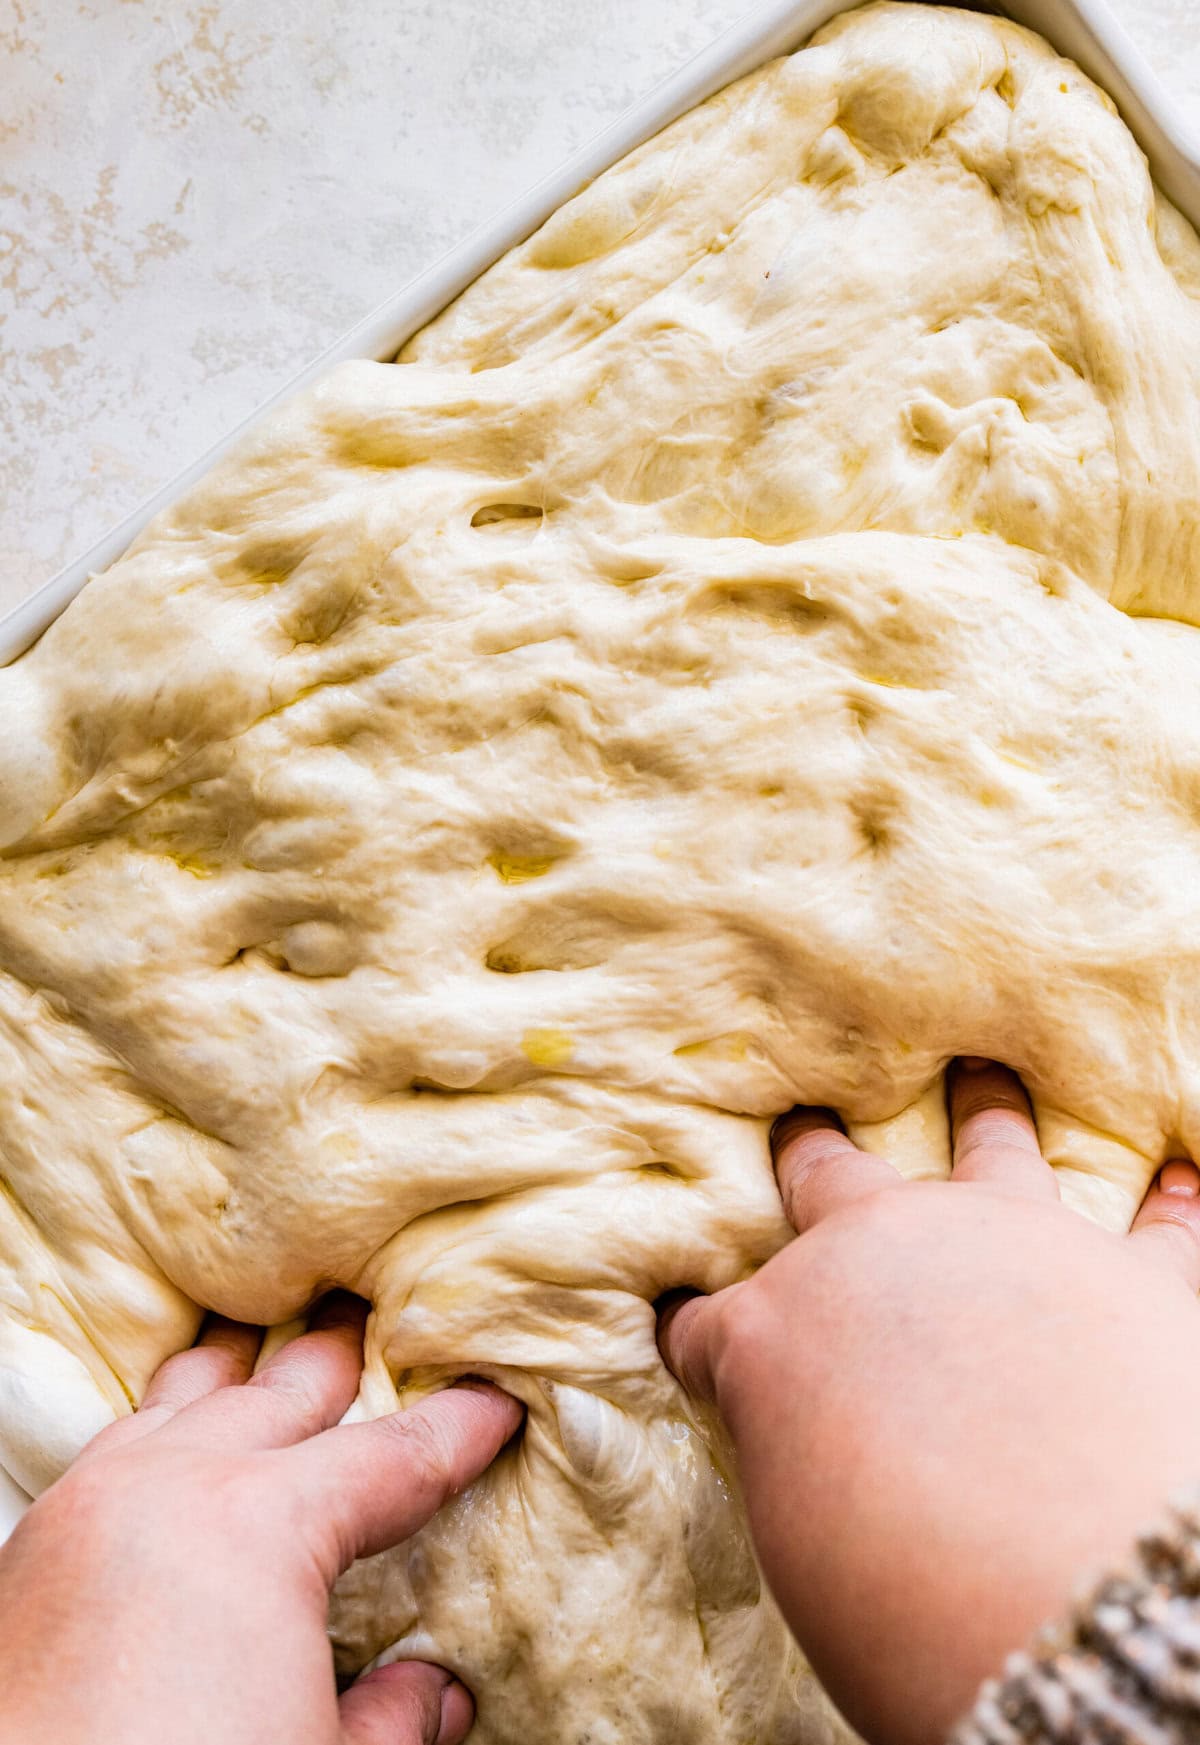
After the second rise, dimple with your fingers, then let it rise one last time!
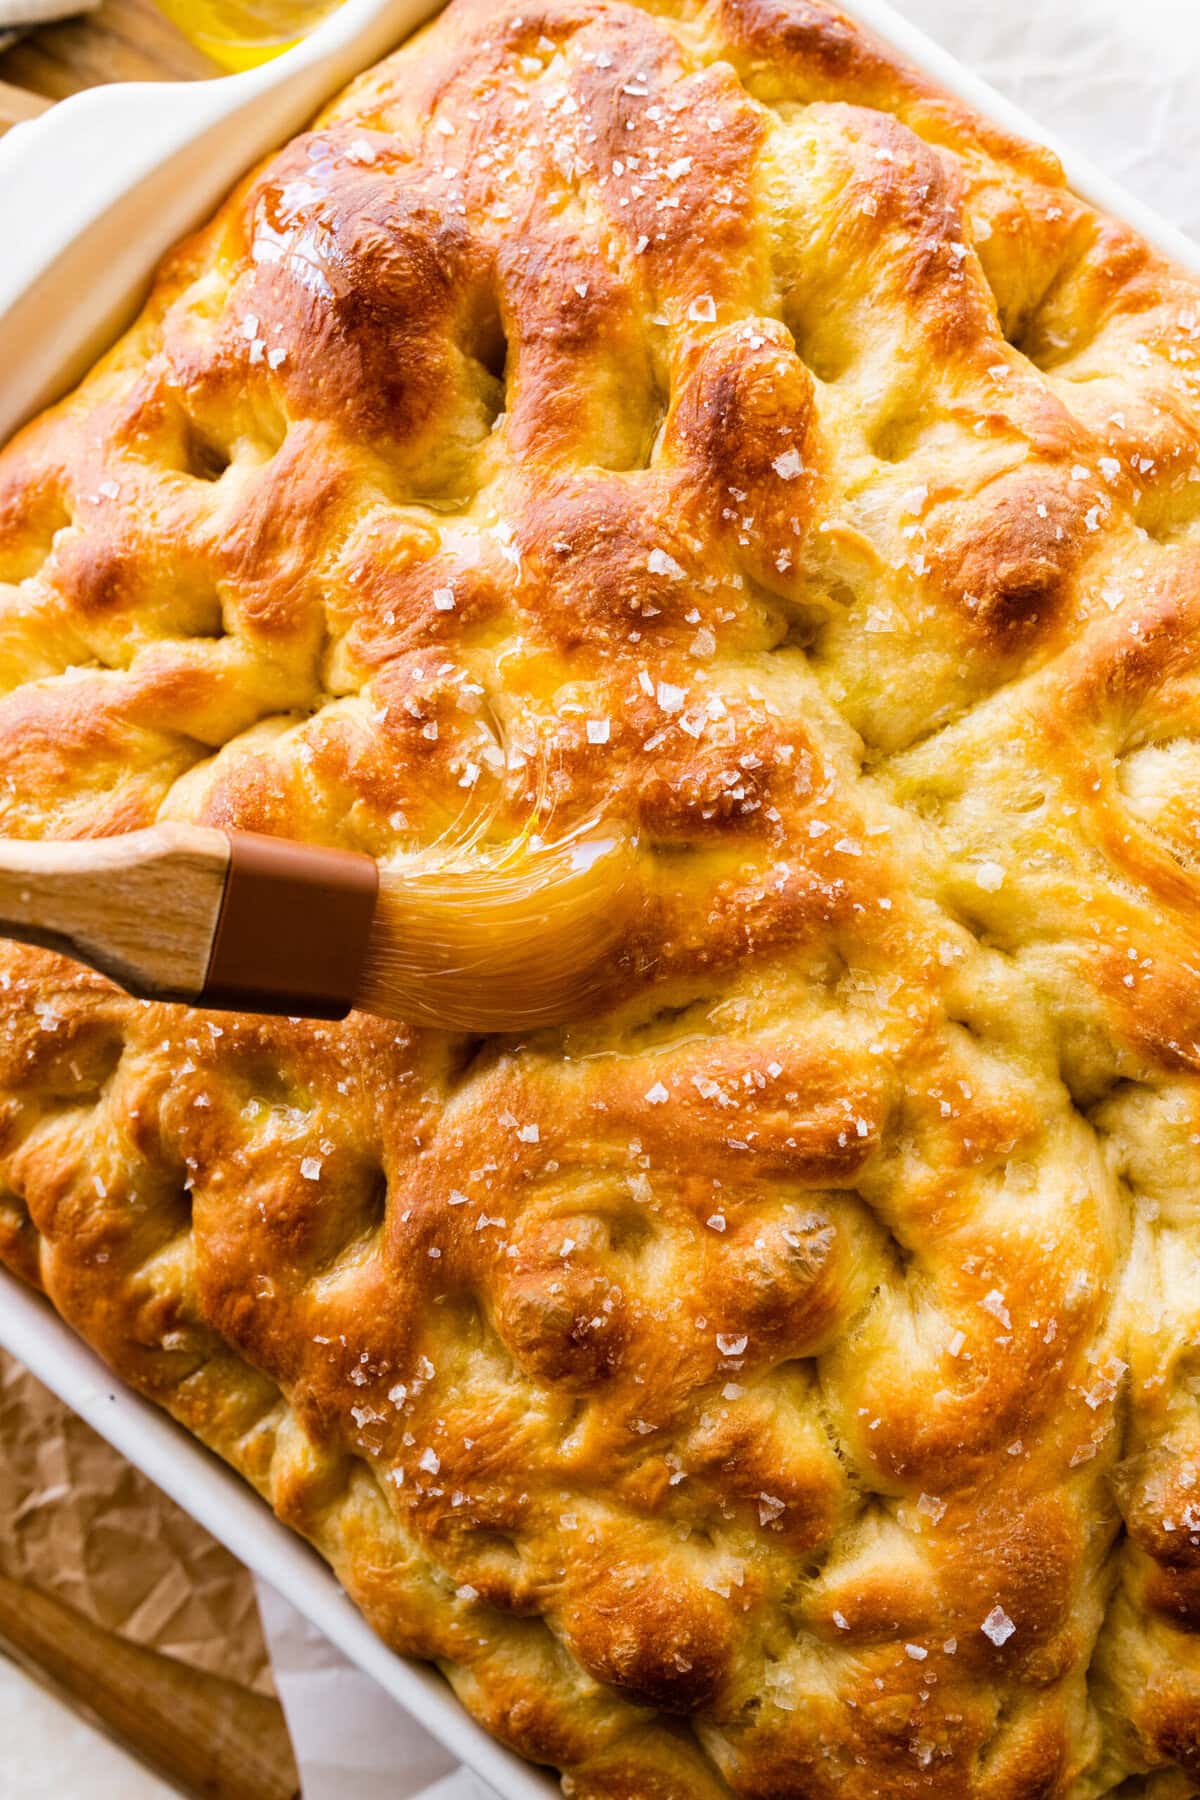
Bake in the preheated oven and enjoy the best Italian focaccia bread!
Topping Variations
This no-knead focaccia bread recipe is a great canvas for many toppings. Miz and match, or keep it simple!
- Classic Fresh Rosemary & Sea Salt – Always a favorite
- Caramelized Onions & Thyme – Sweet and savory
- Olives & Oregano – Mediterranean flavor bomb
- Garlic & Parmesan – Bold and cheesy
- Za’atar & Olive Oil – Earthy and aromatic
- Roasted Peppers & Goat Cheese – Creamy with a kick
Here are other variations you will love as well: Tomato focaccia, Apple, Brie, and Herb Focaccia Bread, Bread Pudding, Sweet Focaccia with Raspberries and Balsamic.
FAQ’s
Focaccia (Italian pronunciation: foh-kah-chuh) is an olive oil-rich Italian bread that resembles a sponge or a springy mattress. The surface of the dough is coated in olive oil and salt. It is a high hydration dough that creates its signature air bubbles.
Yes, you can! From start to finish, you can make it in about three hours. The finished bread will not be as pillowy, but it will still be light, airy, and delicious.
To skip the long rise (12 hours and up to 48 hours), simply let the mixed dough rise at room temperature until doubled, about 2 hours. Then proceed with the recipe, knowing the second rise will only take about 30 minutes.
To prevent your no-knead focaccia from sticking, generously oil your baking pan and your hands with good-quality olive oil before handling the dough. Additionally, you can use parchment paper or butter on the bottom of the pan to ensure that the bread is released easily after baking. These steps help create a non-stick surface and contribute to the deliciously crispy crust of the focaccia.
The high hydration in focaccia dough makes it quite sticky and loose. This is normal! The wetter dough contributes to the light, airy texture of the bread. Just use a lot of olive oil on your hands and the pan to prevent sticking.
Dimpling the dough before baking isn’t just for aesthetics; it helps to prevent the dough from rising too much and becoming too fluffy. It also allows the olive oil and toppings to pool into the indentations, adding more flavor throughout the bread.
You’ll know the focaccia is ready to bake when it has visibly puffed up and filled the pan, and the surface is dotted with bubbly indentations. If you’ve let it rise in a cool place, it may take longer, but it should look airy and more than doubled in size.
Focaccia is sometimes thick (as seen in all of these photos) or sometimes very thin, depending on your preference and style. I prefer thicker focaccia, so I make it in a classic 13X9 glass baking dish with a height of 2 inches.
If you like a thinner focaccia, you can follow the same recipe and use a Cookie sheet with a height of 0.75 inches. Either way, you like it- focaccia has the best texture!
Storage
Store at room temperature, covered with plastic wrap, for 2 days. Reheat in a 375-degree oven for 10 minutes.
To freeze focaccia, cut it into pieces, wrap each piece in plastic wrap, place it in a resealable plastic freezer bag, and freeze for up to 1 month.
More Recipes
What To Serve With This Recipe
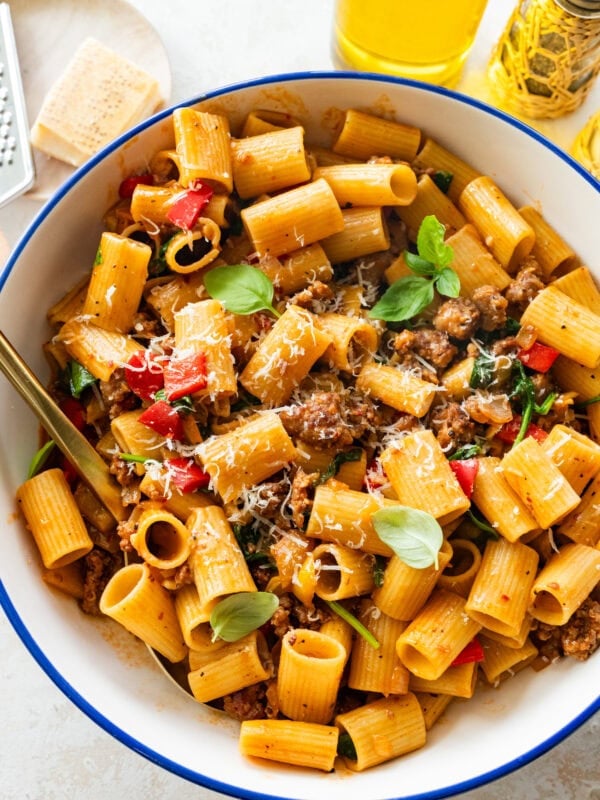
Serve this delicious focaccia bread with this Italian Sauteed Eggplant and Tomatoes Recipe, Orzo Pasta with Vegetables, Copycat Panera Squash Soup, Italian Chopped Salad, or Spaghetti alla Nerano Recipe. Use this to make our favorite porchetta sandwich or Mortadella Sandwich!
You can also serve it with white bean dip! And for a sweet twist, try pairing it with Italian pistachio cream.
💙 MADE THIS RECIPE AND LOVED IT? 💙 Please leave a ⭐️STAR rating and COMMENT below- I love connecting with you! Tag me with your creations on Instagram and find me on Pinterest.
Focaccia Bread Recipe (No Knead)

Ingredients
- 1 ¼-ounce envelope. active dry yeast, about 2 ¼ tsp.
- 2 ½ cups lukewarm water (98 and 105 degrees Fahrenheit, 36.5 to 40.5 Celsius), 590 ml
- 1 tablespoon granulated sugar
- 5 cups all-purpose flour or 00 flour, 625 g
- 1 tablespoon kosher salt
- 6 tablespoons good quality extra-virgin olive oil, divided, plus more for hands
- 1 tablespoon unsalted butter, for greasing pan
- Flaky sea salt, such a Maldons
Instructions
- Place 2½ cups lukewarm water in a medium/large mixing bowl. Add the yeast and sugar. Stir slightly but do not mix. Let sit 5-10 minutes (it should foam or at least get creamy; if it doesn’t your yeast is dead and you should start again—check the expiration date!).
- Add flour and kosher salt and mix with a wooden spoon or rubber spatula until a shaggy dough forms and no dry streaks remain. It will seem a little wet. That is normal.
- Pour 4 Tbsp. extra-virgin olive oil into a big bowl that will fit in your refrigerator. Transfer dough to bowl and turn to coat in oil. Turn over a few times, but do NOT mix in the oil with the dough.
- Cover plastic wrap and chill until dough is doubled in size (it should look very bubbly and alive), at least 8 hours and up to 24 hours. If you're in a rush, you can also let it rise at room temperature until doubled in size, 3–4 hours. The longer you let it raise in the fridge the more it flavorful it will be.
- Grease your desired baking pan or baking sheet depended on preference (classic 9X13 glass baking dish or 9X13 cookie sheet) with butter. Add the 1 Tbs olive oil to the baking pan and coat bottom. Take out dough from the fridge, uncover, and punch down one time. Then turn the dough over a few times in the bowl. Move dough to the prepared pan.
- Pour any oil left in bowl over and turn dough to coat it in oil. Let rise, uncovered, in a dry, warm spot (like near a radiator or on top of the fridge or a preheating oven) until doubled in size, at least 1½ hours and up to 4 hours.
- Place a rack in middle of oven; preheat to 450°. To see if the dough is ready, poke it with your finger. It should spring back slowly, leaving a small visible indentation. Lightly oil your hands. If using a rimmed baking sheet, gently stretch out dough to fill (you won't need to do this if using a baking pan).
- Dimple focaccia all over with your fingers. This is my favorite part! Keep poking away until there are lots of poke marks in the dough.
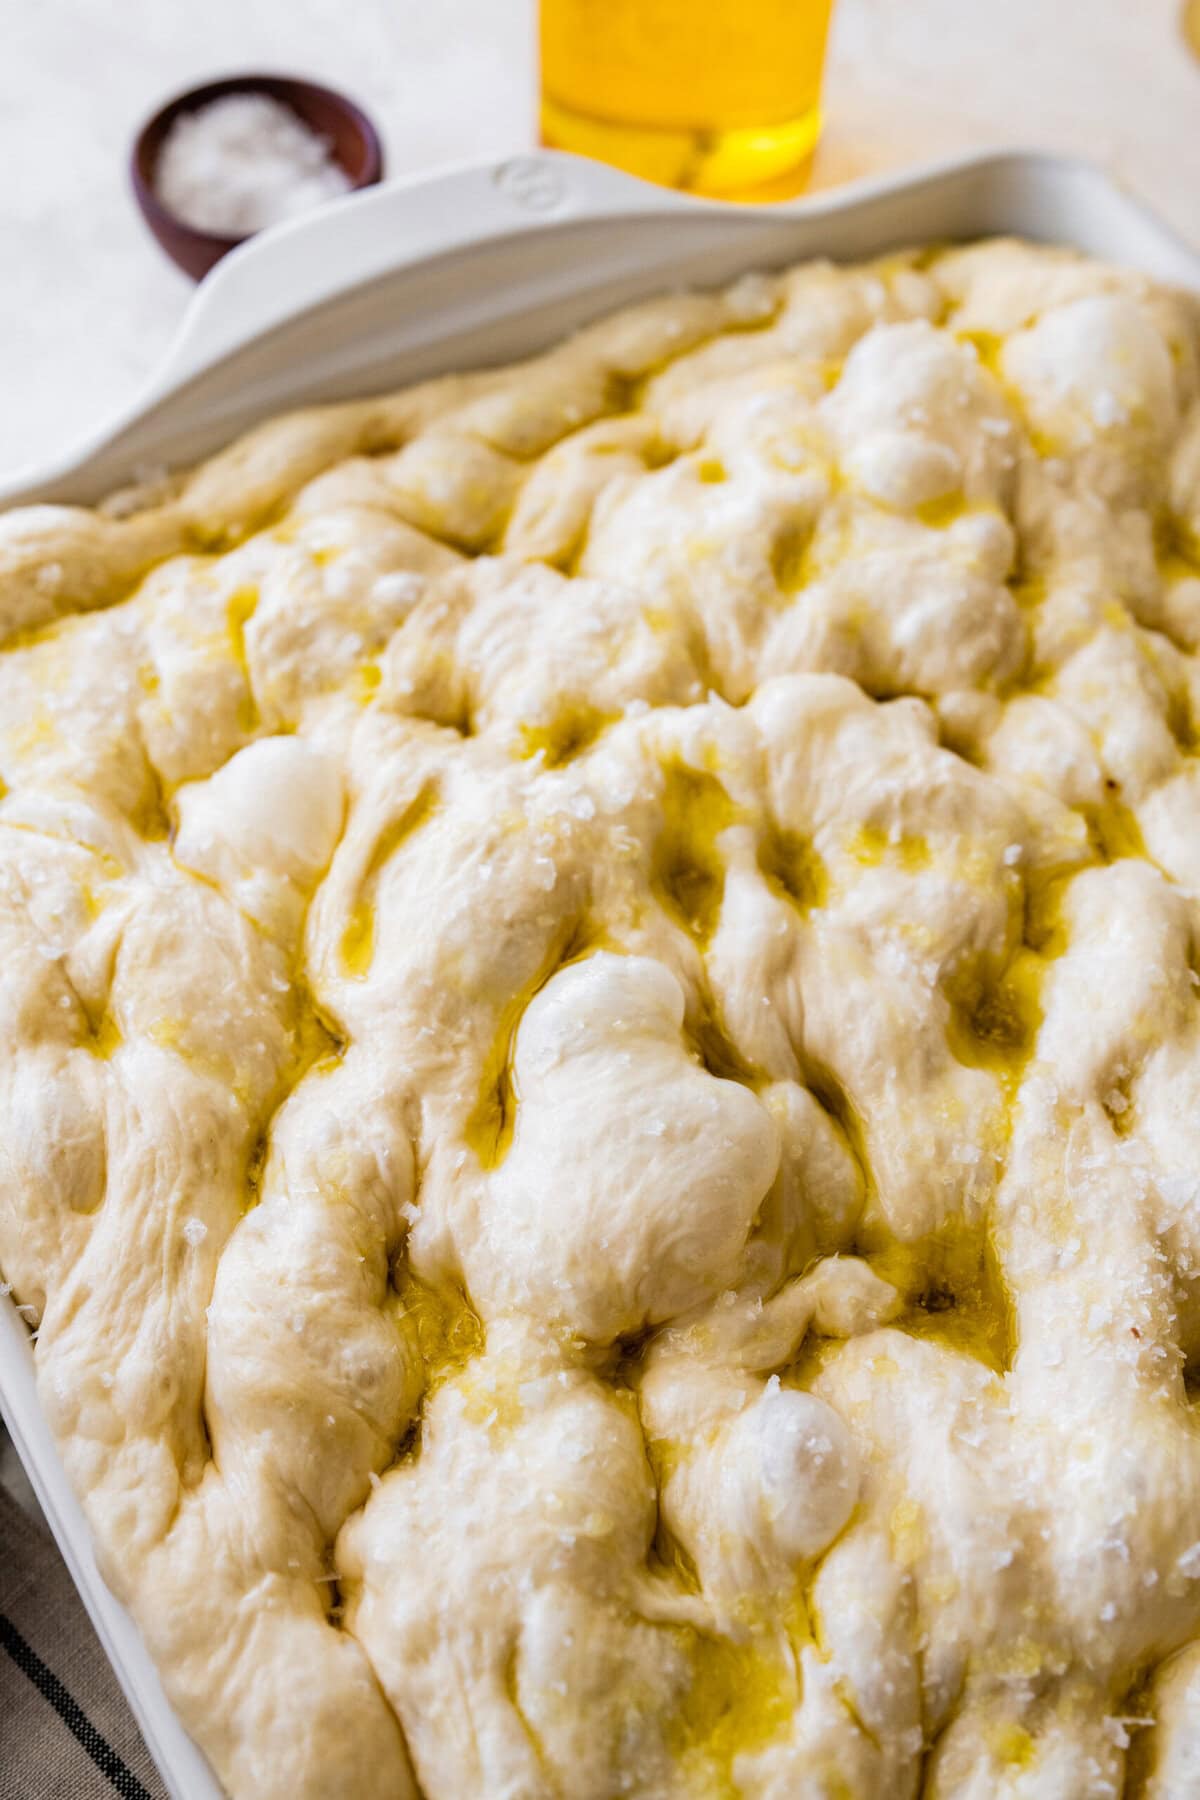
- Drizzle the top of poked dough with remaining 1 Tbsp. extra-virgin olive oil and sprinkle with flaky sea salt (see notes for topping options). Bake focaccia until puffed and golden brown all over, 20–30 minutes. Optional: brush lightly with olive oil at the right after taking it out of the oven. Enjoy warm or cold!
Notes
- Classic Rosemary & Sea Salt – Always a favorite
- Cherry Tomatoes & Basil – Fresh and summery
- Caramelized Onions & Thyme – Sweet and savory
- Olives & Oregano – Mediterranean flavor bomb
- Garlic & Parmesan – Bold and cheesy
- Za’atar & Olive Oil – Earthy and aromatic
- Roasted Peppers & Goat Cheese – Creamy with a kick
Nutrition
Nutrition information is automatically calculated, so should only be used as an approximation.


We make this recipe often and for a good reason! We can’t get enough of this delicious and easy Italian bread.
It is a family favorite!
You know when you have a bad day, like country song bad, you lose everything and then your truck breaks down or gets smashed by an angry ex-girlfriend. This bread can fix those days and make it the best day. I highly recommend planting your own rosemary to save money because you will want to make this bread constantly. Maybe not everyday but at least 6.75 days out the week.
Jordan, yes I know those kind of bad days! A good focaccia bread can fix 6.75 of bad days in a week. I think the other .25 can be solved by eating Tiramisu which literally means “pick me up”.
My sister made this and brought it to my house for dinner. Not a crumb was left.
We make it weekly! It truly is the best.
This is the best bread! It has become a staple in our house. We make whenever people come over or we need to take meal to someone because we know it will never disappoint!
Thanks Emily! I am so happy that you can make it and then share with others. That’s spreading the love!
The is always my go to bread. So easy and delicious. You will always impress with it. Highly recommended.
Thanks Laura! So happy you love it!
Insane. So so delicious. I can’t even believe how amazing. Thank you!!
It is a delicious recipe! Happy you love it!
Oh my goodness!!! This recipe is so so so easy I have now made this for 5 different parties and every time this is the biggest hit and everyone’s favorite! All of Elena’s recipes are so attainable for any busy mama, and sooooo good ❤️
Thanks Tessa! Happy you love it!
Amazing recipe! Everything you make is incredible! Love your blog❤🙌
Grazie Rosangela :)!!
So easy and delicious! Never will disappoint. Great recipe for beginner bread makers.
It is easy and always tasty! There are so many ways you can serve it. Happy you enjoyed it!
I just need to tell you how much I’m loving your blog, Instagram, food, heritage and you! Made this yesterday when my DIL said she wanted lasagna for her birthday. I’d already known I wanted a reason to make this bread. Everyone loved it. I’m currently eating gluten free but had to take a taste or two as well. Fantastic! Someday I’ll make it to Italy (dream!). Family history in Supino, small town near Rome. My grandmother is 100% Italian American. She passed young in 1948. Anyway, been loving all you do since discovering you I think first on Studio 5 a few months back.
Thank you so much for sharing your thoughts! It is my pleasure to share all that I have to offer with my recipes and stories. Enjoy!
This bread is so delicious and easy to make! Just 10 minutes and reat time!! The best part is you can make it a couple of hours ahead or the day before and just bake it off when you need it! Our supper guests couldn’t stop eating it! 😋 This recipe will definitely become a staple at our house.
Kari, so happy you love the recipe. It is a staple in our home as well. Enjoy for years to come.