This post may contain affiliate links. Please read our disclosure policy.
Easy, soft Italian No-Knead Bread! This easiest recipe is packed with extra nutrition from the flax meal and steel-cut oats. It will easily become your go-to bread recipe that your entire family will love.
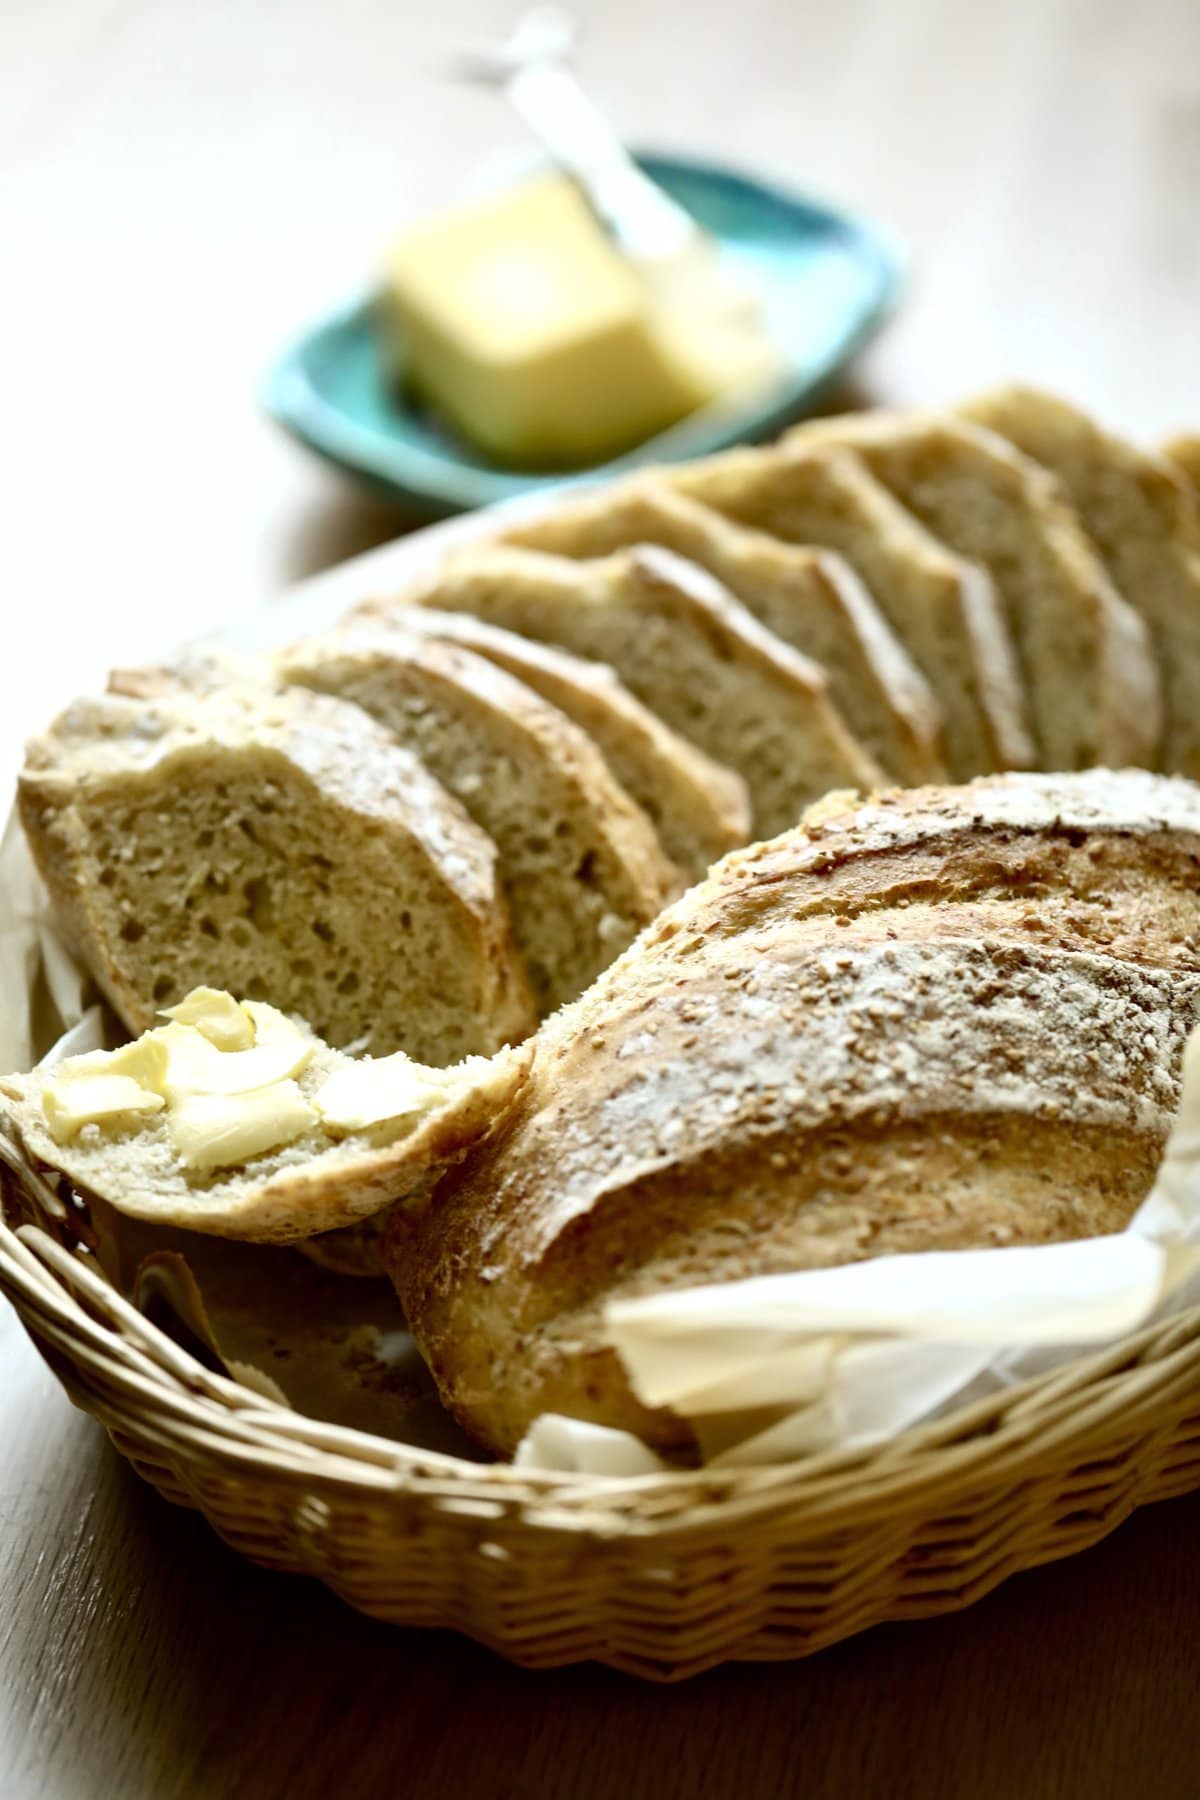
Best Italian No-Knead Bread
This will easily become your go-to bread recipe that your entire family will love. There are A LOT of bread recipes out there…
This is a tried-and-true recipe that our family has made for decades. You can trust it, and I promise you will love it. Try more Italian-style breads: Fast Italian No Knead Ciabatta Bread and No Knead Italian Focaccia Bread
Simple Ingredients
- Warm water (might need a little more)
- Instant yeast
- Steel cut oats
- Ground golden flax meal
- All-purpose flour (or bread flour)
- Salt
How to Make No-Knead Bread (Step by Step with Photos)
This bread is so easy to make! You mix everything a large bowl. Let it rise. Shape the dough. Let it rise again and bake!
Instructions for making the no-knead bread dough
In a large mixing bowl dissolve the yeast into the warm water.
Add the steel-cut oats and the flax meal and mix well (I use a fork).
Add flour and salt to the mix and incorporate well.
The dough will be sticky and slightly wet. If it seems dry, you may need to add a little more water.
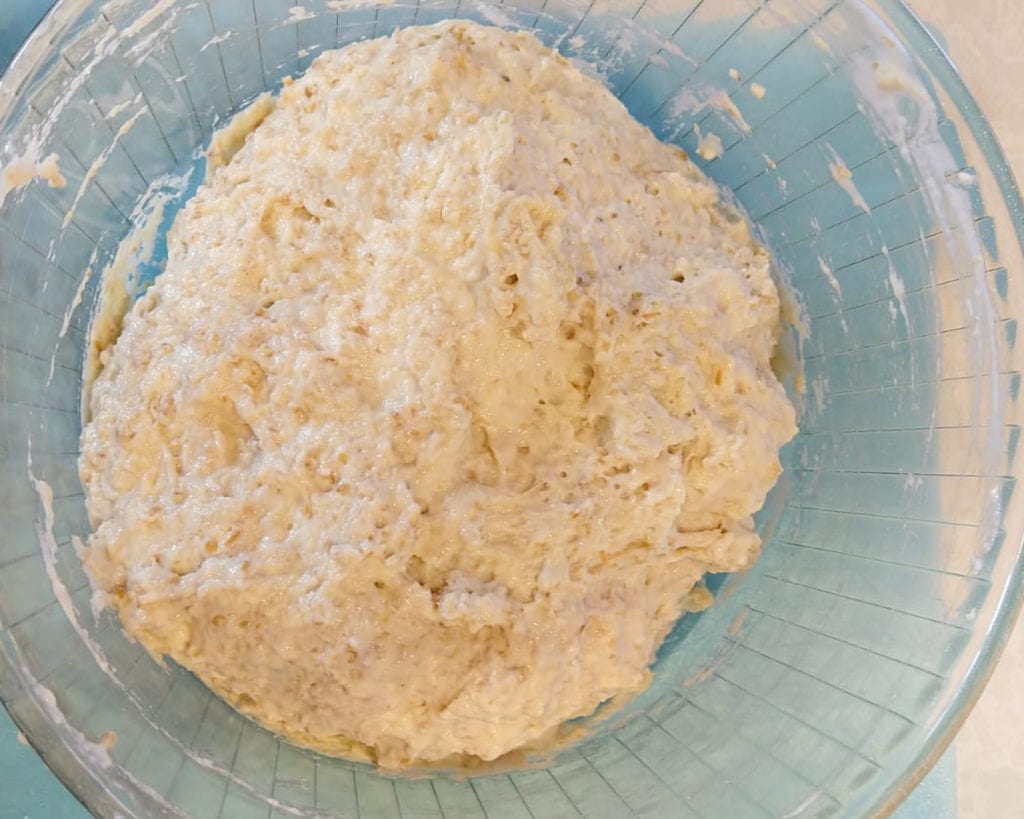
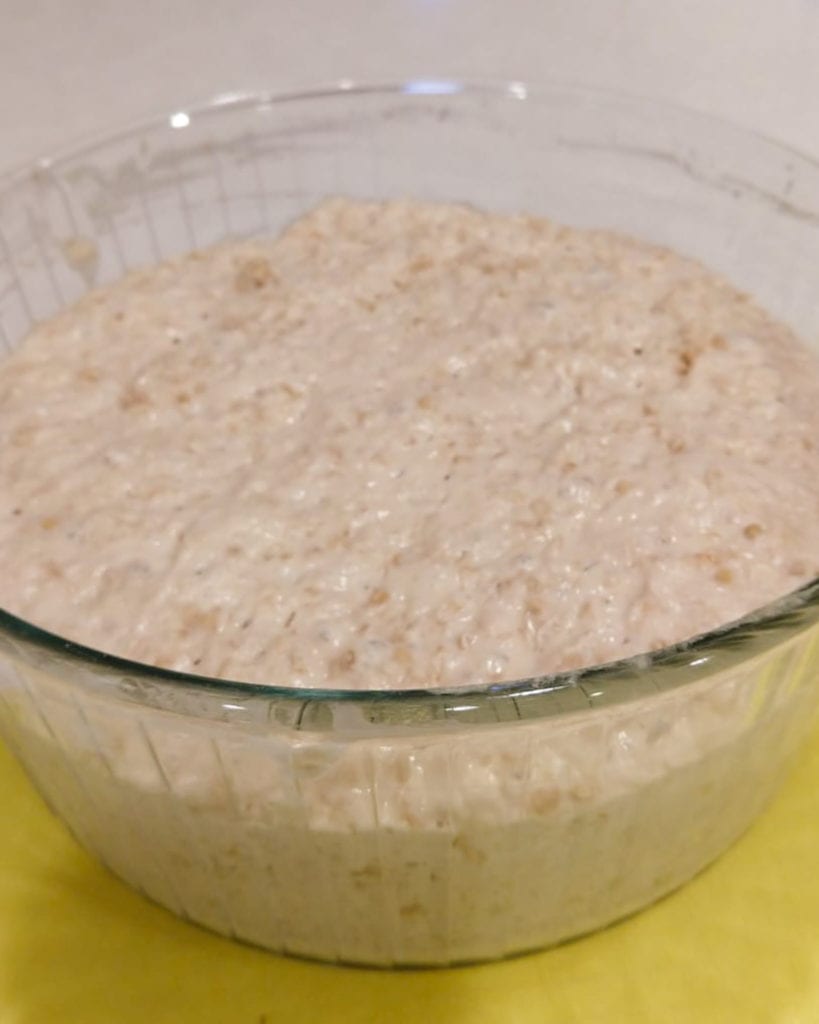
Cover the bowl with saran wrap and let it rise on the kitchen counter for at least 8 hours- up to overnight.
The dough will double in size. For best results make sure it is at least 75 degrees F.
Instructions if you want to add mix-ins to the bread (optional)
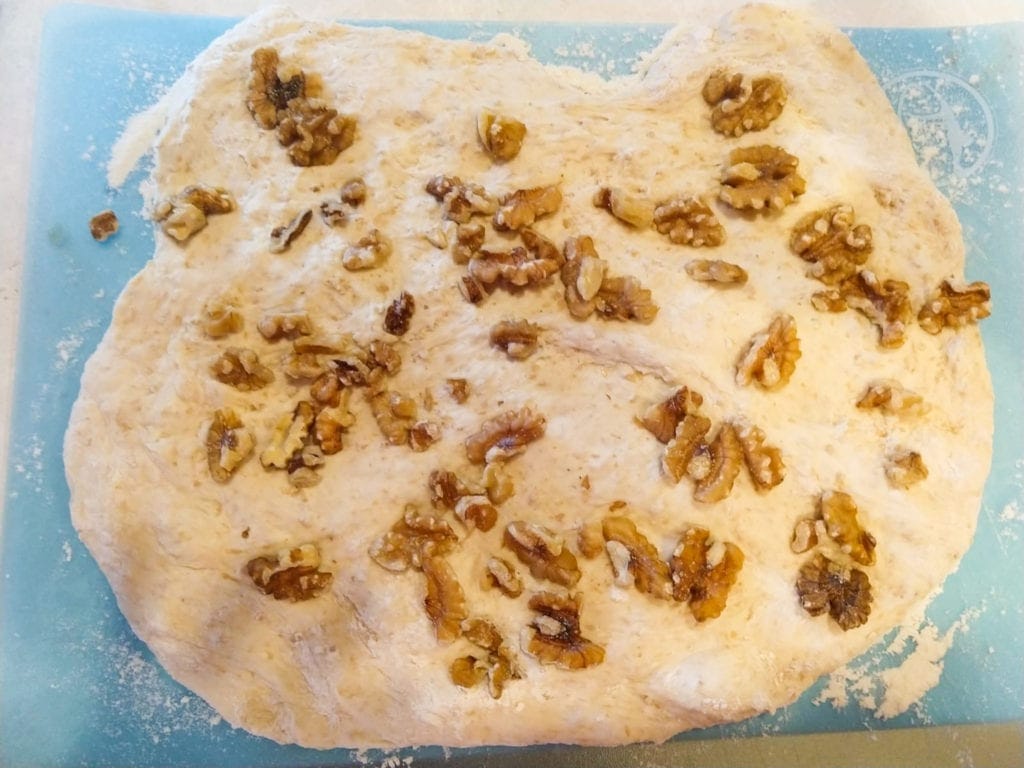
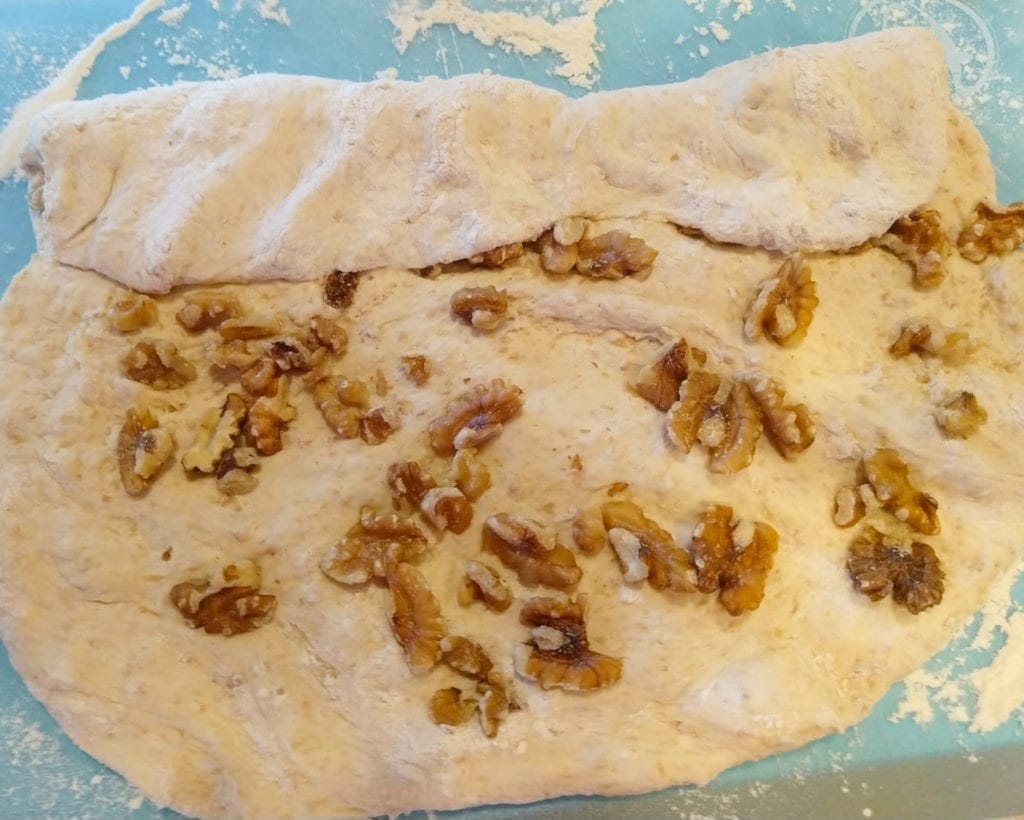
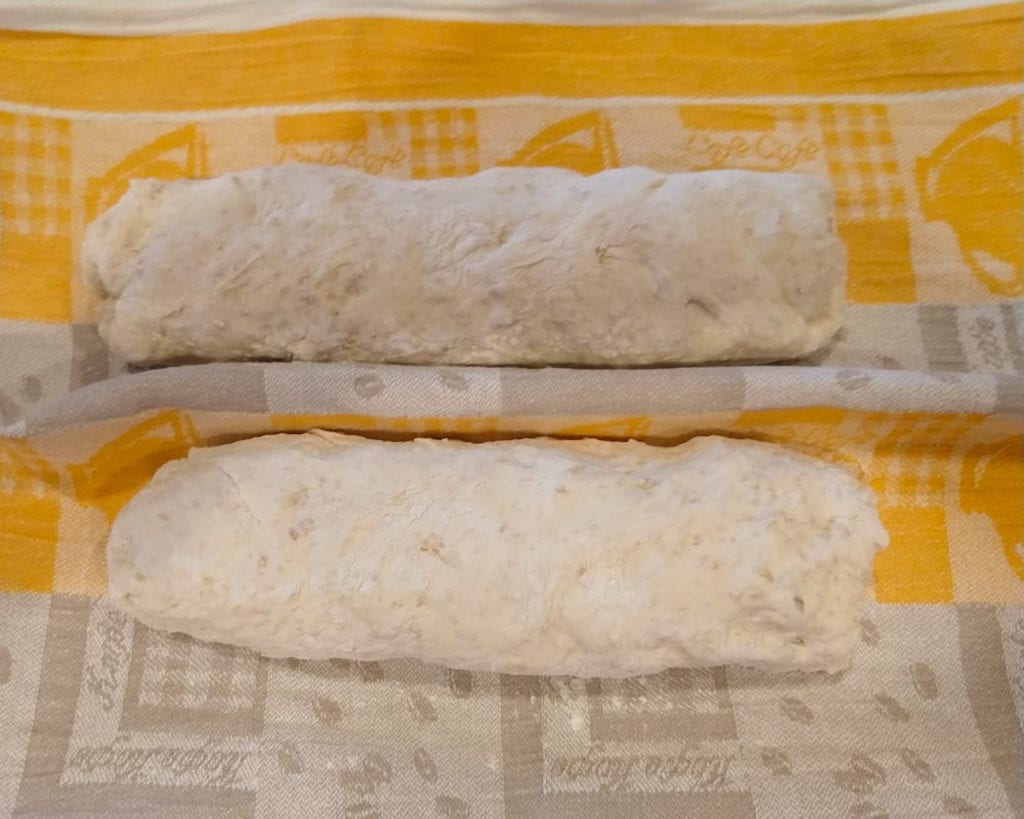
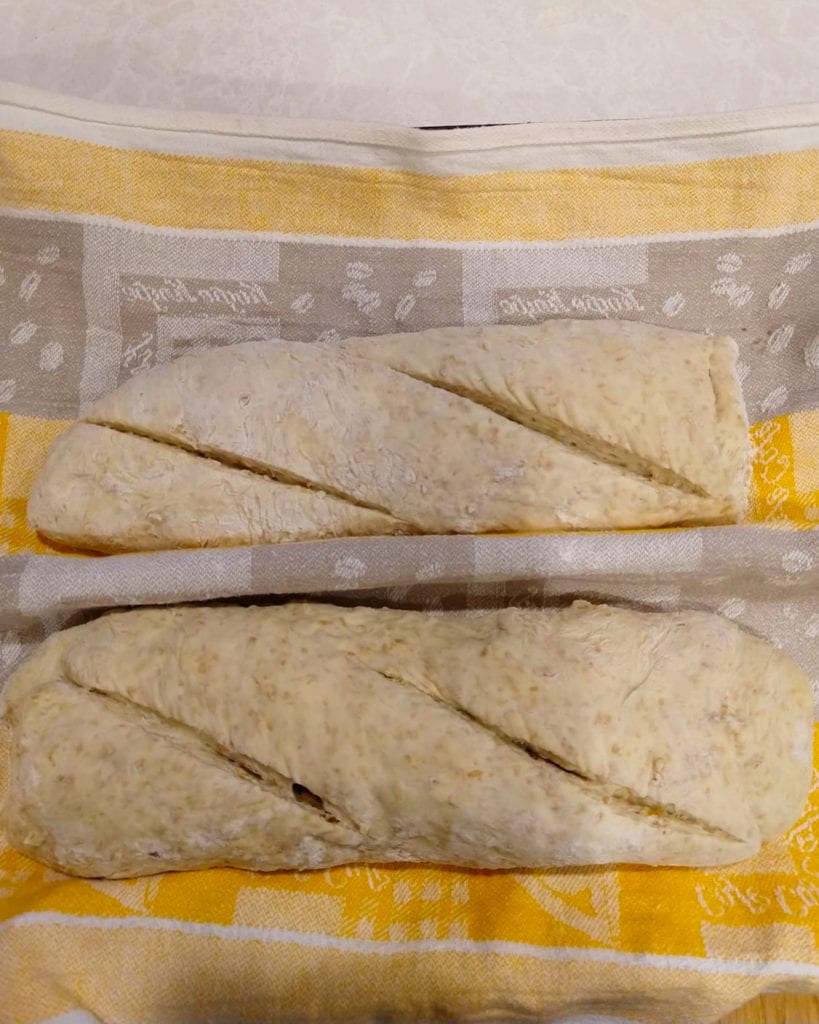
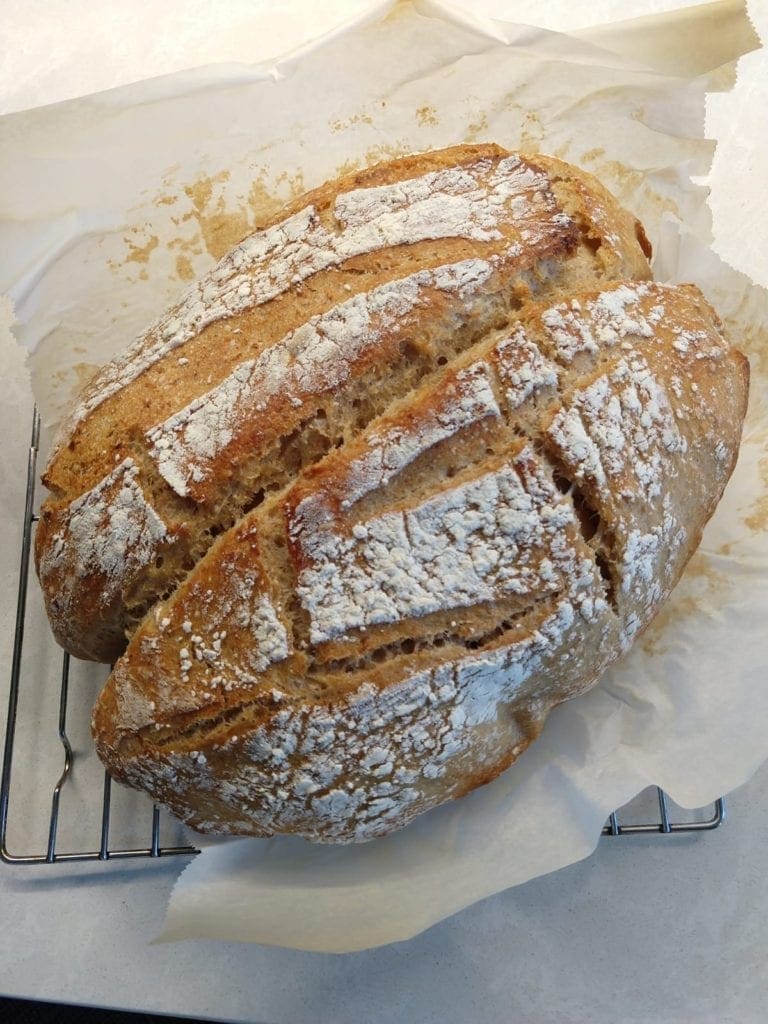
My mamma makes this bread every week. She usually makes two baguette loaves for Sunday dinner.
We walk into my parents home and the smell of homemade bread fills the air- instantly making our mouths water and feet run towards the kitchen. Between the adults and the grandchildren, the loaves are gobbled up in the same evening.
Using a Dutch Oven Pot
Using a Dutch oven or heavy-duty oven-safe pot to bake this bread gives it a soft interior and a perfectly crunchy exterior. When you bake bread in a covered Dutch oven-type pot, it steams as it cooks.
This provides a chewy, perfectly baked loaf. I use a Dutch oven to bake the baguette-style loaf and solid round loaf.
The baguettes will be baked slightly together. I actually love pulling the loaves apart after they are cooled. It reminds me of how we traditionally “break bread” in Italy.
Go big or go home DUTCH OVEN POT (this is the kind my mother and I use. My mom has had hers for 35 years. It is an amazing brand that will last you a lifetime!
This will do for now: DUTCH OVEN POT (I actually have this kind as well that was gifted to me. It holds up fine and makes good bread- I do see the quality difference from the other brand, but it does the job fine!)
What Makes this Bread Healthy and Delcious
Steel cut oats
Adding the steel-cut oats adds extra fiber and also makes the bread softer, as they absorb the water without weighing it down.
Do NOT add regular oats or the bread will change in texture and remain very dense.
When you eat the bread, you don’t taste or feel the steel-cut oats. They absorb into the dough, leaving a moist and delicious texture.
It’s the softest bread with the perfect exterior crunch.
Flax meal
Adding ground flax meal makes this bread a little more nutritious without adding the hearty flavor and density of whole wheat flour.
The flax creates a beautiful crumb and perfect crust, plus the nutrition of flax is unbeatable!
It’s another hidden ingredient that makes this bread unique and extra special while still creating the most lovable loaf.
Optional Mix-Ins:
See the step-by-step process below for how to add mix-ins.
- walnuts
- raisins
- olives
Optional Toppings:
If you want to add toppings simply sprinkle the loaves with the topping after the second rise and just before putting them in the oven
- sesame seeds
- pumpkin seeds
- poppy seeds
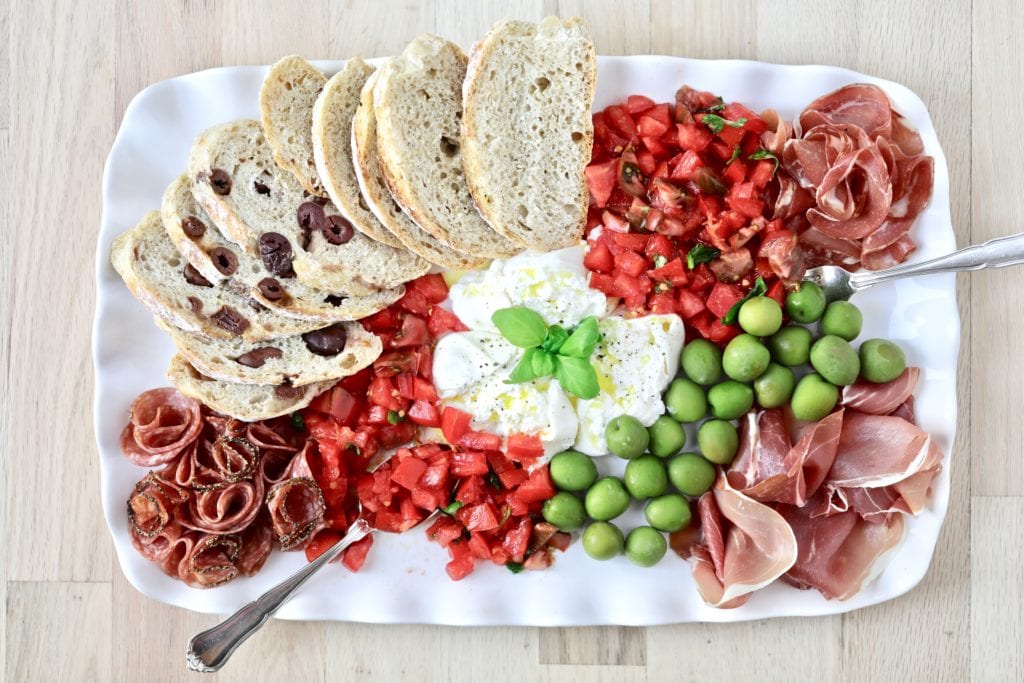
Serving Suggestions
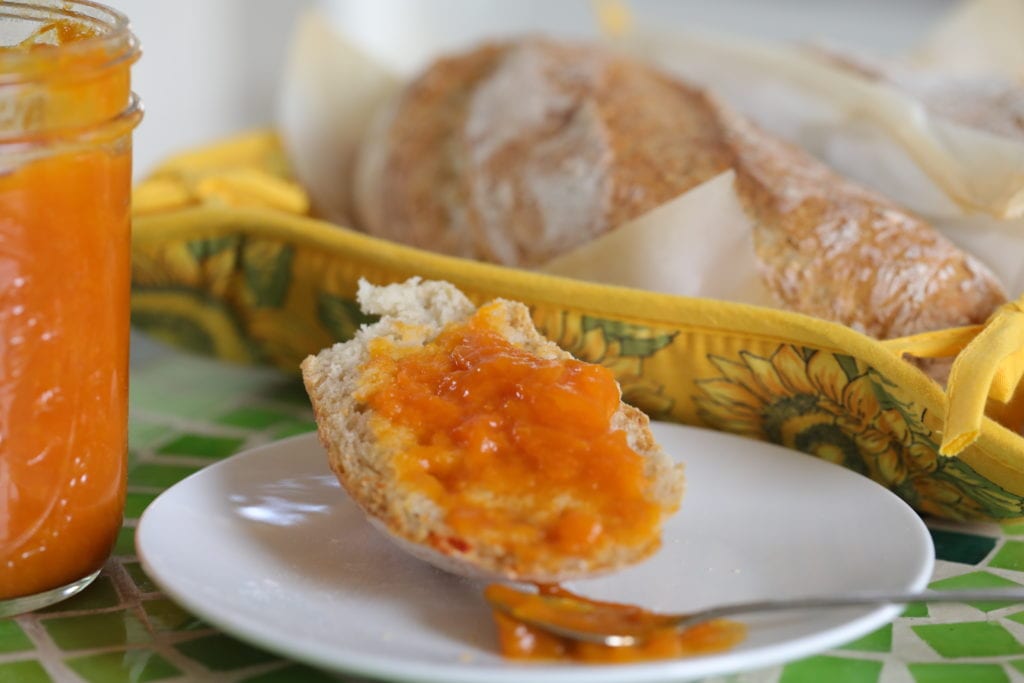
This bread is also delicious with butter and jam for breakfast, as a sandwich bread, or even a plain slice on the go!
Use this bread to soak up this delicious Classic Italian Tomato Sauce (Sugo al Pomodoro). You can also use it to make the best Thanksgiving stuffing!
Who can resist the smell and taste of hot, chewy, tender bread with a perfect crunchy crust? Not me!
From my Cucina to your Table! Mangia! Mangia! (Eat!)
Made with Amore, Elena
More Delicious Recipes for YOU
- Cheese and Broccoli Pasta Bake with White Sauce
- Red Wine Braised Chicken and Plums Recipe
- BEST Italian Beef Short Rib Ragu
- Authentic Italian Pasta Puttanesca Sauce
- Pork Tenderloin with Shallots and Fennel
- Easy Homemade Cornbread
💙 MADE THIS RECIPE AND LOVED IT? 💙 Please leave a ⭐️STAR rating and COMMENT below- I love connecting with you! Tag me with your creations on Instagram and find me on Pinterest.
Print
Easy Soft Italian No Knead Bread
The softest and most delicious homemade no-knead bread recipe. This bread has a few unique ingredients that separate it from hundreds of others. This will soon be your tried and true bread recipe!
- Total Time: 12 hrs 45 min
- Yield: 12 servings 1x
Ingredients
- 2 1/4 cups (500 ml) of warm water (might need a little more)
- 1/4 teaspoon instant yeast
- 1/4 cup of steel cut oats
- 1/4 cup ground golden flax meal
- 4 cups (500grams) all purpose flour (such as King Arthur brand)
- 2 teaspoons of salt
Instructions
- In a large mixing bowl dissolve the yeast in the warm water
- Add the steel-cut oats and the flax meal and mix well (I use a fork to mix). Add flour and salt to the mix and incorporate well. Mix with a wooden spoon or dough hook for about 2-3 minutes.
- The dough will be sticky and slightly wet. If it seems dry, you may need to add a little more water.
- Cover the bowl with saran wrap and let it rise on the kitchen counter for at least 8 hours—up to overnight. The dough will double in size.
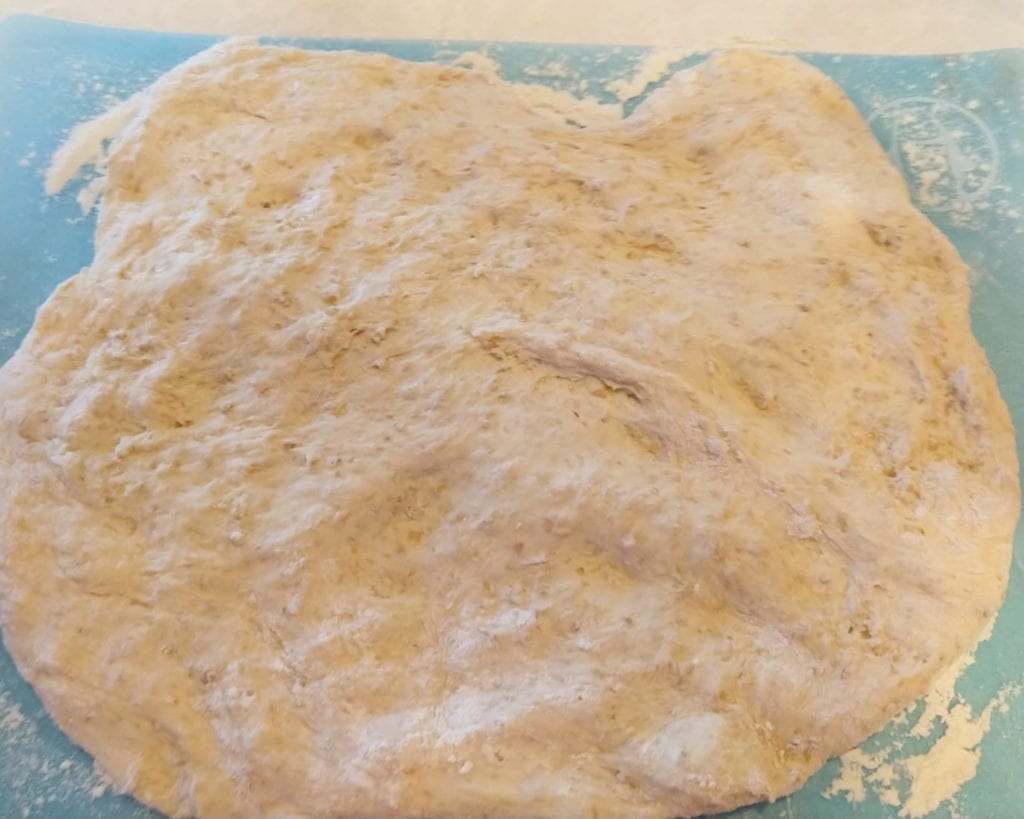
- After the first rise, transfer the sticky dough to a floured surface and shape it into one large boule or two baguette-shaped logs. Transfer onto floured parchment paper. Sprinkle with additional flour on top. Cover with a kitchen towel. **If using mix-ins, see NOTES.
- Let rise again for 50-60 min (on the parchment paper covered with a towel)
- With a sharp knife score the dough with 2 longitudinal cuts for each baguette OR 2 scores on top of the large round boule
- Preheat oven to 450 F. Meanwhile, place a 6-quart Dutch oven (or heavy cooking pot with oven-safe lid) in the oven as it preheats.
- When the oven is preheated to 450 F, take out the Dutch oven and place the baguettes or the large boule inside (with parchment paper). Place back in the oven to bake for 33 minutes with the lid ON. After 33 minutes, check if the top of the bread is golden brown. If you like it darker brown, take the lid off and cook an additional 6-10 minutes.
- Put the bread on a cooling rack and let cool completely. Or, take a slice when still warm and enjoy :).
Notes
* Mix-Ins: If using mix ins 1) divide the dough in half 2) roll each dough on a floured surface into a rectangle. Sprinkle desired toppings evenly on the dough 3) fold the dough over on itself about four times (as pictured) 4) this will create two baguettes 4) continue to Step 7 in instructions
- Prep Time: 10 min
- Cook Time: 35
- Category: Savory
- Method: Italian
- Cuisine: Italian/ French




This bread is delicious and so easy to make. My kids make their own loaf too! No kneading needed , no stand mixer needed! So simple. No reason to buy store bought again. Thank you Elena!
I agree- move over store-bought focaccia! This one is easy and tastes better.
This bread is easy to make and so delicious! I love that it has flax meal and steel cut oats for added fiber and nutrition
We make it every week. Happy you loved it!
My kids can eat a loaf in one day!
Delicious and easy.
Your recipes are easy to follow and always turn out great – thank you.
Would love to share a photo of how pretty my boule is 😊
Delicious and easy. Appreciate how accurate your recipes always are – thank you.
Easy to make and so yummy!
It is a weekly staple here!
Love this bread! So easy and so delicious
We make it weekly. Easy to make and love!
So easy and so good! I made this today and I’ve already eaten a little too much before dinner 🙂
Can I make this without flax if I don’t have it on hand or should I wait until I have it?
Thank you 😊
You can make it without. It won’t affect the bread it just adds a little extra nutrients. I say- try both ways and see what you like!
Have a great day!
Elena
SOOOOO EASY! Bread was gone the next day, our littles devoured it with butter and jam.
I’m so glad the whole family enjoyed it!
Elena
Tried this today and absolutely loved it! I was especially excited about adding the steel cut oats and flax. I’ve tried to mix in wheat flour with this type of bread before and it definitely doesn’t turn out as well. I added some fresh rosemary after the first rise. This is definitely my new go-to. Thank you so much for sharing this fabulous recipe!!
Tried this today and absolutely loved it! I was especially excited about adding the steel cut oats and flax. I’ve tried to mix in wheat flour with this type of bread before and it definitely doesn’t turn out as well. I added some fresh rosemary after the first rise. This is definitely my new go-to. Thank you do much for sharing this fabulous recipe!!
Cammie,
I am so happy you loved it! It is so easy and I love sneaking in the extra fiber while maintaining a soft texture. Make and share with love! Elena
No stand mixer, no knead, no special equipment required. These No Knead Dinner Rolls are perfectly soft and fluffy and are astonishingly effortless to make. Just combine the ingredients in a bowl and mix with a wooden spoon that s it! It s the easiest recipe for bread rolls in the whole world! Every single time I make these, I am in utter awe of how effortless they are, and how amazing they taste. They are in every way just as good as classic dinner rolls, made by kneading the dough by hand (tired arms, tired arms!) or using a stand mixer.
That makes me so happy. I hope you enjoy it for years to come! Share with friends and family and eat with love.
-Elena