How Long to Bake Chicken Drumsticks at 400 Best Baked
Nov 27, 2023, Updated May 22, 2024
This post may contain affiliate links. Please read our disclosure policy.
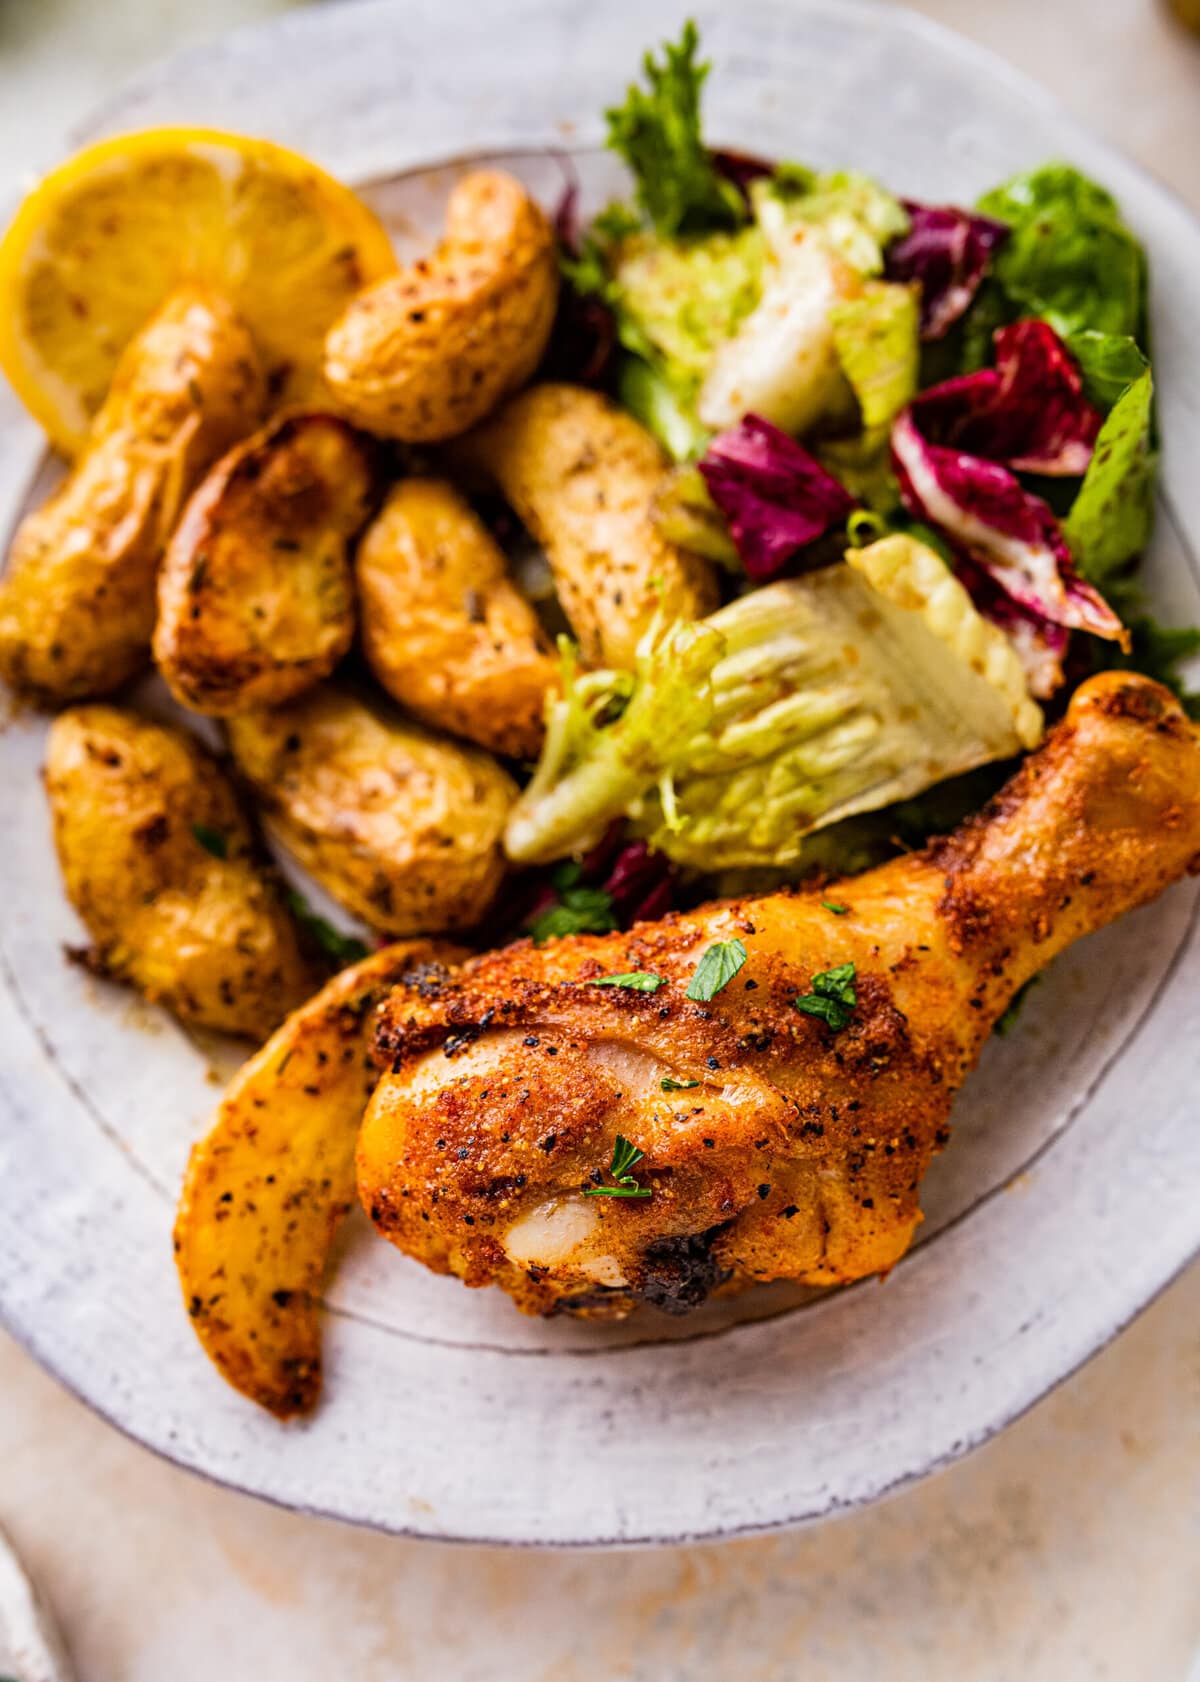
How Long to Bake Chicken Drumsticks at 400– these are the best-baked chicken drumsticks! This cooking method always delivers crispy, golden brown, and super tender chicken. A delicious and easy-to-make meal that’s simple and flavorful for busy weeknights.
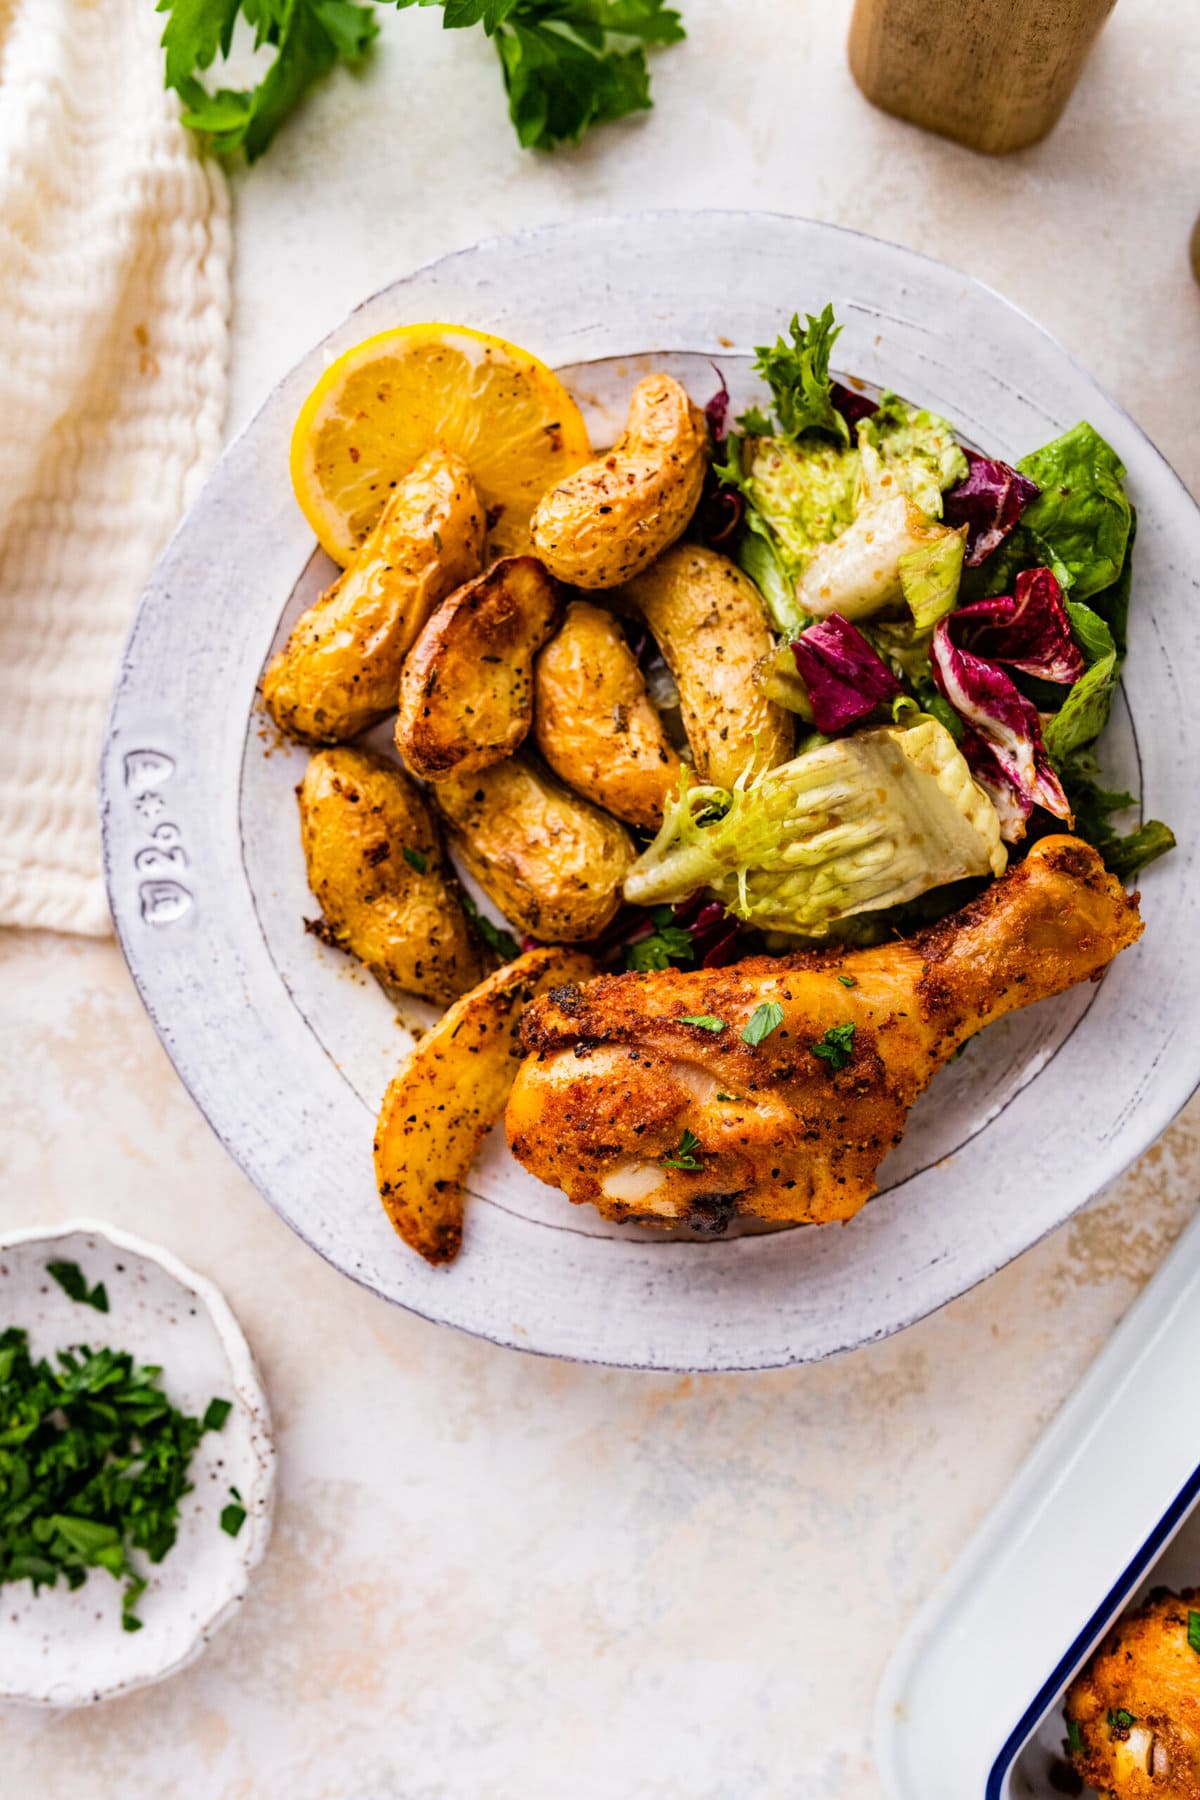
Serve with Italian-Style Potatoes or a simple Potato Salad.
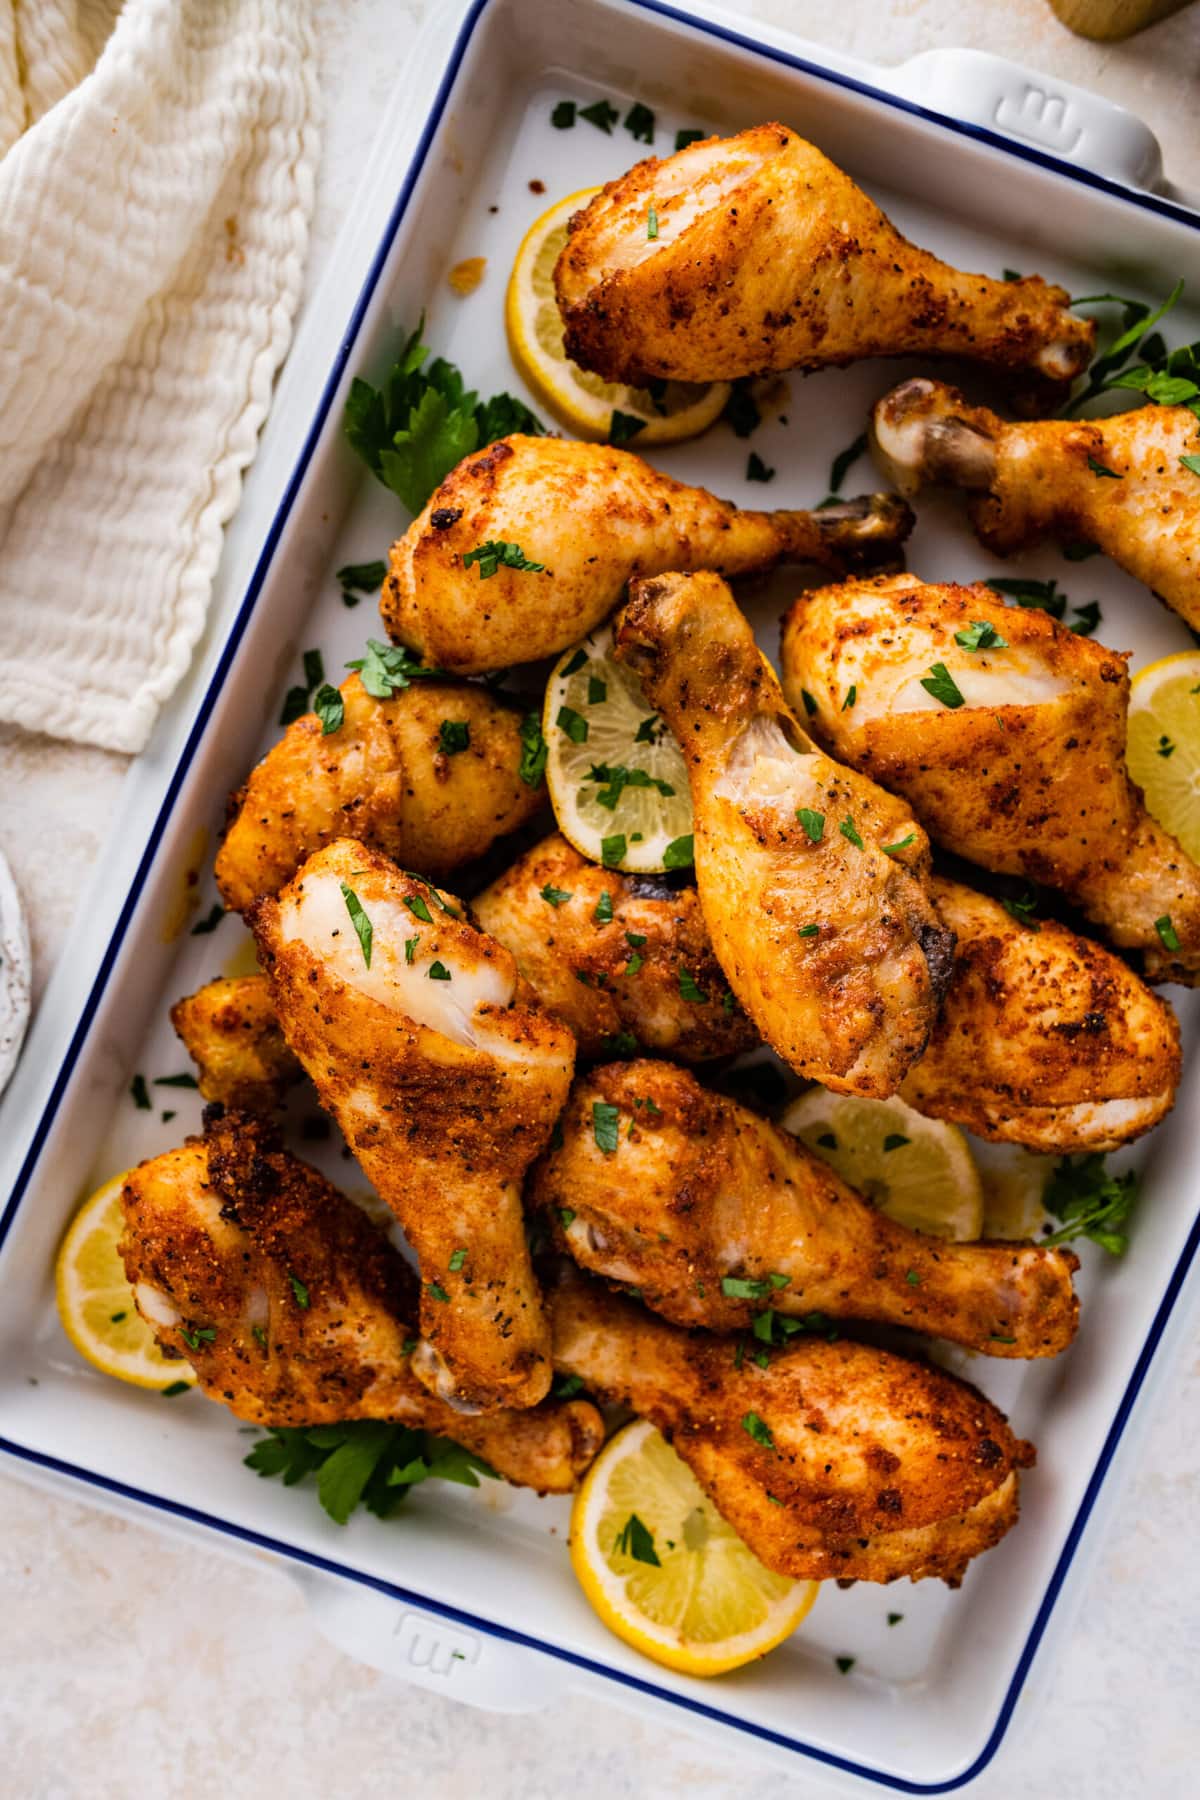
Best Baked Chicken Legs Recipe
Chicken drumsticks or chicken legs are always on sale at my local grocery store! I wanted to create a staple recipe that I could make on repeat and adjust the seasoning to vary the flavor profile. This also works for chicken leg quarters. Add this to your weekly repertoire of chicken recipes.
This is the best way to cook chicken drumsticks in the oven! An easy recipe you can make in a jiffy, and the whole family will love this delicious meal.
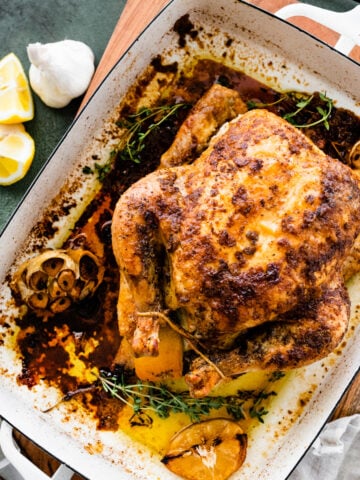
More recipes you will love: Roasted Whole Chicken, how long to bake chicken breast at 425, and Best Chicken Thighs.
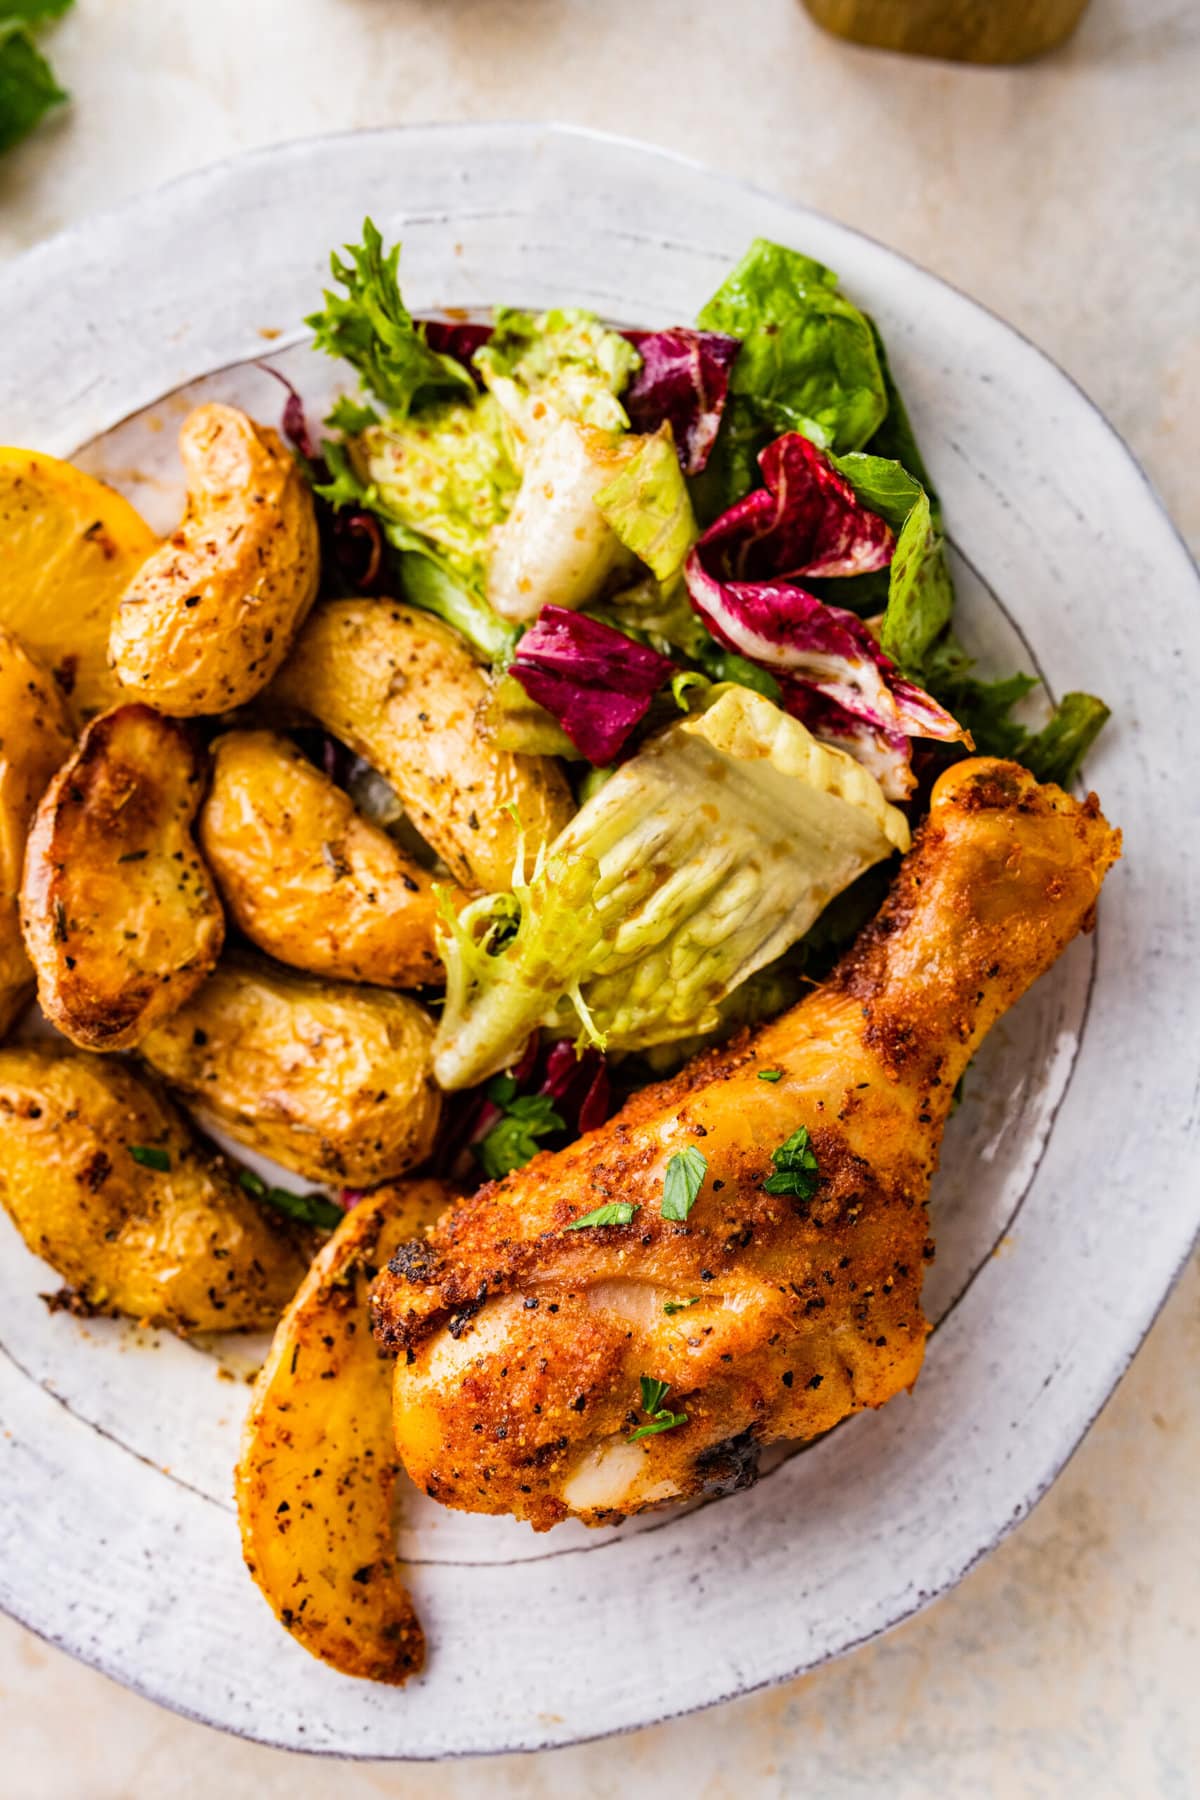
Table of Contents
- Best Baked Chicken Legs Recipe
- Simple Ingredients
- How Long to Bake Chicken Drumsticks at 400 Recipe
- Variations
- Best Equipment for Baking Chicken Drumsticks in the Oven
- Why Baking Chicken Drumsticks at 400 is the Best Temperature
- Storing and Reheating
- Top Tips for Best Results
- FAQ
- More Chicken Recipes
- What to Serve with Baked Chicken Drum Sticks
- Best Baked Chicken Drumsticks Recipe
Simple Ingredients
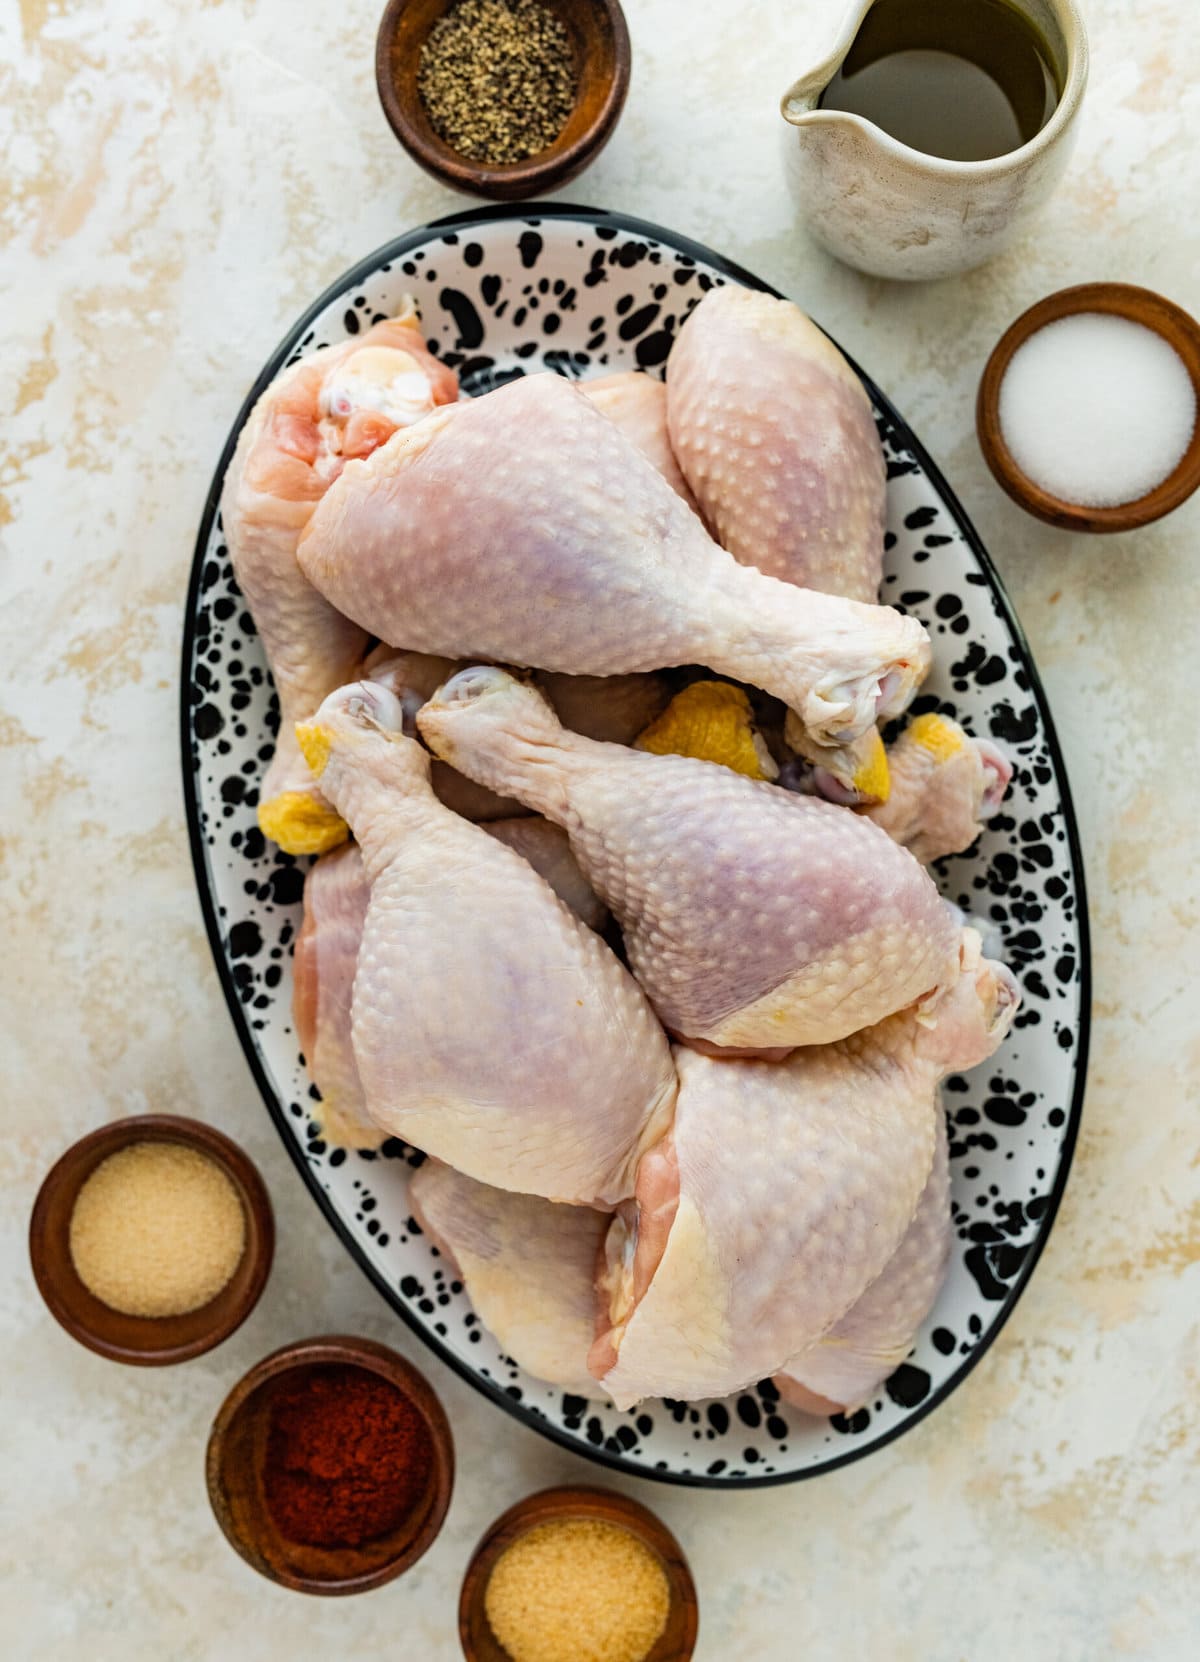
- Chicken Drumsticks: These are the primary protein source for the dish. Chicken drumsticks are flavorful and juicy meat cuts from the chicken leg’s lower part. These are also called chicken drumsticks, not to be confused with chicken wings, or the whole leg and thigh piece together.
- Olive Oil: Olive oil is used to coat the chicken drumsticks and helps in browning and crisping up the skin during baking. It also adds a pleasant, mild flavor.
- Garlic Powder: Garlic powder is a dried, powdered form of garlic. It imparts a savory, garlicky flavor to the chicken.
- Onion Powder: Similar to garlic powder, onion powder is a dried, powdered form of onions. It contributes a subtle onion flavor to the seasoning mix.
- Paprika: Paprika is a spice made from ground dried peppers. It adds a mild, smoky flavor and a reddish color to the chicken.
- Dried Thyme: Dried thyme is an herb that provides an earthy, slightly minty flavor to the seasoning mix. It complements the other spices well.
- Dried Oregano: Dried oregano is an herb with a robust, aromatic flavor. It adds a Mediterranean touch to the seasoning blend.
- Salt: Salt is used to enhance the overall flavor of the dish. It also helps to draw moisture out of the chicken skin, making it crispy when baked.
- Black Pepper: Black pepper adds a bit of heat and pungency to the seasoning mix. It complements the other spices and adds depth to the flavor.
See the recipe card for quantities.
How Long to Bake Chicken Drumsticks at 400 Recipe
Preheat your oven to 400°F (200°C) and place the rack in the middle position.
Prepare the Chicken: Pat the chicken drumsticks dry with paper towels to remove excess moisture. This helps the skin get crispy. If there’s excess skin or fat, you can trim it off.
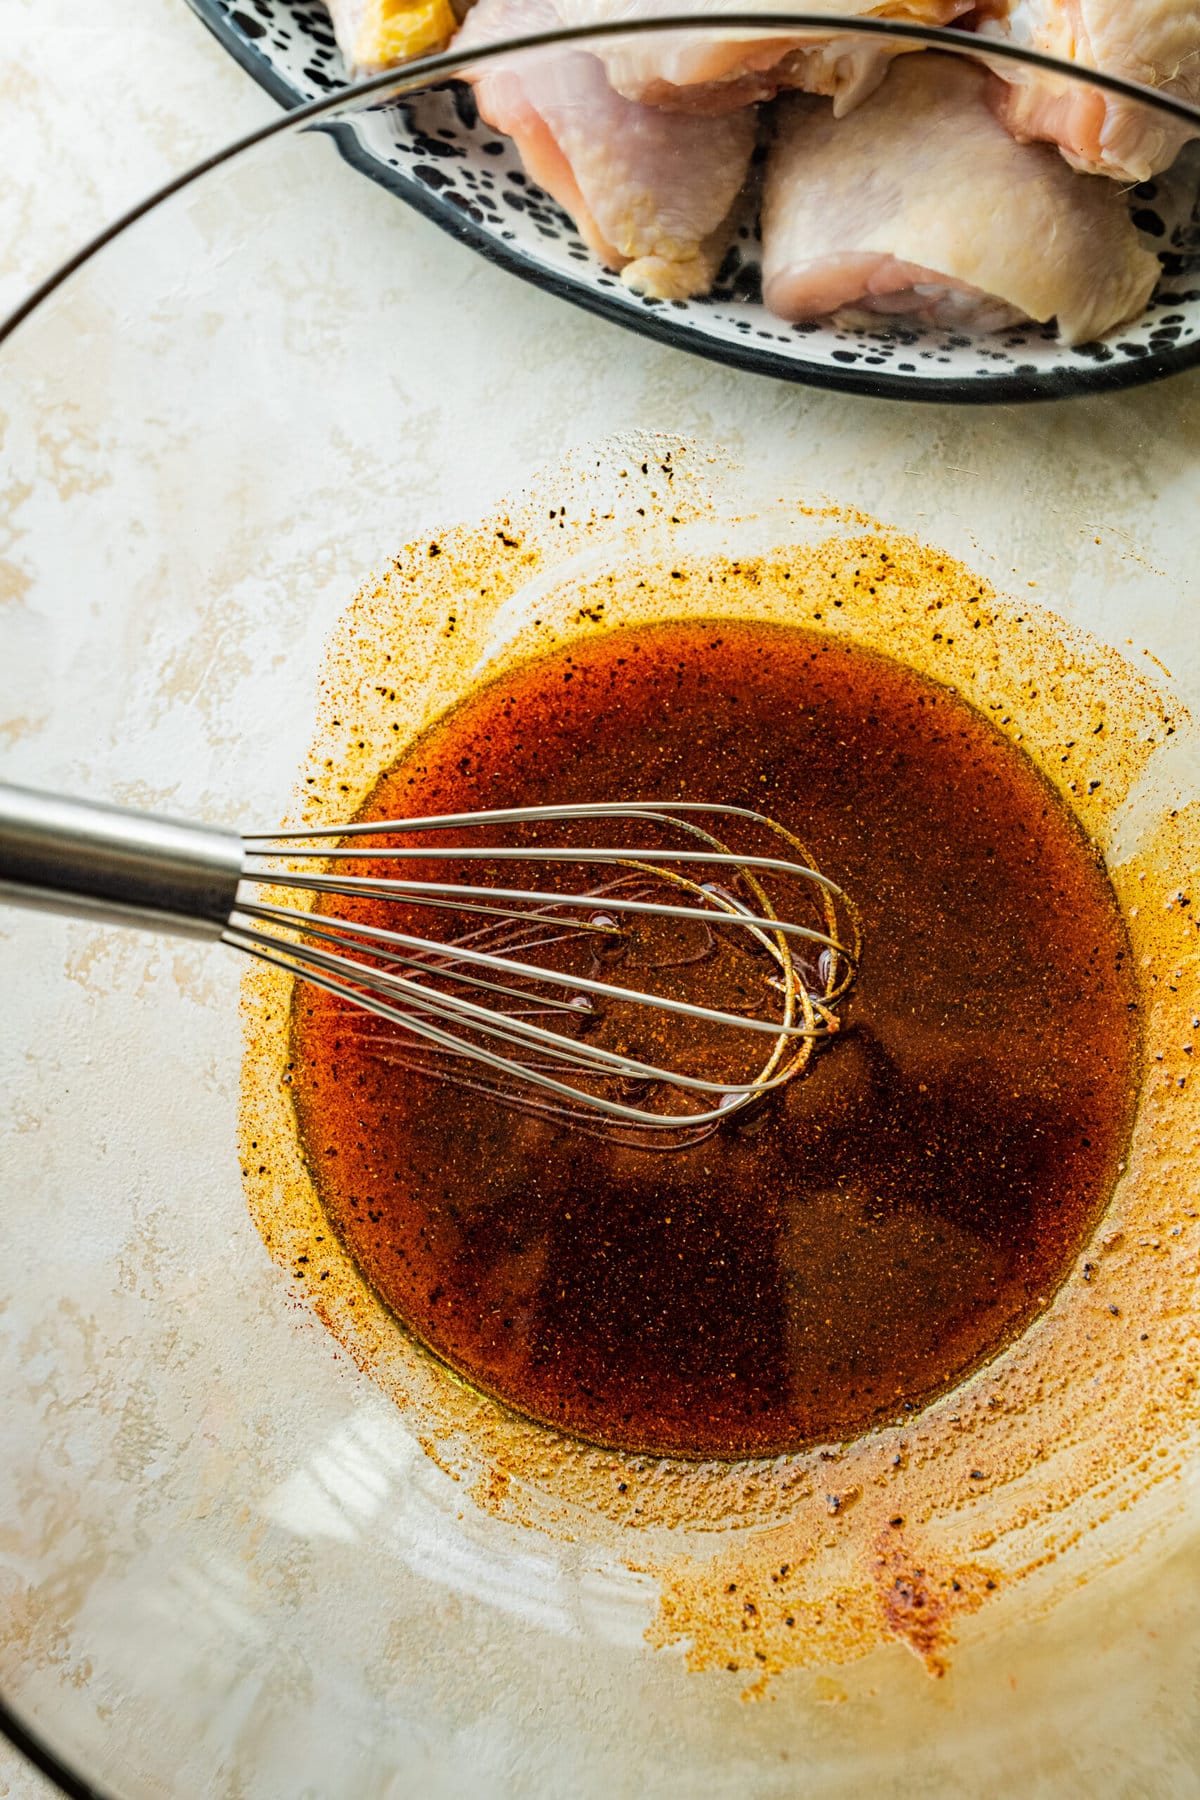
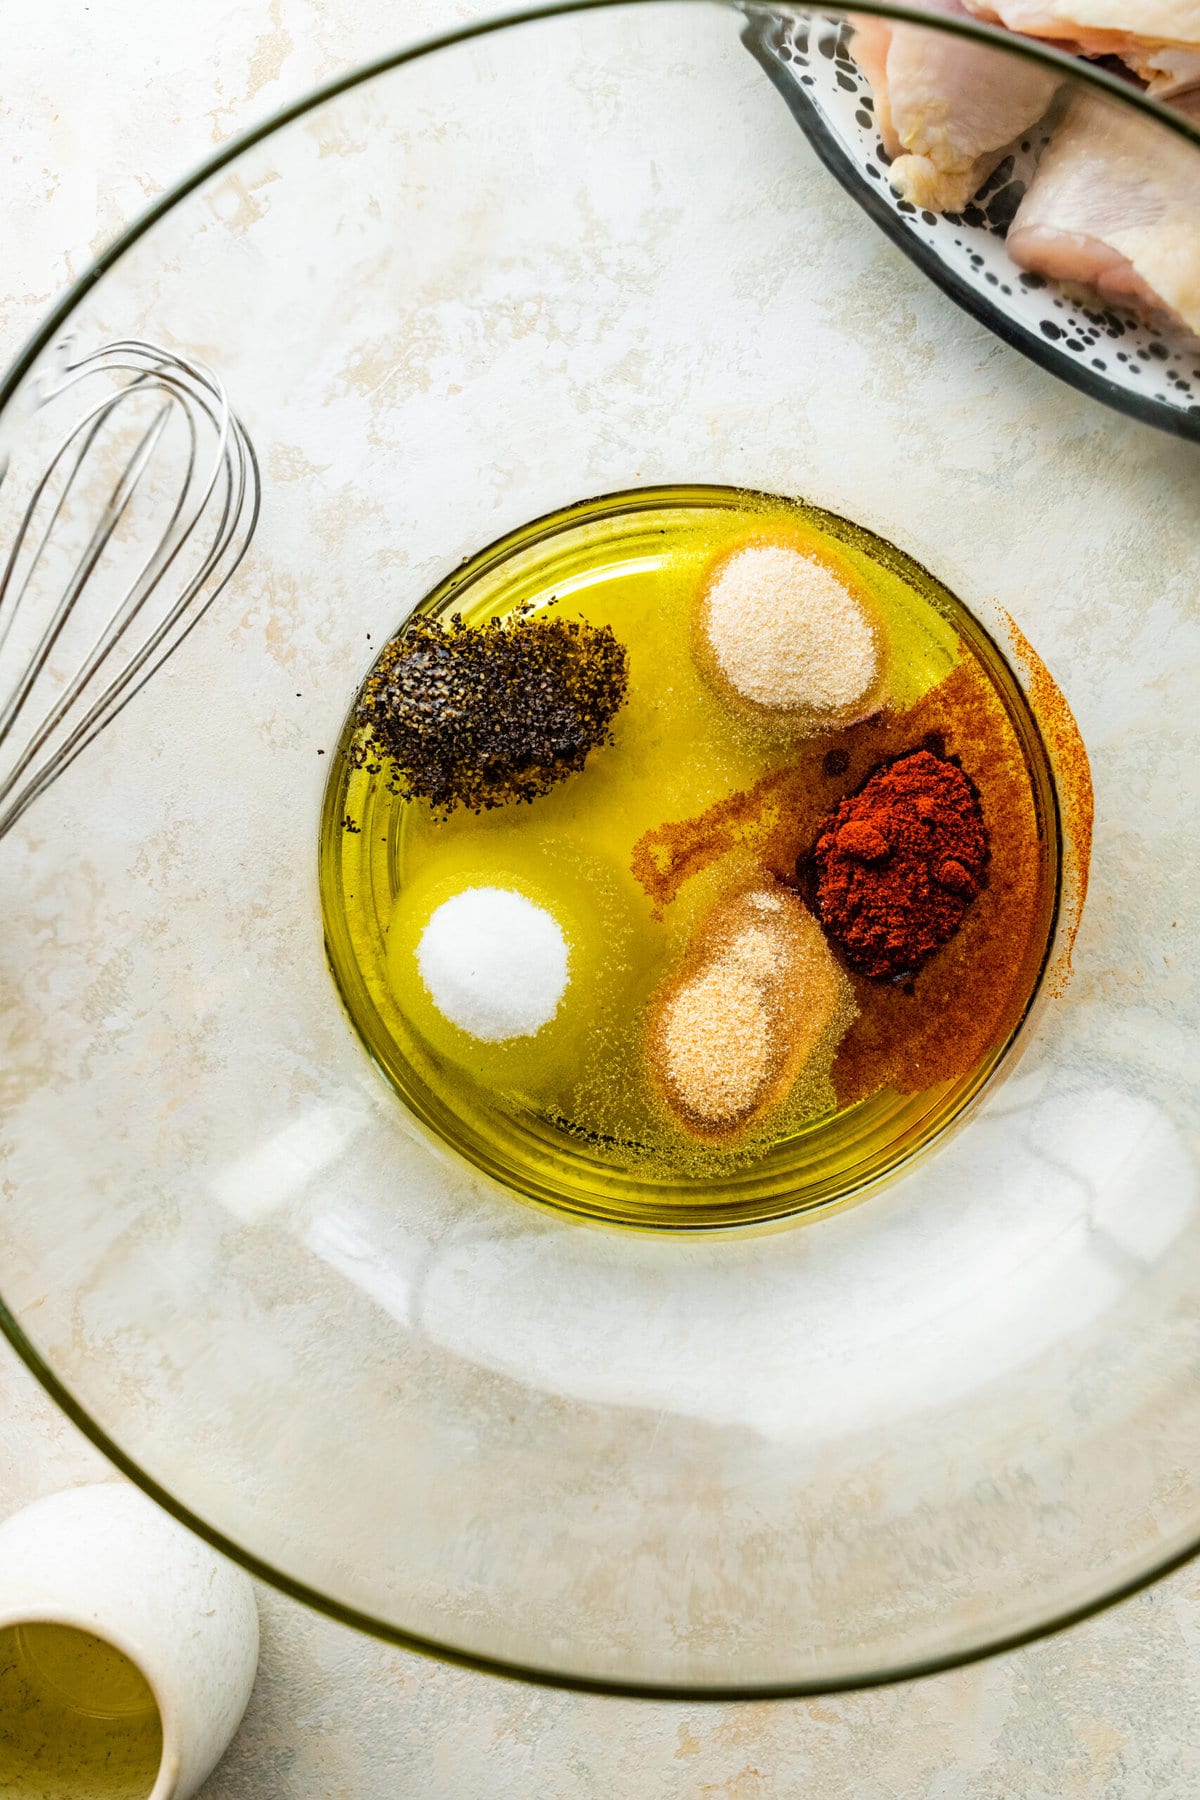
Season the Chicken: In a large mixing bowl, combine the olive oil, garlic powder, onion powder, paprika, salt, and black pepper. Mix well to create a flavorful seasoning paste.
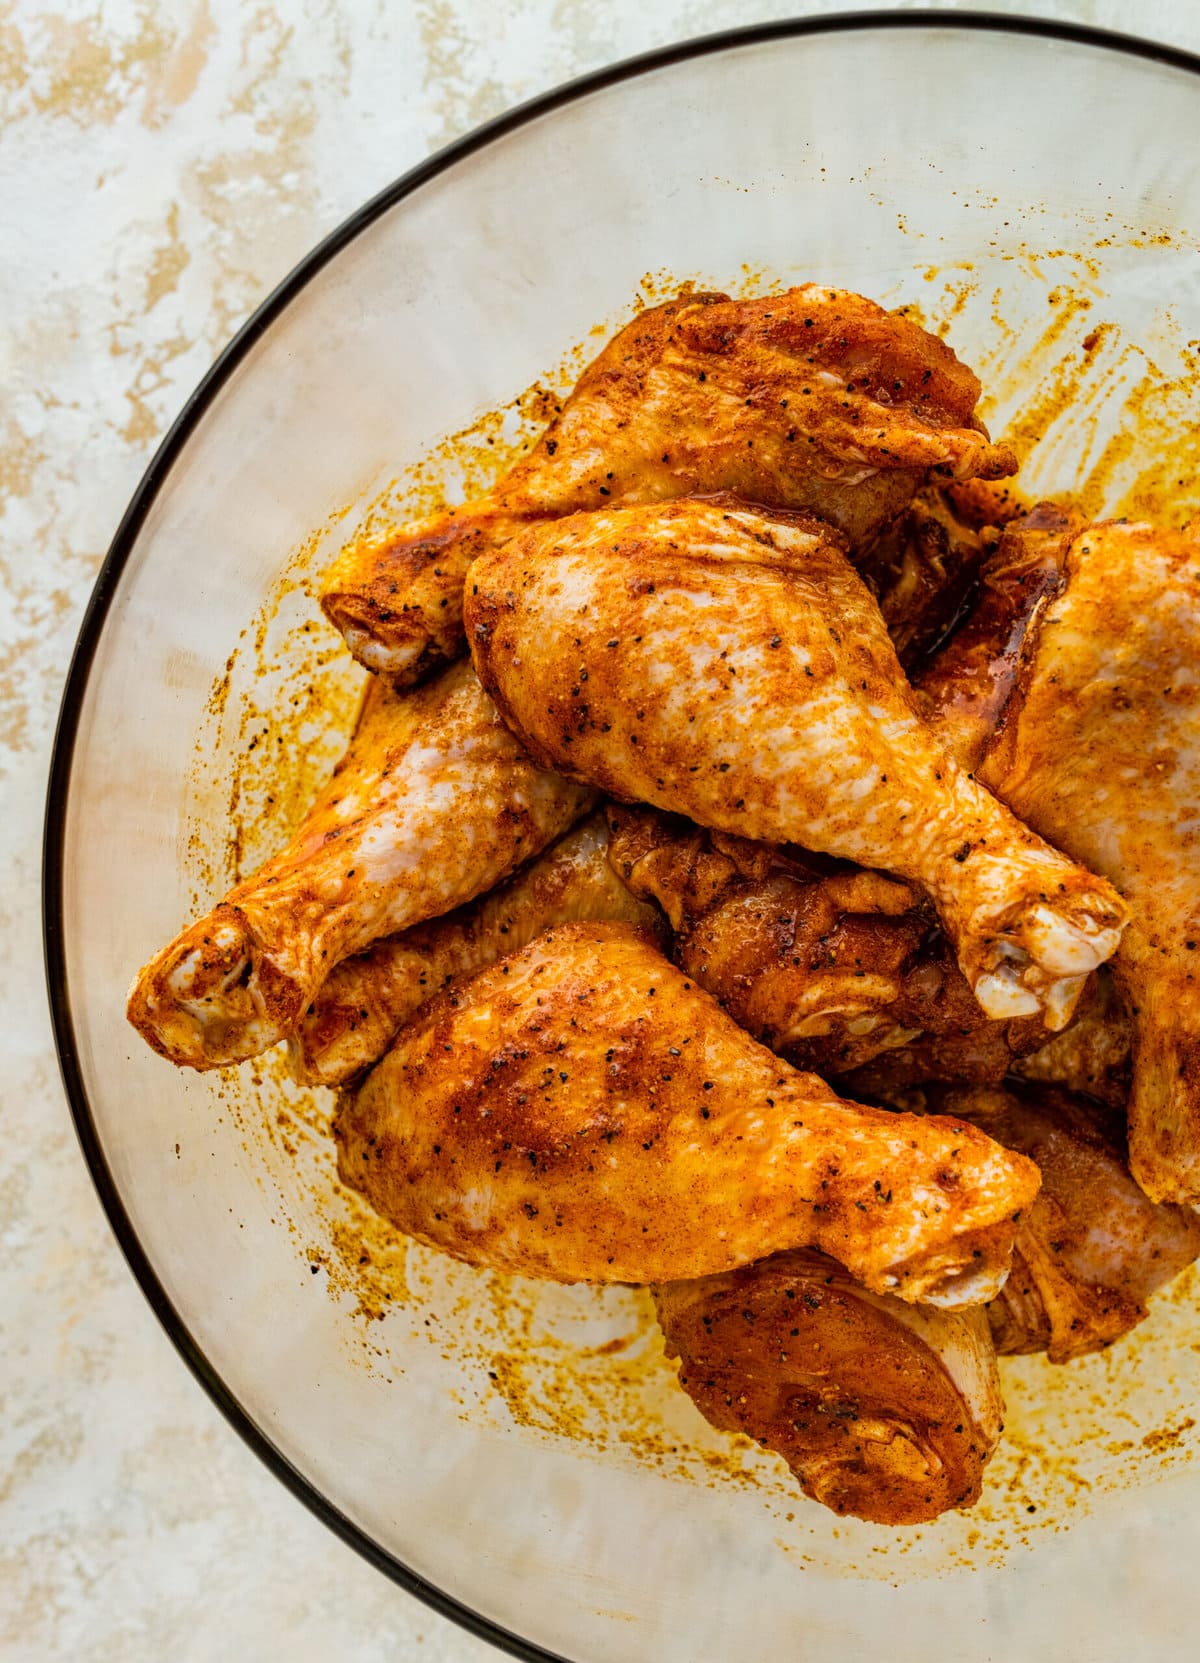
Coat the Drumsticks: Add the chicken drumsticks to the bowl with the seasoning paste. Use your hands or a pastry brush to massage the seasoning evenly onto each drumstick, ensuring they are well coated.
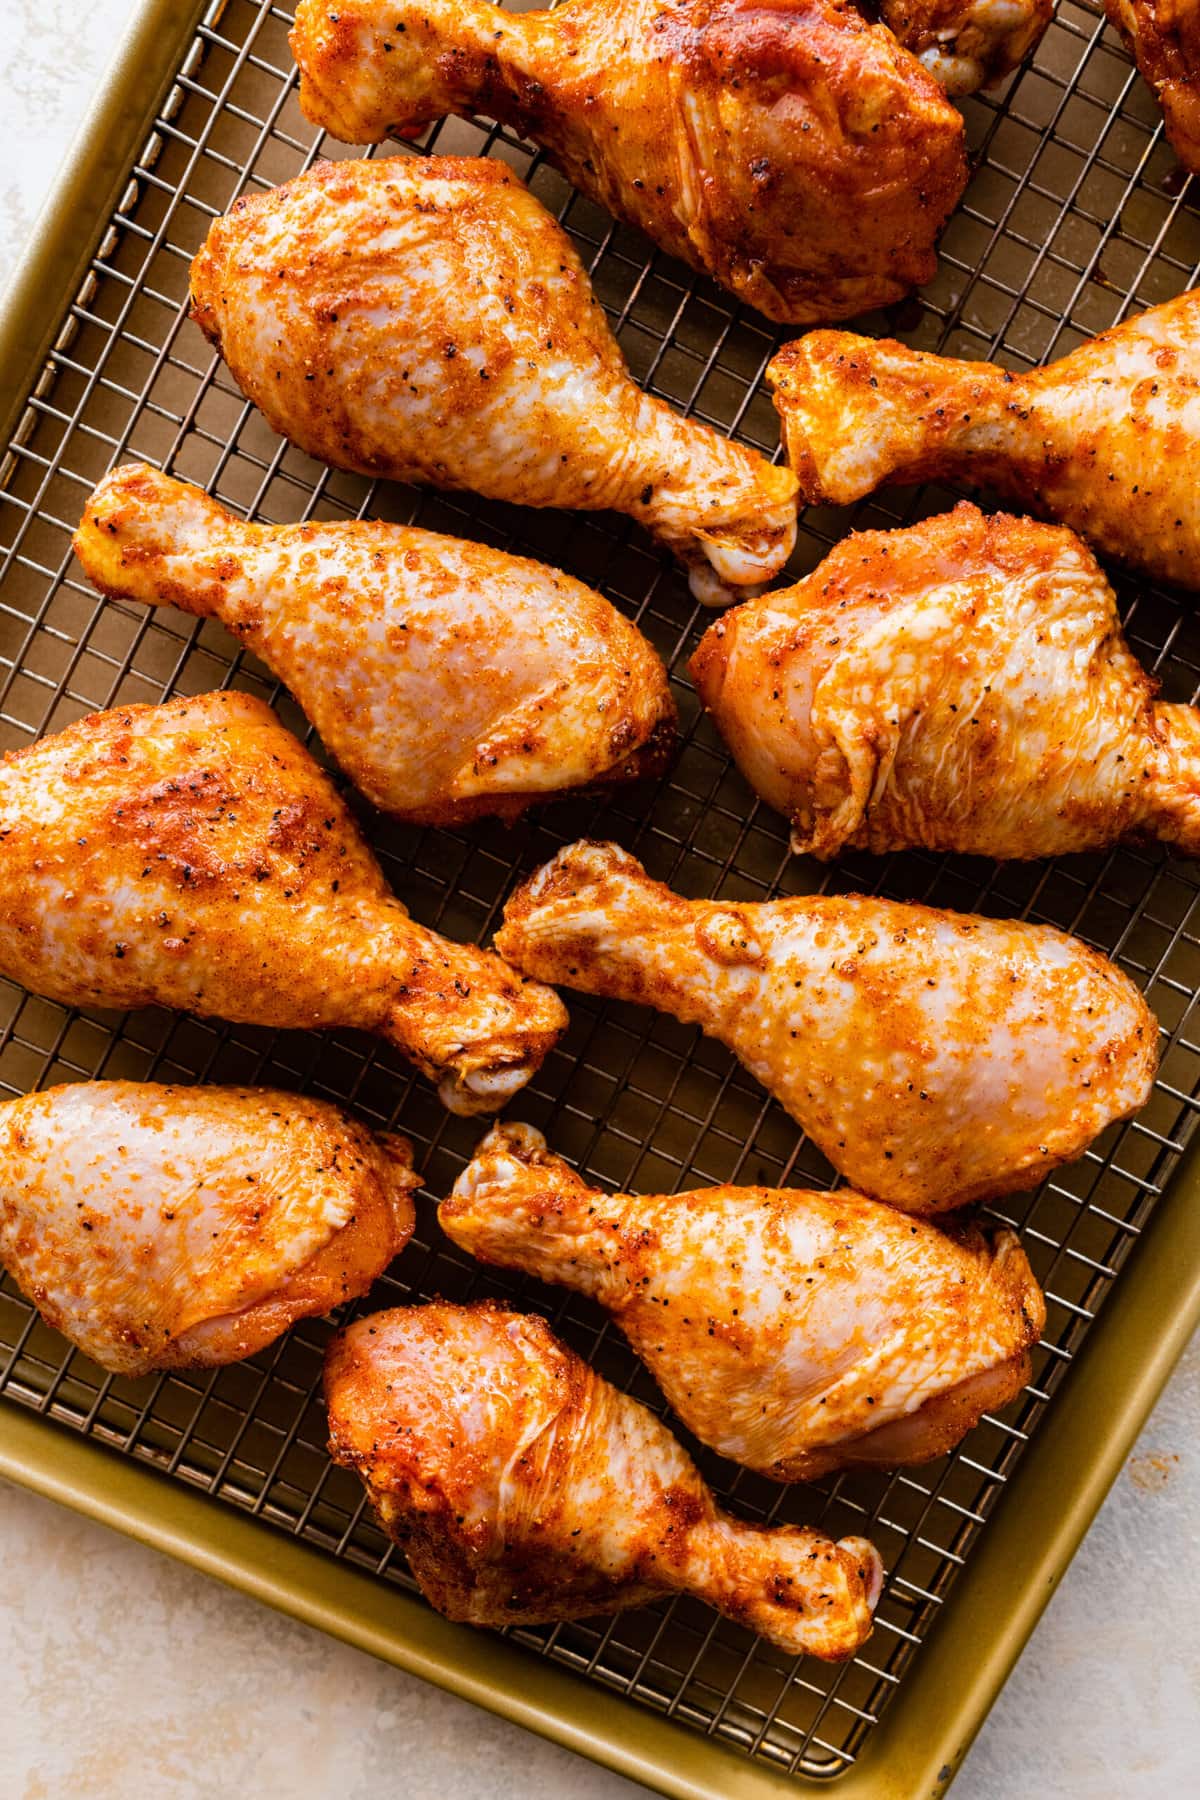
Arrange on a Baking Sheet: Line a rimmed baking sheet or oven-safe baking dish with aluminum foil, or parchment paper, or add a bit of cooking spray or oil. Optional: Place a wire rack on top of the baking sheet. This allows air to circulate the drumsticks, helping them cook evenly and become crispy.
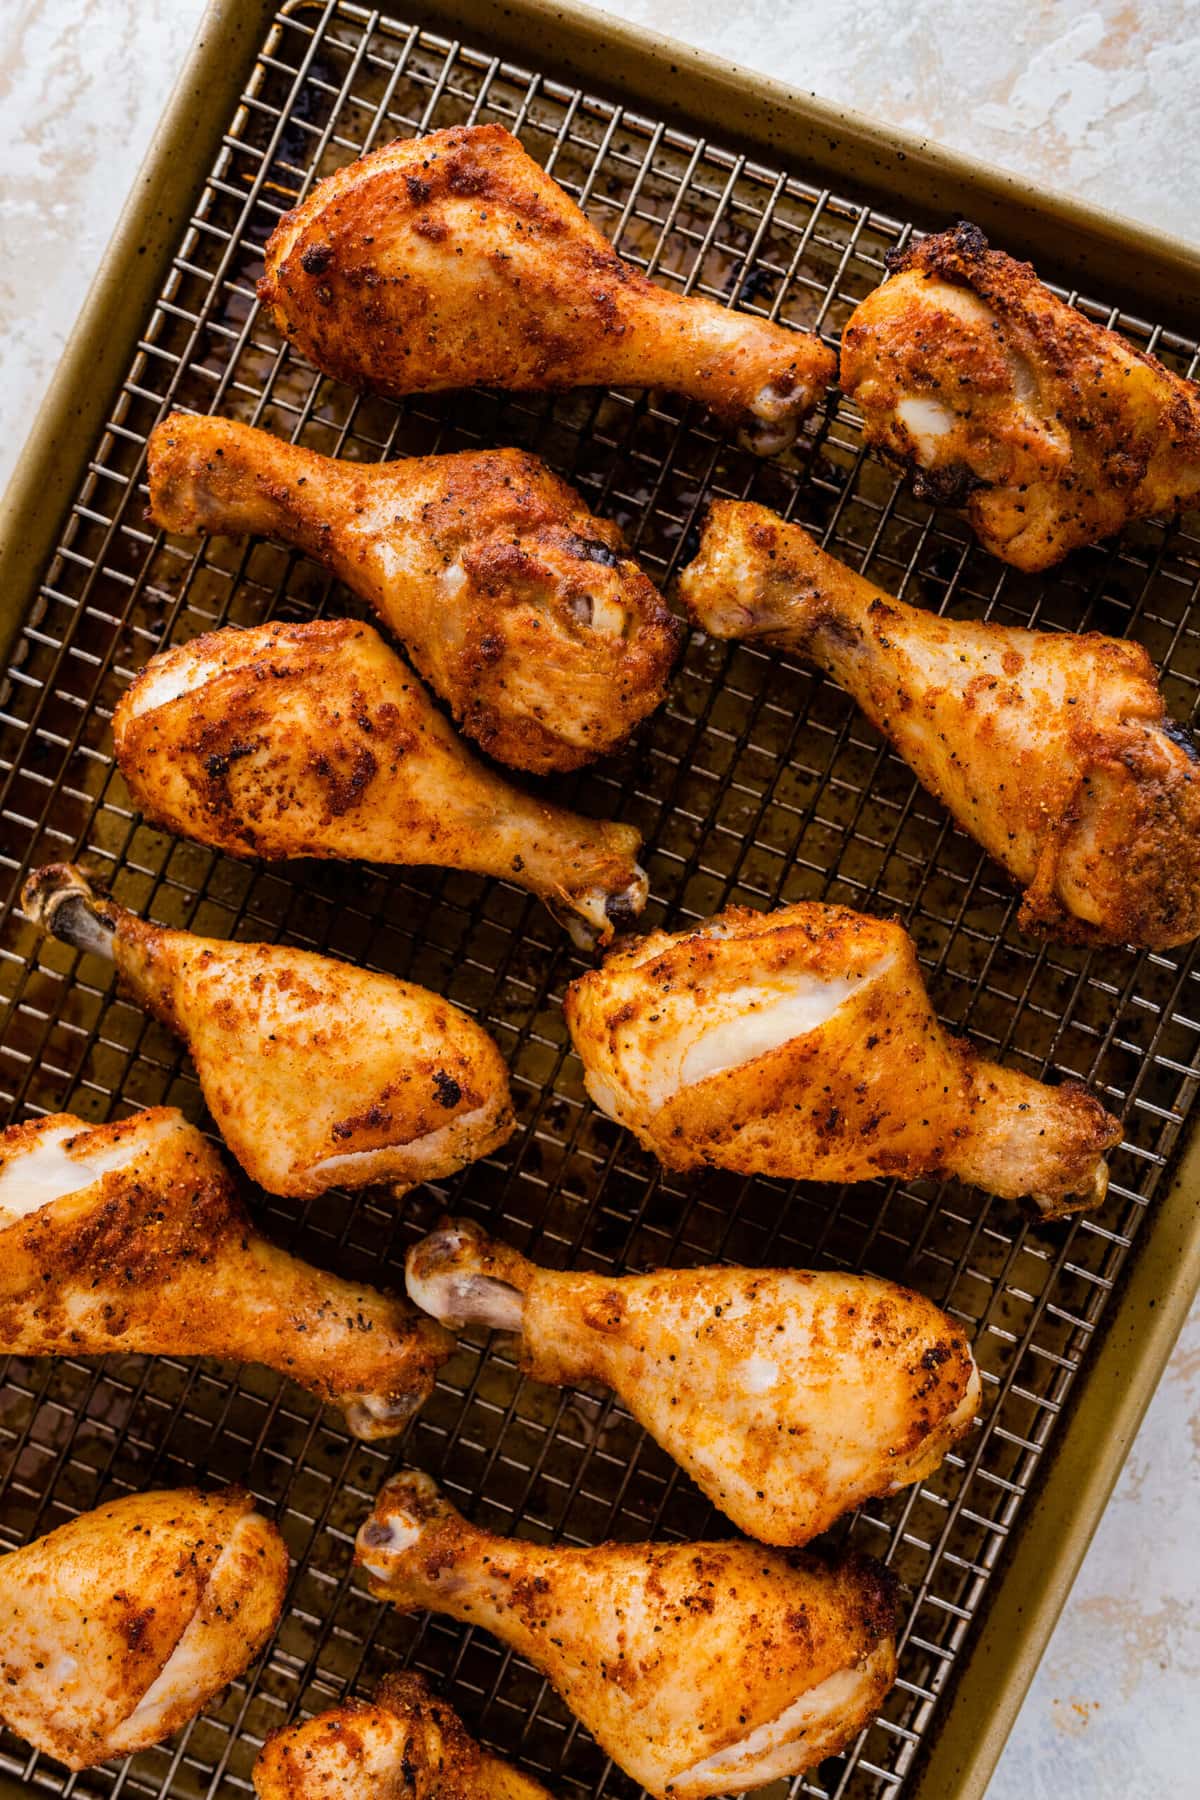
Bake: Arrange the seasoned chicken drumsticks in an even layer, leaving space between each. This helps the heat circulate around the drumsticks. Bake in the preheated oven for about 35-45 minutes or until the chicken is cooked through and the skin is crispy. The cooking time will vary slightly depending on the size of your drumsticks. You can use a meat thermometer to check that the internal temperature of the chicken reaches 165°F (74°C). Place the instant-read thermometer in the thickest part of the chicken to check it.
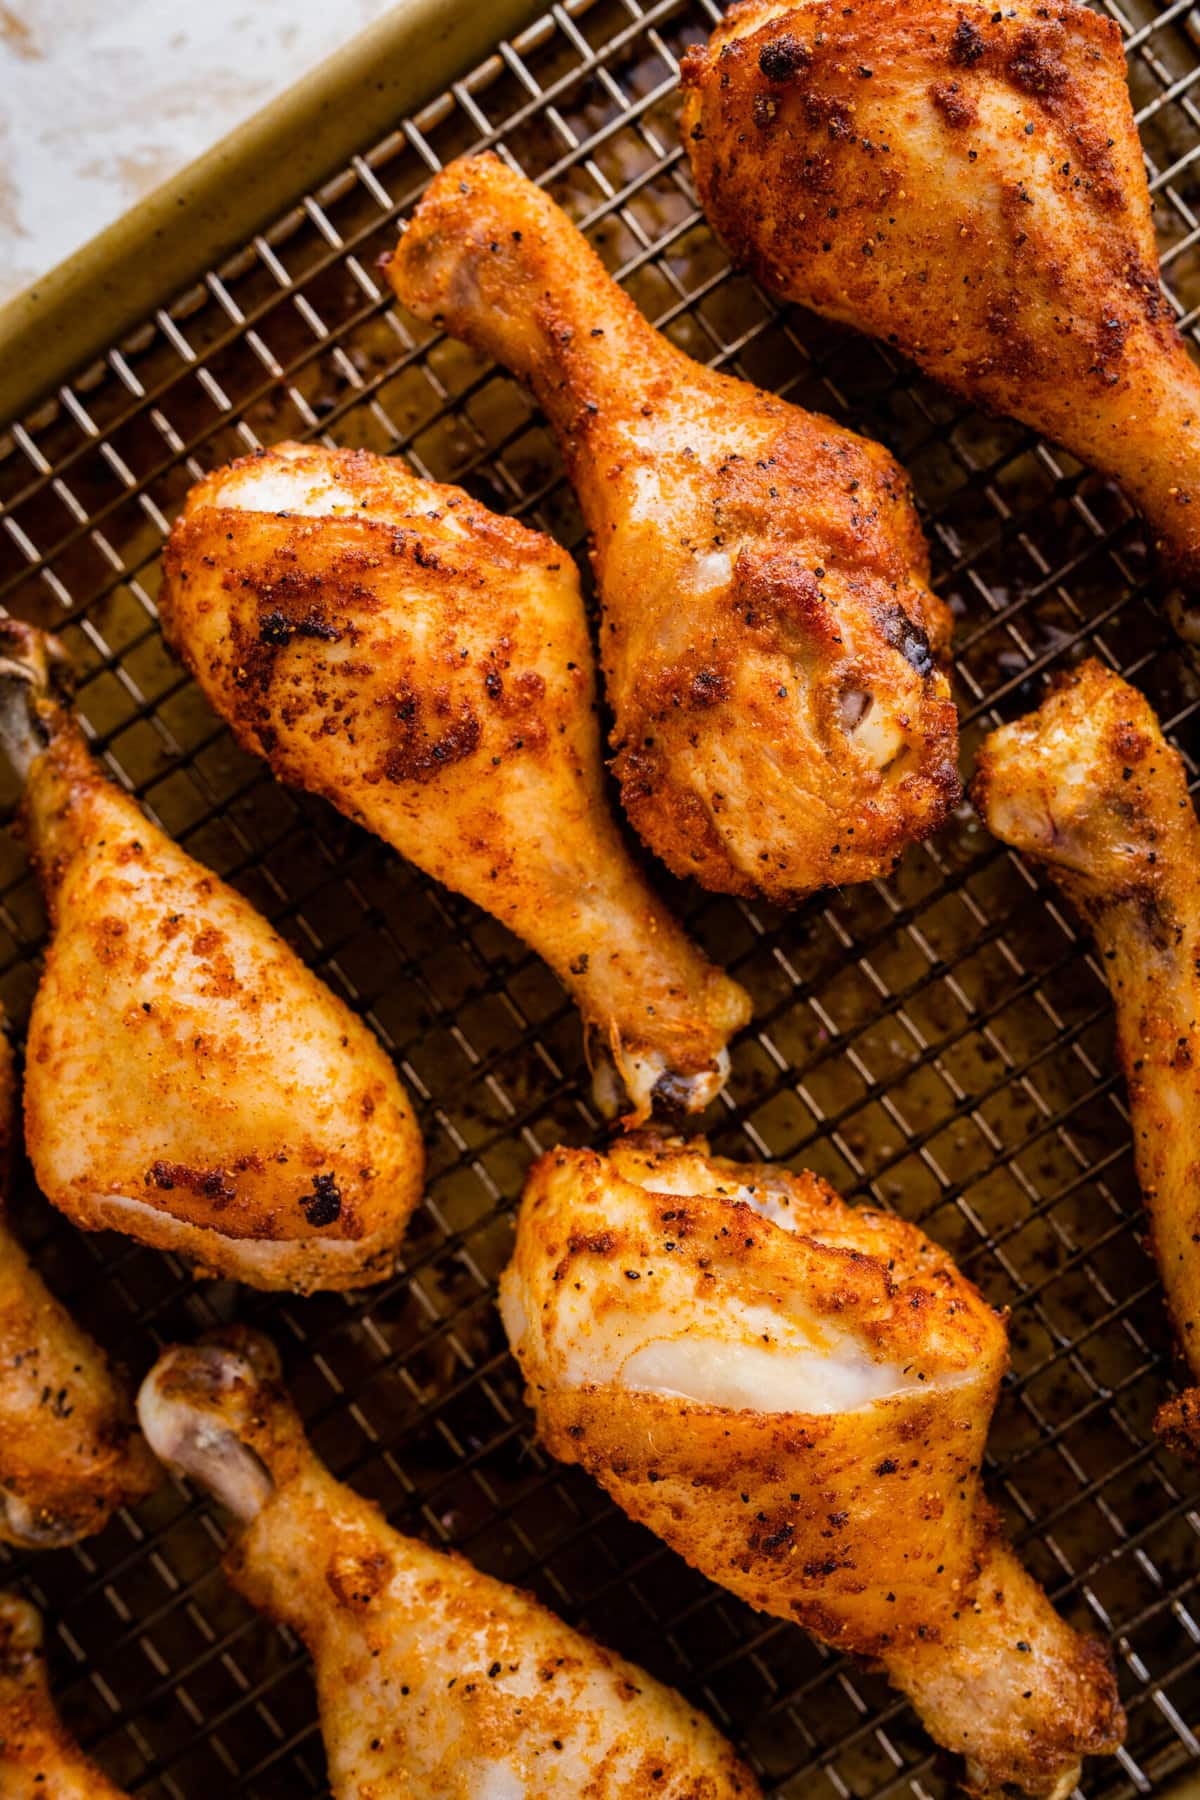
Serve: Once the chicken is cooked to perfection, remove it from the oven and let it rest for a few minutes before serving. This allows the juices to redistribute, keeping the chicken moist and flavorful. Spoon the pan juices over the drumsticks just before serving.
Variations
There are many ways to customize the baked chicken drumsticks recipe and experiment with different ways and flavors to suit your preferences. Here are some recipe variations you can try.
- Honey Mustard Glaze:
- Prepare a glaze by mixing honey, Dijon mustard, minced garlic, and a splash of soy sauce.
- Baste the chicken drumsticks with the honey mustard glaze during the last 10-15 minutes of baking for a sweet and tangy twist.
- Lemon Herb Chicken:
- Zest and juice a lemon and mix it with olive oil, fresh chopped herbs like rosemary, thyme, and parsley, and minced garlic.
- Coat the drumsticks with this lemon herb mixture for a fresh and citrusy flavor.
- BBQ Chicken Drumsticks:
- Use your favorite barbecue sauce as a glaze for the chicken. Apply it during the last 15 minutes of baking.
- You can also marinate the drumsticks in barbecue sauce for a few hours before baking for even more flavor.
- Mediterranean Style:
- Replace the paprika with smoked paprika for a smoky flavor.
- Serve the baked chicken drumsticks with a side of tzatziki sauce, hummus, and a Greek salad.
- Parmesan Crusted Chicken:
- Mix grated Parmesan cheese with breadcrumbs and Italian seasoning.
- After coating the drumsticks with the seasoning mixture, press the Parmesan mixture onto the chicken for a crispy, cheesy crust.
- Lime and Chili:
- Mix lime zest and juice with chili powder, cumin, and a touch of cilantro.
- Coat the chicken drumsticks with this zesty and spicy mixture for a Southwestern twist.
- Maple Glazed Chicken:
- Make a glaze by combining maple syrup, Dijon mustard, and a pinch of cinnamon.
- Brush the glaze over the chicken during the last 10 minutes of baking for a sweet and savory dish.
Best Equipment for Baking Chicken Drumsticks in the Oven
- Good Meat Thermometer– Remember to use a meat thermometer to check the internal temperature of the pork chops to ensure they are cooked to your desired level of doneness.
- Baking Sheet
- Cast-iron Skillet
- Large oven Safe Skillet

Why Baking Chicken Drumsticks at 400 is the Best Temperature
Baking chicken legs at 400°F (200°C) is the right temperature choice for several reasons:
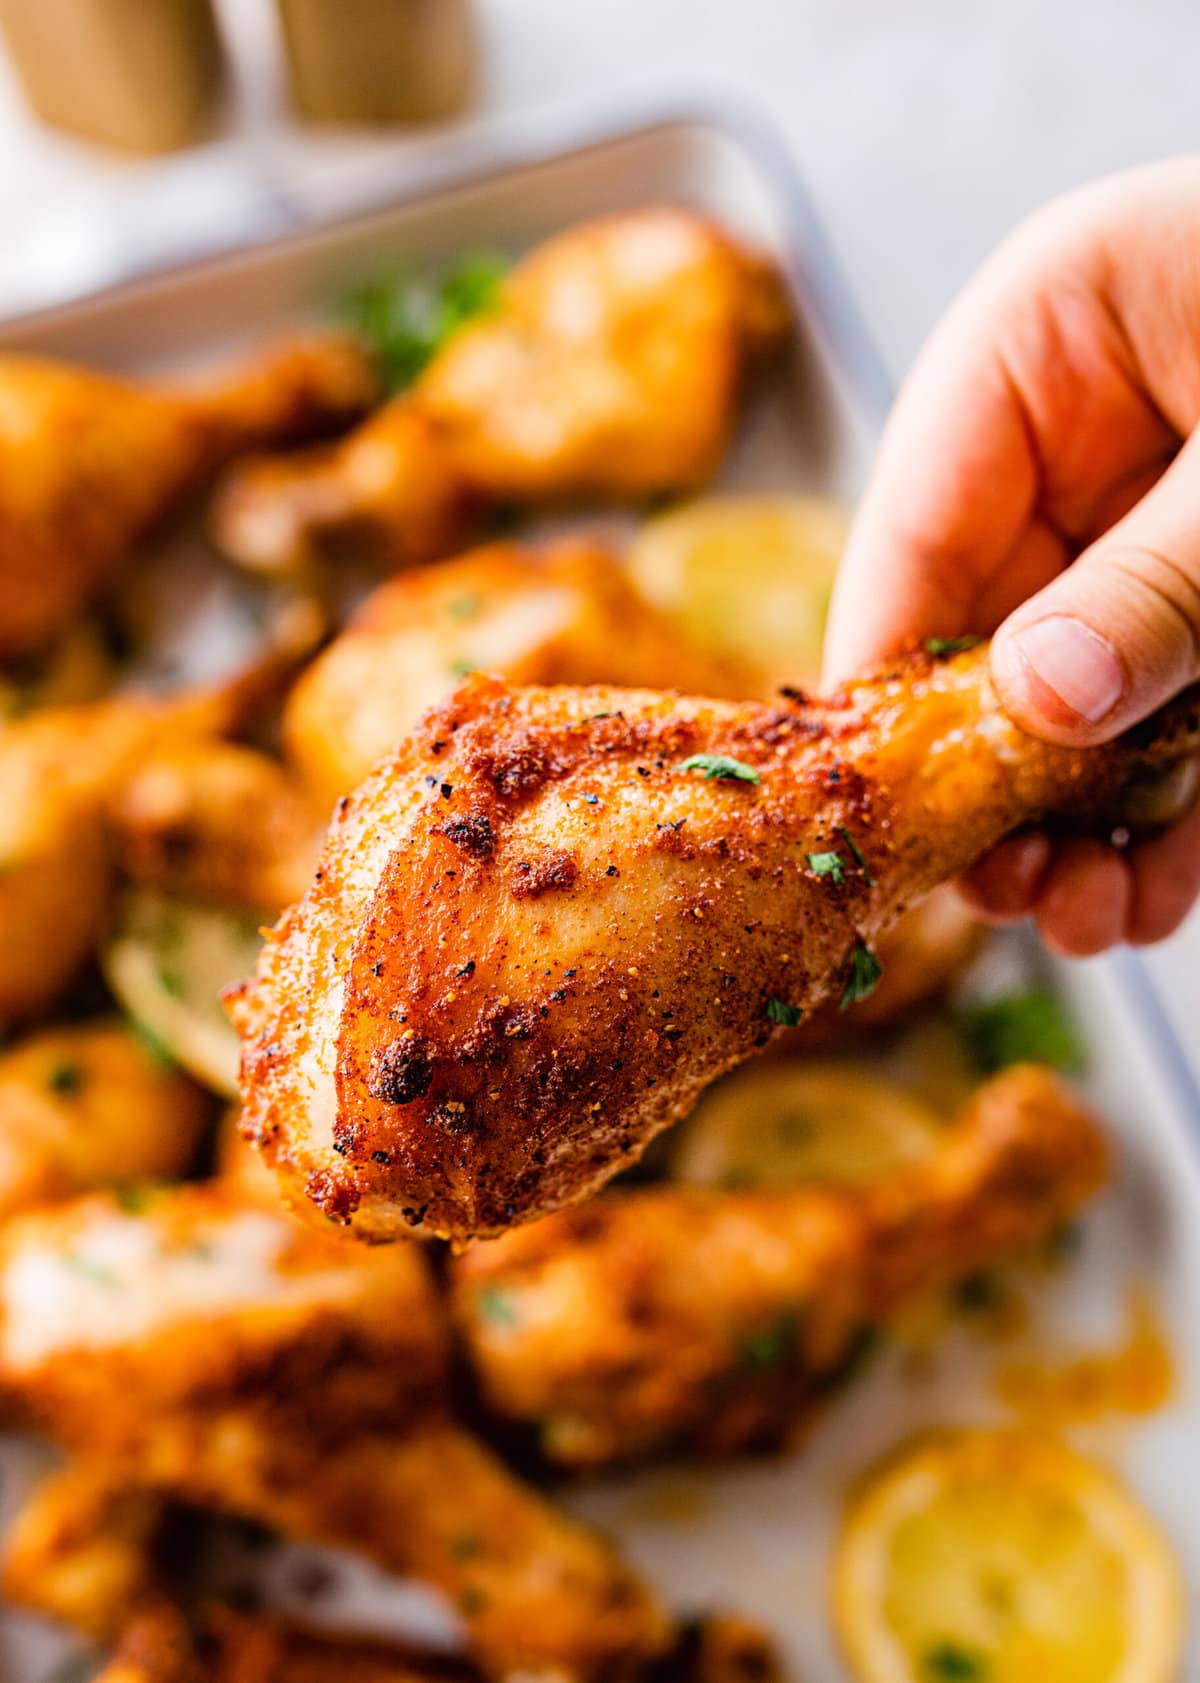
- Balanced Cooking: 400 degrees Fahrenheit provides a good balance between cooking the chicken to a safe internal temperature of 165°F (74°C) and achieving a crispy and golden brown skin. The high heat helps the skin become crispy while allowing the meat to cook evenly.
- Shorter Cooking Time: Baking at 400°F allows for a shorter cooking time than lower temperatures, which is convenient for busy home cooks. The chicken drumsticks can be ready in around 35-45 minutes, depending on their size.
- Flavor Development: The higher temperature encourages the Maillard reaction and caramelization, enhancing the chicken’s flavor and color. This results in a more flavorful and visually appealing dish.
- Tender and Juicy Chicken: While the higher temperature helps crisp up the skin, it also helps retain the moisture within the meat, leading to juicy and tender chicken drumsticks. Cooking at too low a temperature for an extended time can result in dry meat.
You will love this delicious recipe and cooking method for your baked chicken drumsticks.
Storing and Reheating
Storing and reheating baked chicken drumsticks properly is essential to maintain their flavor and texture. Here’s how to do it:
Storing:
- Refrigerate: If you have leftover baked chicken drumsticks, allow them to cool to room temperature before refrigerating. Place them in an airtight container or wrap them tightly in aluminum foil or plastic wrap. Store in the refrigerator for up to 3-4 days.
- Freeze: If you want to store the chicken for an extended period, freezing is a good option. Place the cooled drumsticks in an airtight freezer-safe container or freezer bag. Be sure to remove as much air as possible to prevent freezer burn. Label the container with the date. Frozen chicken can be kept for up to 2-3 months.
Reheating:
- Oven Method (Recommended for Crispy Skin):
- Preheat your oven to 350°F (175°C).
- Place the chicken drumsticks on a baking sheet lined with aluminum foil or parchment paper.
- Bake for 15-20 minutes or until the chicken is heated through and the skin is crispy again. The exact time may vary based on the size and thickness of the drumsticks.
- Microwave Method (Quick Option):
- For a faster option, you can use the microwave. Place the chicken on a microwave-safe plate.
- Heat on medium power in 30-second increments, checking after each increment to ensure you don’t overheat and dry out the chicken. It usually takes about 1-2 minutes, but this can vary depending on the microwave’s wattage.
- Air Fryer Method (Maintains Crispiness):
- Preheat your air fryer to 375°F (190°C).
- Place the chicken drumsticks in a single layer in the air fryer basket.
- Cook for 5-7 minutes, turning them halfway through to ensure even heating. The hot air circulation in the air fryer helps maintain the crispy skin.
Top Tips for Best Results
- Use a Meat Thermometer: Invest in a reliable meat thermometer to ensure your chicken reaches an internal temperature of 165°F (74°C). This guarantees that the chicken is safe to eat and prevents overcooking, which can result in dry meat.
- Pat Dry the Chicken: Before seasoning, use paper towels to pat dry the chicken drumsticks thoroughly. Dry chicken skin crisps up better during baking, resulting in a better texture.
- Marinate for Extra Flavor: Marinate the chicken in the seasoning mix for a few hours or overnight in the refrigerator. This enhances the flavor and tenderness of the meat.
- Don’t Overcrowd the Pan: Leave space between the chicken drumsticks on the baking sheet. Overcrowding can hinder proper air circulation and lead to uneven cooking.
- Crispy Skin Finish: To make sure the skin is crispy, you can broil the chicken for the last few minutes of cooking. Keep a close eye on it to prevent burning.
- Rest Before Serving: Allow the baked chicken drumsticks to rest for a few minutes after taking them out of the oven. This allows the juices to redistribute, keeping the meat moist.
- Serve with Fresh Herbs or Citrus: Garnish the chicken with fresh herbs like parsley, cilantro, or chives, or a squeeze of citrus juice (lemon, lime, or orange) to brighten up the flavors.
- Customize Seasonings: Feel free to experiment with different seasonings, spices, and herbs to create unique flavor profiles. The options are endless, and you can tailor the dish to your preferences.
FAQ
Baking times for chicken drumsticks can vary depending on the size of the drumsticks and your specific oven, so it’s important to use a meat thermometer.
General guidelines for baking chicken drumsticks at different temperatures:
Baking Temperature: 375°F (190°C)
Bake for approximately 40-45 minutes.
Baking Temperature: 400°F (200°C)
Bake for approximately 35-40 minutes.
Baking Temperature: 425°F (220°C)
Bake for approximately 30-35 minutes.
Baking Temperature: 450°F (230°C)
Bake for approximately 25-30 minutes.
Ensure the chicken reaches an internal temperature of 165°F (74°C). Insert the thermometer into the thickest part of the drumstick, avoiding contact with the bone. You can increase or decrease the baking time slightly depending on whether you want your chicken drumsticks to be more tender (longer cooking time) or crisper (shorter cooking time).
It’s recommended to use thawed chicken drumsticks for this recipe. Cooking frozen chicken can result in uneven cooking, and it may take significantly longer to cook. You must increase the cooking time by 50% (according to FDA).
While a meat thermometer is the most accurate way to determine doneness, you can also check for doneness by cutting into one of the drumsticks. The juices should run clear, and the meat should no longer be pink near the bone. However, using a thermometer is recommended for the best results.
To achieve extra crispy skin, you can start by patting the chicken drumsticks very dry before applying the seasoning. You can also place the seasoned drumsticks on a wire rack set on the baking sheet to allow air circulation around the chicken.
More Chicken Recipes
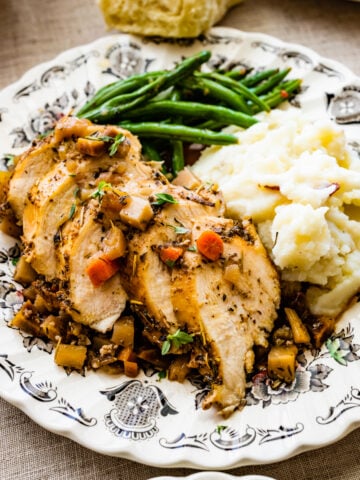
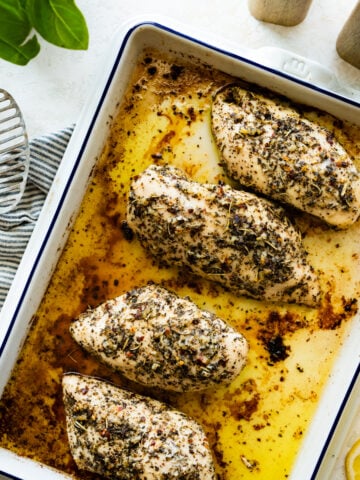
Looking for other recipes like this? Try these:
What to Serve with Baked Chicken Drum Sticks
These are my favorite dishes to serve with oven-baked chicken drumsticks:
💙 MADE THIS RECIPE AND LOVED IT? 💙 Please leave a ⭐️STAR rating and COMMENT below- I love connecting with you! Tag me with your creations on Instagram and find me on Pinterest.
Print
Best Baked Chicken Drumsticks
How Long to Bake Chicken Drumsticks at 400– these are the best-baked chicken drumsticks! This cooking method always delivers crispy, golden brown, and super tender chicken. A delicious and easy-to-make meal that’s simple and flavorful for busy weeknights.
- Total Time: 50 min
- Yield: 8–10 servings 1x
Ingredients
- 12 chicken drumsticks skin on (about 2 lbs.)
- 3 tablespoons olive oil
- 1 teaspoon garlic powder
- 1 teaspoon onion powder
- 1 teaspoon smoked paprika
- 1 teaspoon kosher salt (adjust to taste)
- 1/2 teaspoon black pepper (adjust to taste)
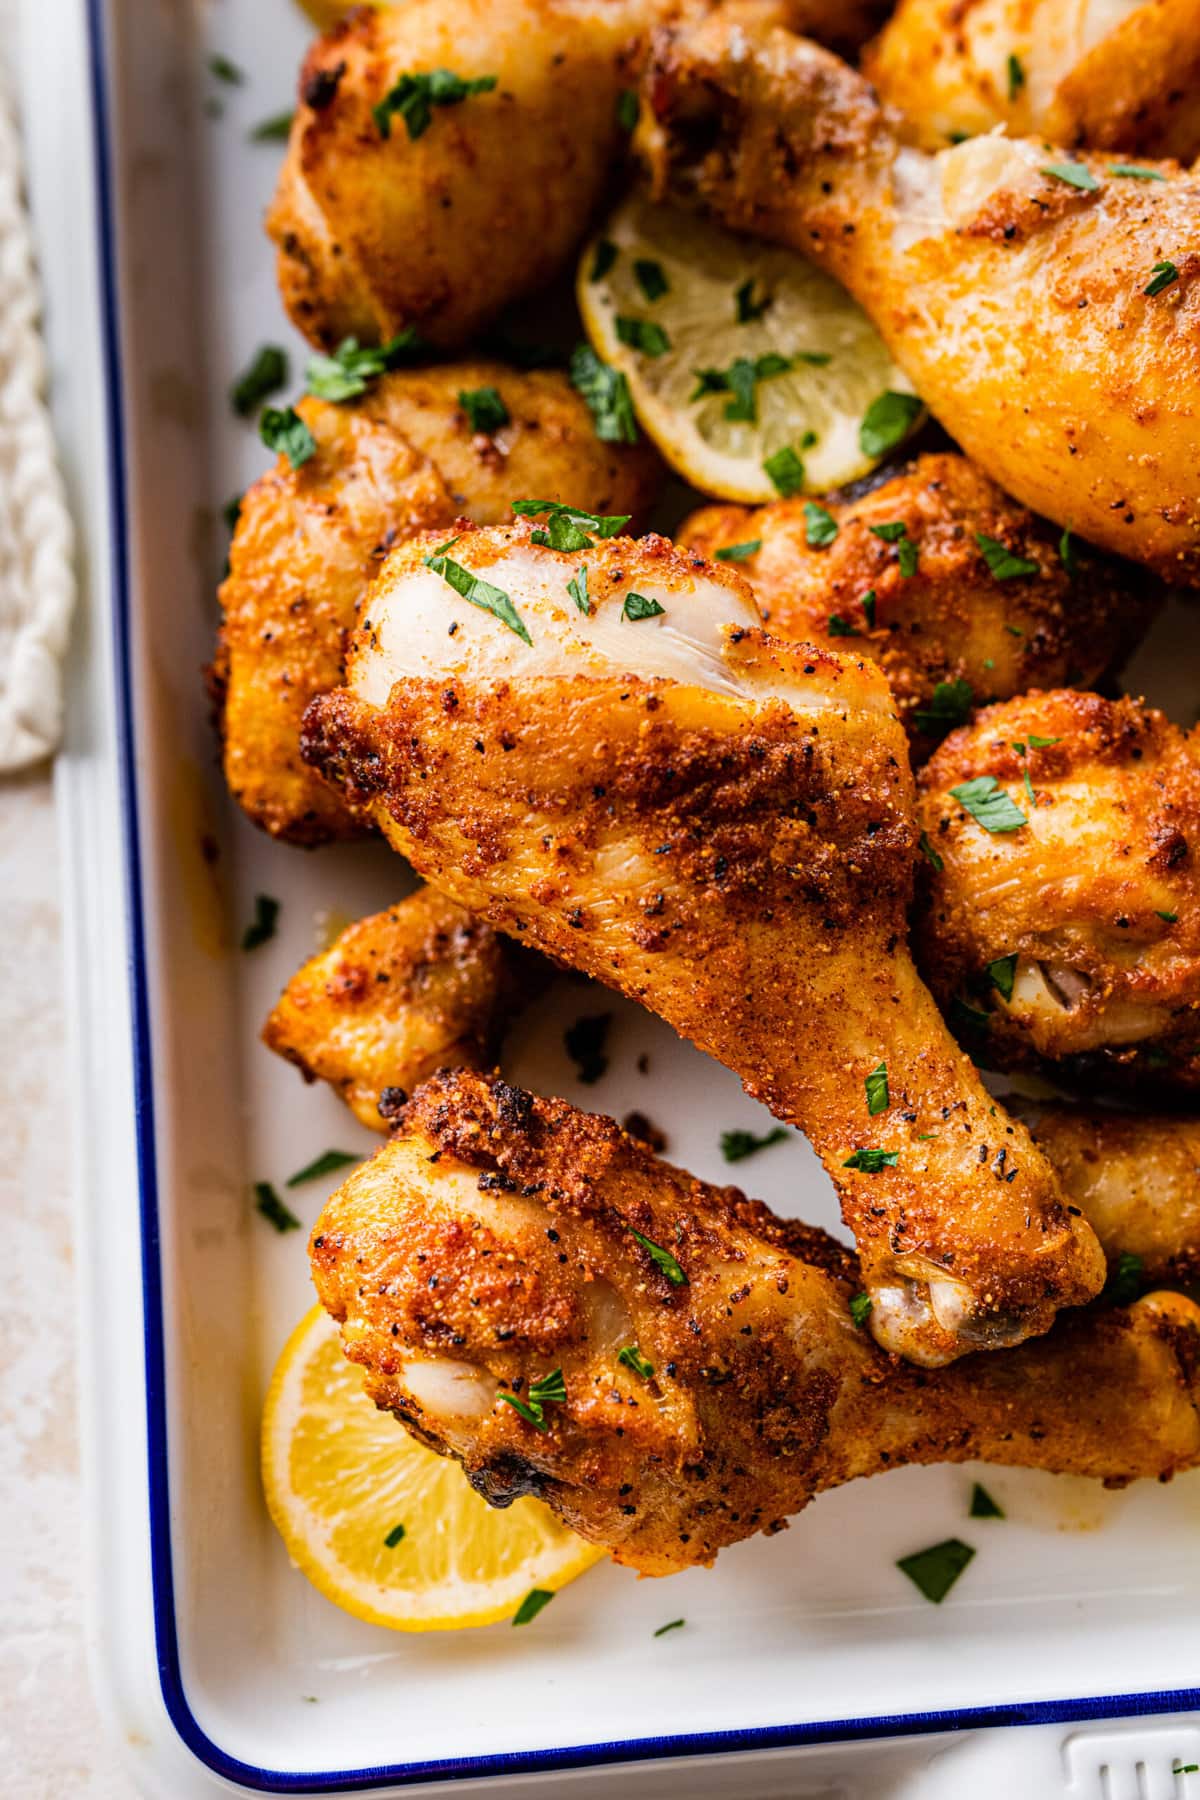
- Garnish: Sliced lemons and freshly chopped parsley (optional)
Instructions
- Preheat your oven to 400°F (200°C) and place the rack in the middle position.
- Prepare the Chicken: Pat the chicken drumsticks dry with paper towels to remove excess moisture. This helps the skin get crispy. If there’s excess skin or fat, you can trim it off.
- Season the Chicken: In a large mixing bowl, combine the olive oil, garlic powder, onion powder, paprika, salt, and black pepper. Mix well to create a flavorful seasoning paste.
- Coat the Drumsticks: Add the chicken drumsticks to the bowl with the seasoning paste. Use your hands or a pastry brush to massage the seasoning evenly onto each drumstick, ensuring they are well coated.
- Arrange on a Baking Sheet: Line a rimmed baking sheet or oven-safe baking dish with aluminum foil, or parchment paper, or add a bit of cooking spray or oil. Optional: Place a wire rack on top of the baking sheet. This allows air to circulate the drumsticks, helping them cook evenly and become crispy.
- Bake: Arrange the seasoned chicken drumsticks in an even layer, leaving space between each. This helps the heat circulate around the drumsticks. Bake in the preheated oven for about 35-45 minutes or until the chicken is cooked through and the skin is crispy. The cooking time will vary slightly depending on the size of your drumsticks. You can use a meat thermometer to check that the internal temperature of the chicken reaches 165°F (74°C). Place the instant-read thermometer in the thickest part of the chicken to check it.
- Serve: Once the chicken is cooked to perfection, remove it from the oven and let it rest for a few minutes before serving. This allows the juices to redistribute, keeping the chicken moist and flavorful. Spoon the pan juices over the drumsticks just before serving.
- Optional Garnish: You can garnish the baked chicken drumsticks with fresh herbs like chopped parsley or a squeeze of lemon juice for an extra burst of flavor.
Notes
- See the blog post above for recipe seasoning variations.
- Prep Time: 5 min
- Cook Time: 45 minutes
- Category: Savory
- Method: Italian
- Cuisine: American



Delicious! Family loved it. Thanks for the recipe 💜
Happy everyone loved it! It’s a great one to make on rotation.
We had this for a quick Sunday dinner today and we LOVED it! Thank you for sharing! Lori from Texas!
Hi Lori! Happy you loved them. They are easy and loved by all.
Easy, quick and delicious!
Happy you loved it!
We used thighs instead of legs, because it’s what we had on hand. The meat was flavorful and juicy; the skin was crispy. We will make this again. A+ Elena. Thank you.
Yumm! Sounds great. I’m happy you loved them.