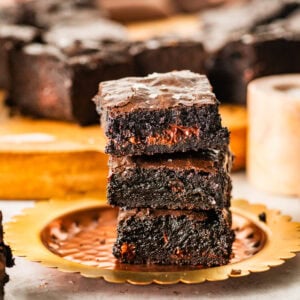
Brown Butter Brownies (Fudgy Every Time)
This post may contain affiliate links. Please read our disclosure policy.
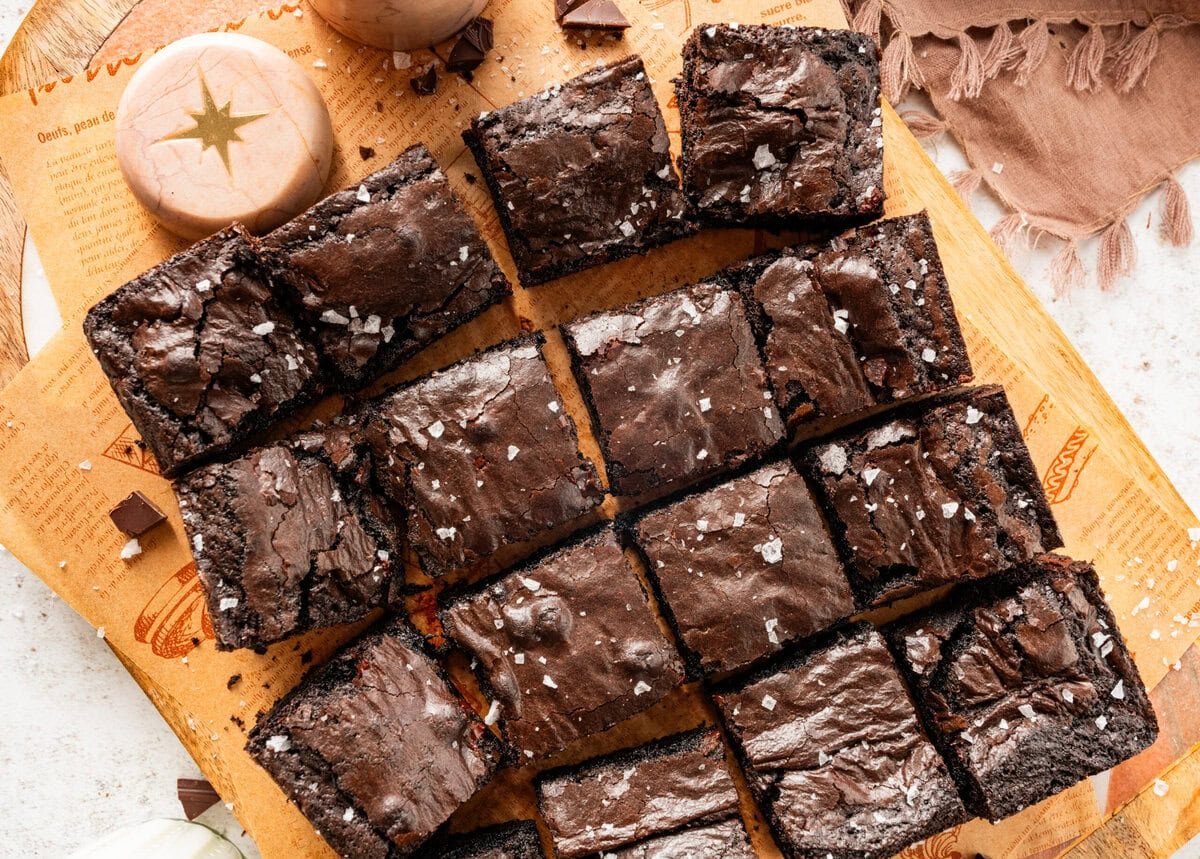
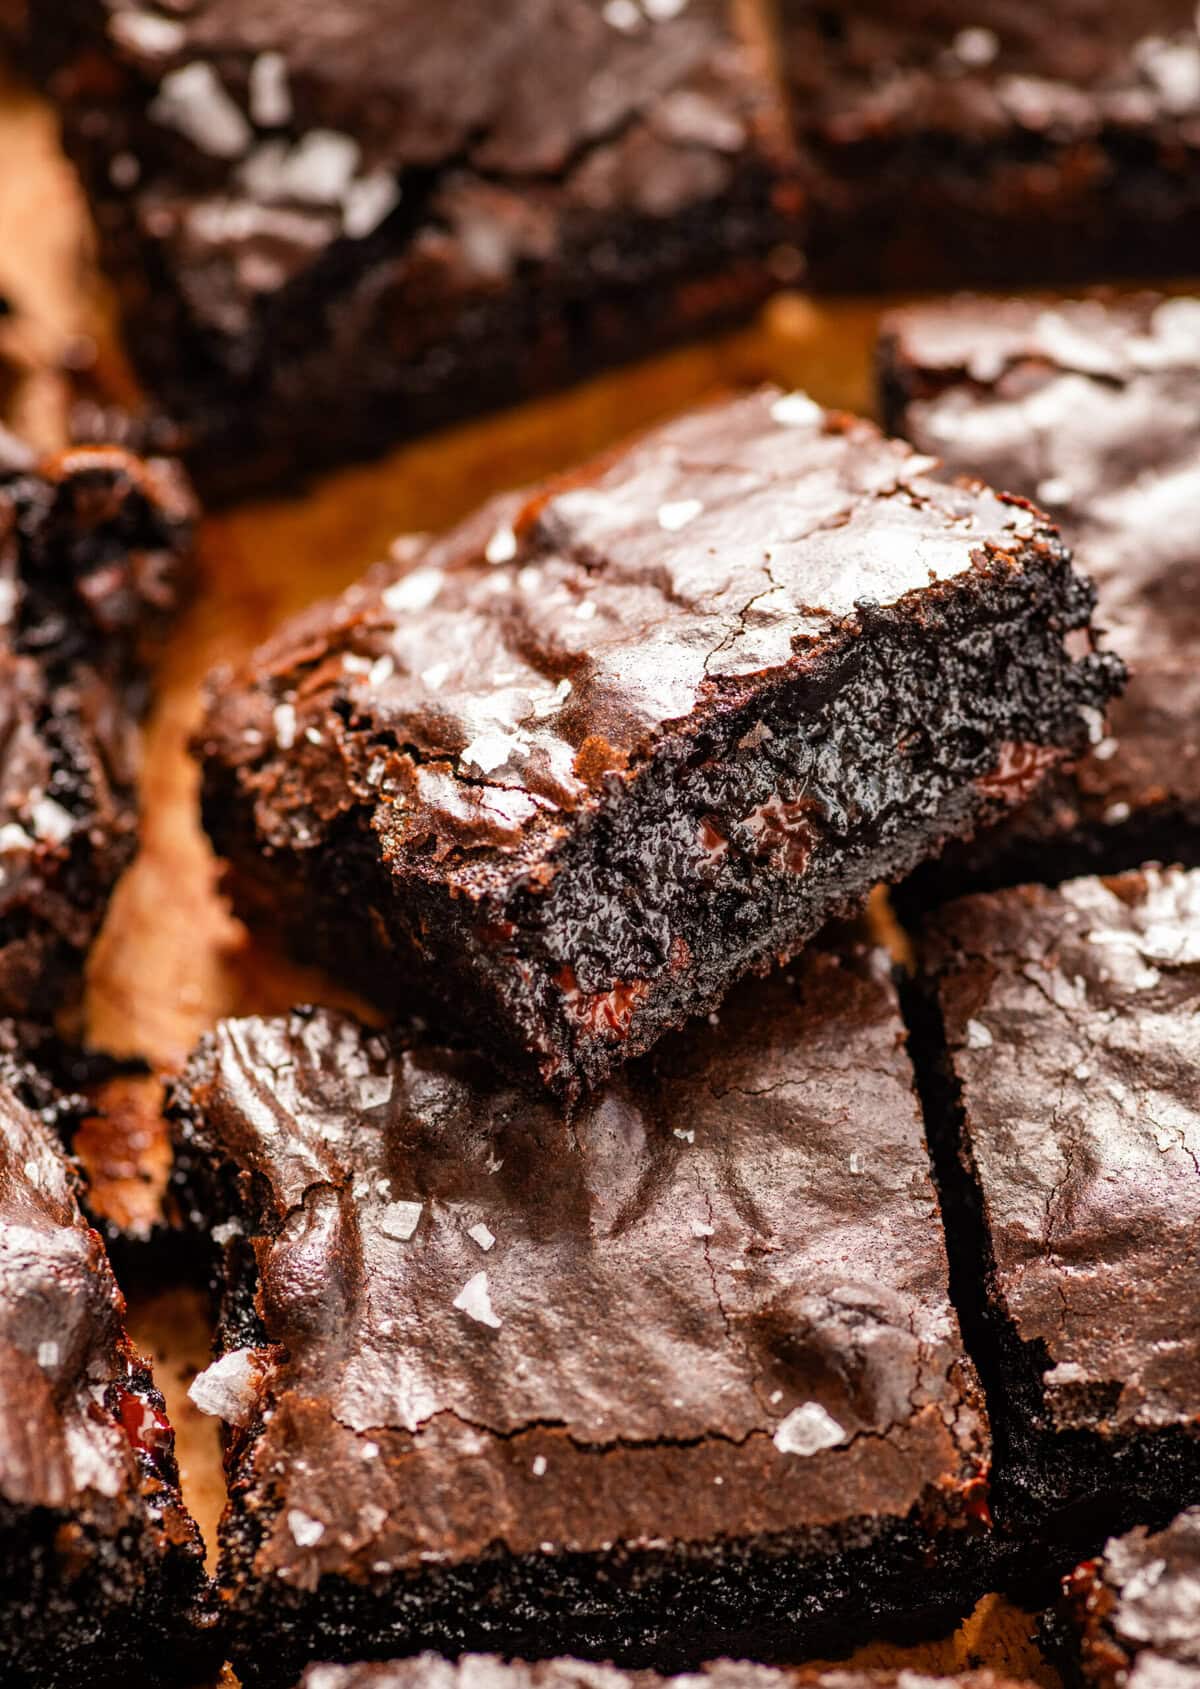
These rich, fudgy brown butter brownies are deeply chocolatey with glossy, crinkly crusts and a melt-in-your-mouth texture. Browning the butter adds a nutty depth you won’t find in ordinary brownies. This will cure any chocolate cravings- enjoy!
You’ll also love my pecan pie brownies, chocolate tiramisu, and chocolate olive oil cake.

Quick Look at This Recipe
- Prep Time: 15 minutes
- Cook Time: 24–30 minutes
- Total Time: 40–45 minutes
- Servings: 9–12 brownies
- Dietary Info: Vegetarian
- Method: Stovetop + Oven
- Technique: Brown butter + whipped egg-sugar aeration
- Flavor/Texture: Deep chocolate, nutty aroma, fudgy center, glossy crackly top
Why you’ll love these fudgy brownies!
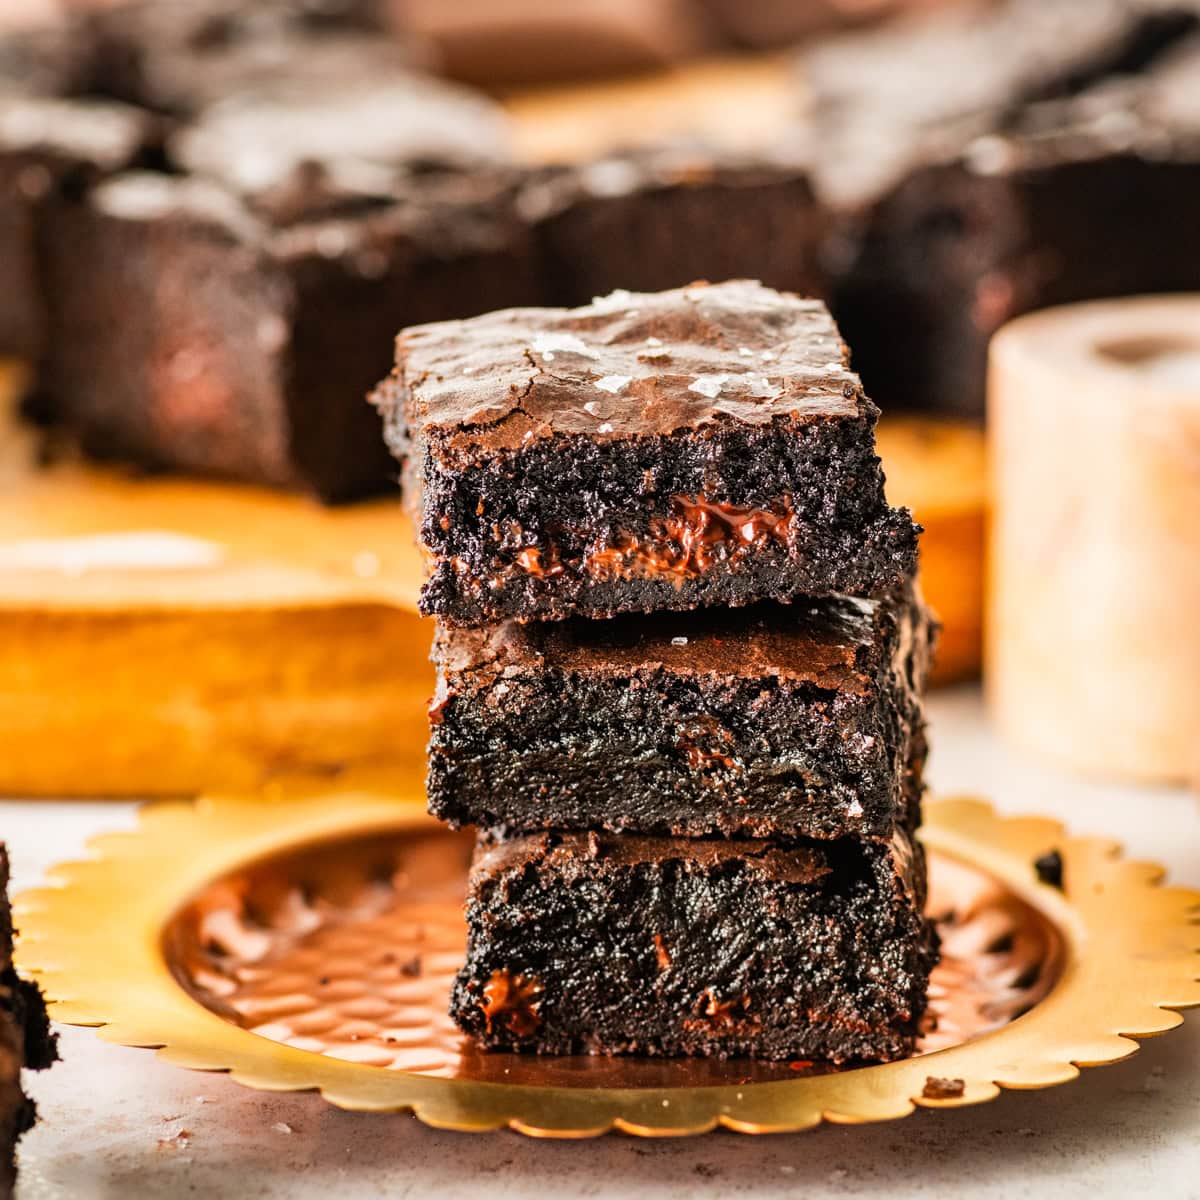
Intensely chocolatey, fudgy-centered, glossy-topped homemade brownie recipe made with nutty brown butter are rich, fragrant, and melt-in-your-mouth decadent. Here’s why these brownies stand out:
- Exceptionally clear brown-butter instructions—so you get it just right!
- Whipped egg–sugar base makes the shiny, crackly top reliably. The real secret no one shows you how to achieve!
- Cocoa added directly into hot brown butter blooms flavor and prevents graininess.
- Pan cooling —a must for professional-looking slices.
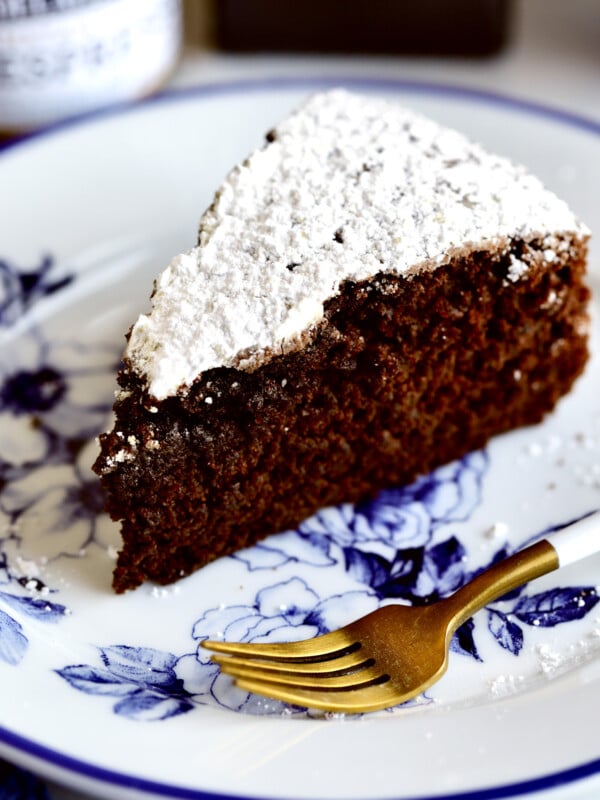
Try my Torta Caprese (Chocolate Almond Flourless Cake) and Butter Cake Recipe next time. Happy baking!
Made With Amore,

Table of Contents
Ingredients for Brown Butter Brownies
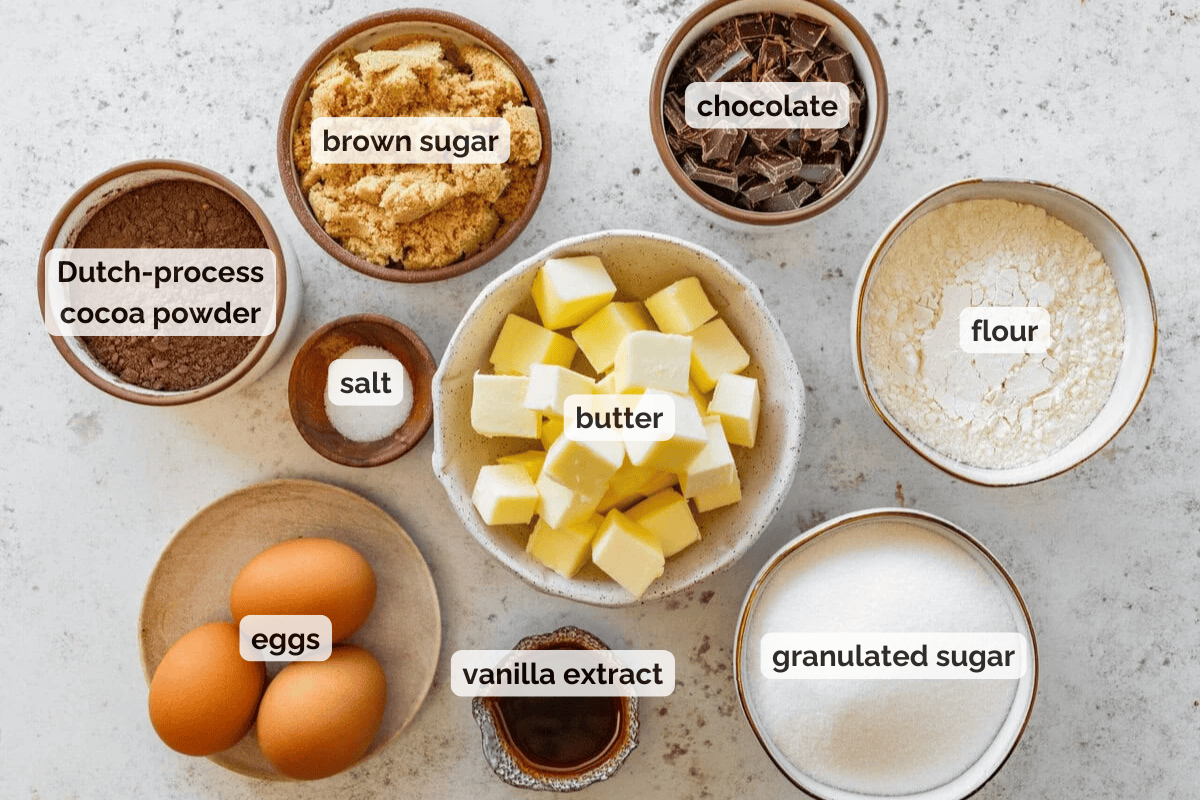
- Butter (unsalted, cubed)- Browning the butter builds the rich, nutty backbone of these brownies, giving a unique depth of flavor.
- Cacao or unsweetened cocoa powder- Whisked directly into the hot brown butter to bloom the chocolate flavor.
- Granulated sugar + light brown sugar- The combination adds sweetness, moisture, and helps create that shiny, crinkly top.
- Eggs (room temperature)- Whipped with sugar until thick, pale, and airy—this is the secret to luxurious texture.
- Pure vanilla extract- Rounds out the chocolate and adds warmth.
- All-purpose flour- Used sparingly to keep the brownies fudgy rather than cakey.
- Salt- Balances the sweetness and enhances the chocolate notes.
- Chocolate chips or chopped chocolate (optional)- Adds melty pockets of chocolate throughout the brownies.
See the recipe card for exact quantities.
Substitutions and Variations
- Cocoa Options: Use Dutch-process for a deeper, smoother chocolate profile; natural cocoa gives a slightly brighter flavor. Both work—just don’t reduce the amount.
- Butter Swap: If using salted butter, reduce added salt to a pinch. European butter browns more evenly and gives the richest flavor.
- Gluten-Free Version: Replace flour 1:1 with a high-quality GF blend. Expect slightly softer edges but still fudgy centers.
- Extra Fudgy Variation: Add 2 ounces of melted dark chocolate to the browned butter before adding cocoa. Try my chocolate chip ricotta cake.
- Nutty Variation: Fold in toasted walnuts, pecans, or hazelnuts for contrast against the fudgy base. You’ll love my homemade Nutella recipe.
- Salted Brownies: Finish with flaky sea salt while warm—balances sweetness and brings out the brown butter.
- Espresso Boost: Add 1 teaspoon instant espresso to the cocoa when whisking into the hot brown butter to enhance the chocolate depth (no coffee taste). Try my authentic tiramisu recipe.
- Chocolate Chunks: Chopped bar chocolate melts creamier than chips—my favorite upgrade.
How To Make Brown Butter Brownies Recipe
This is a step-by-step photo overview of this fudgy brownies recipe; the full instrcutions are in the recipe card below.
Step #1: Preheat the oven to 350°F (175°C). Line an 8×8-inch baking pan with parchment paper and set aside.
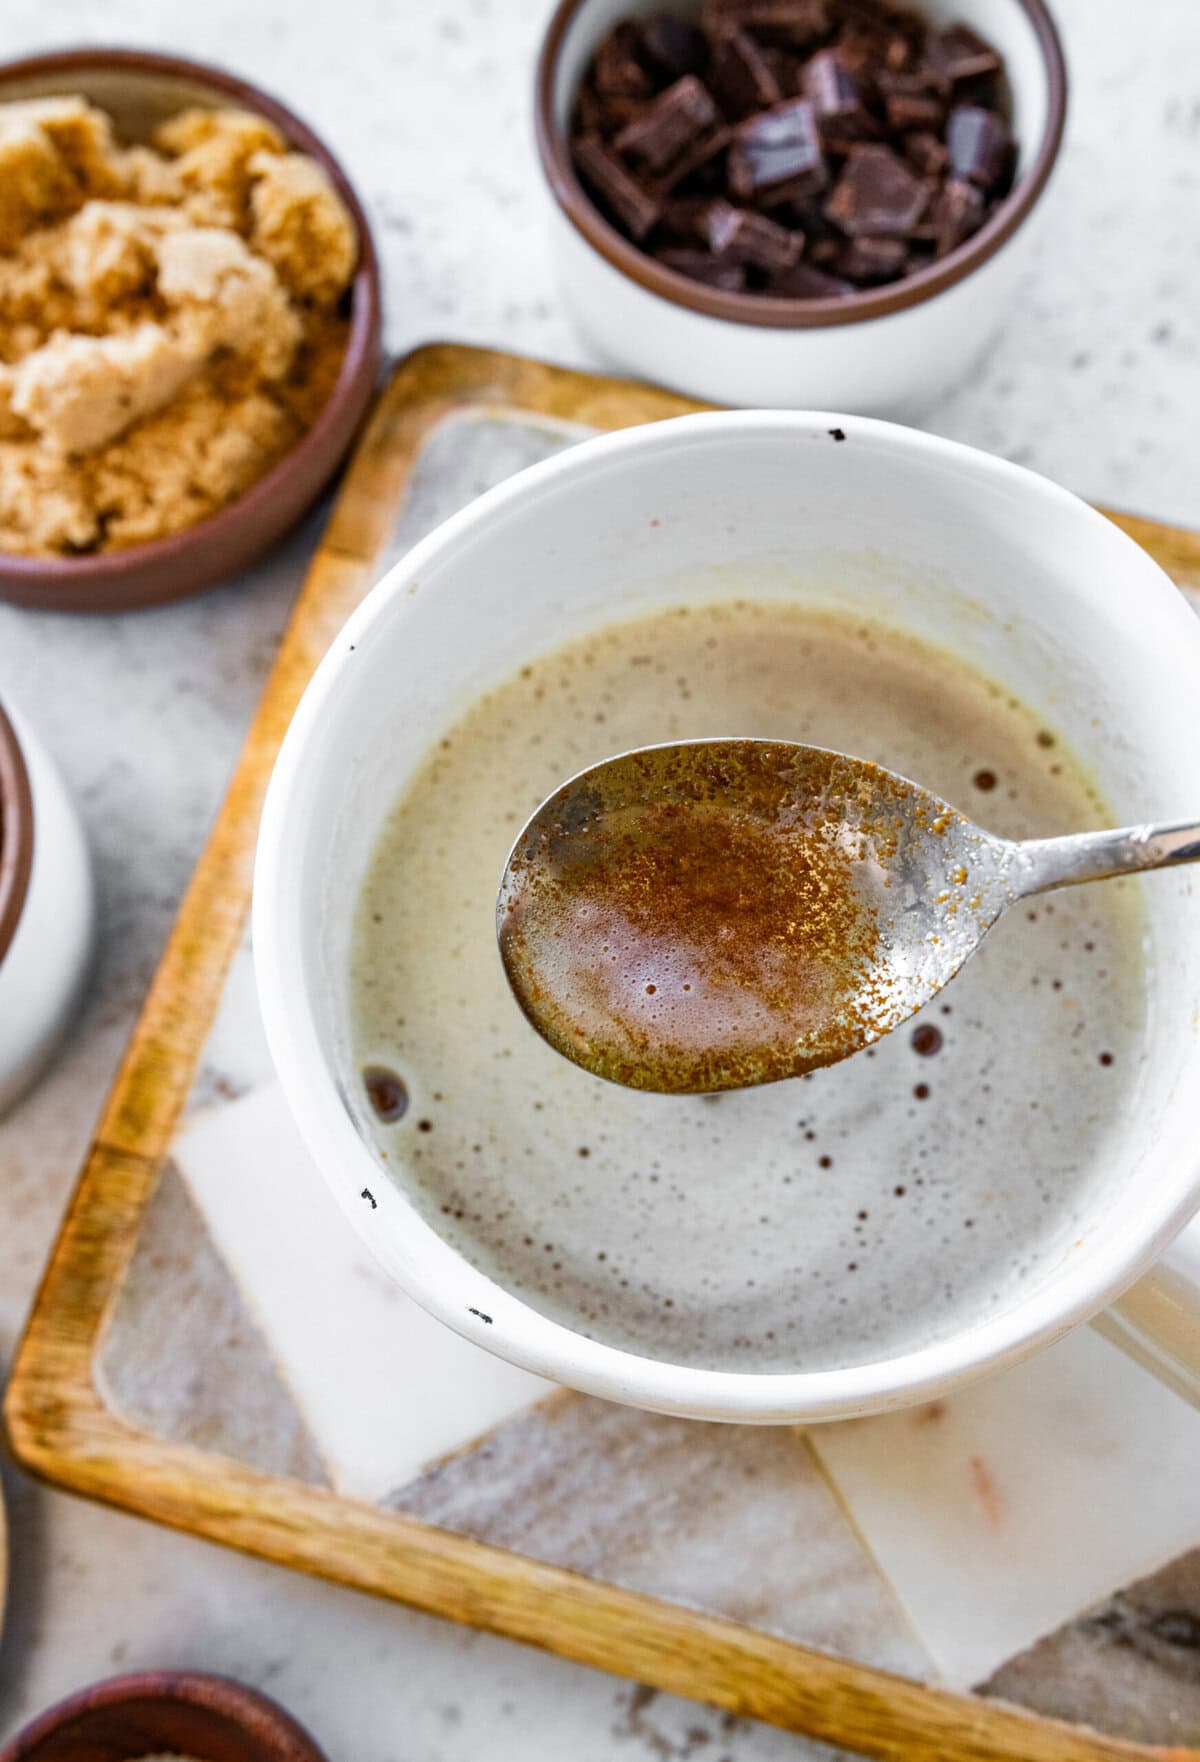
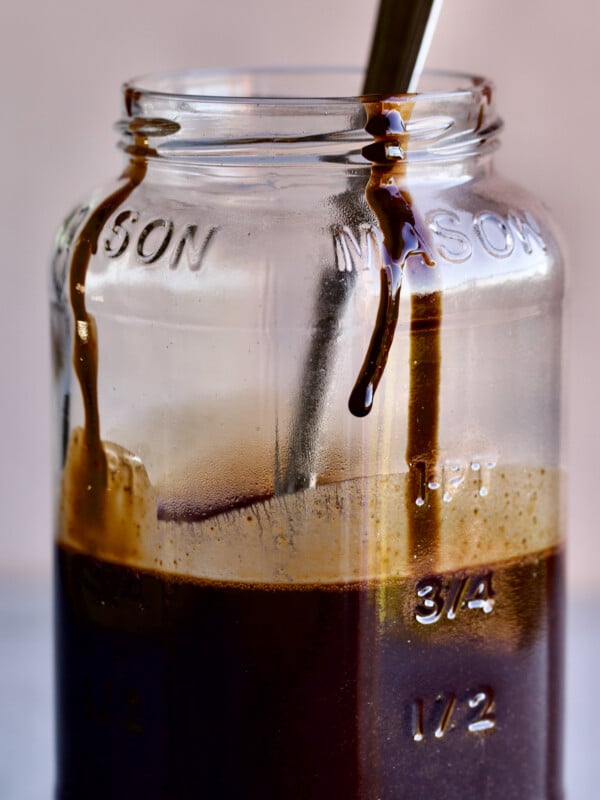
Brown the butter: Add the cubed butter to a light-colored saucepan and melt over medium heat. The butter will bubble and foam as the milk solids begin to separate. Stir continuously, watching for the foam to subside and the milk solids to turn golden brown and smell nutty—this takes about 5–7 minutes.
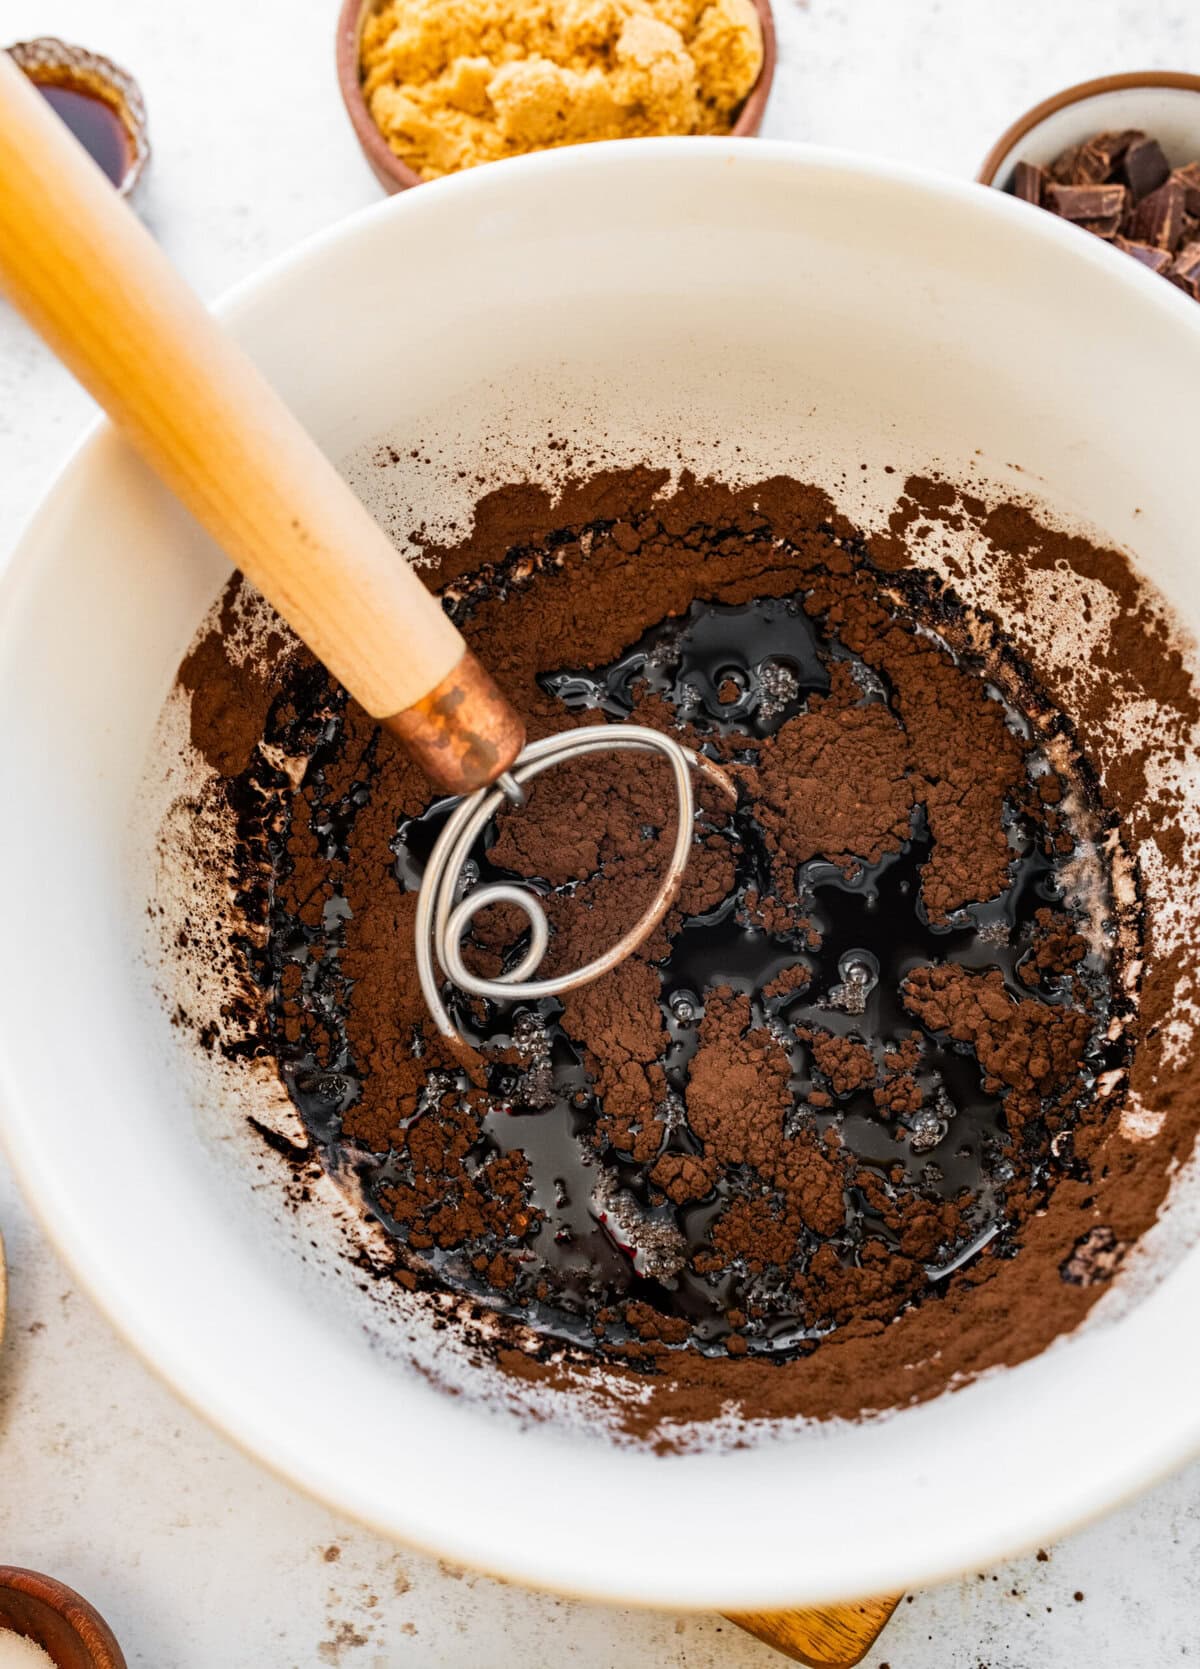
Step #2: Once you see an amber color and toasted aroma (but before it darkens too much), remove from heat and immediately whisk in the cacao powder. This blooms the cocoa and stops the butter from over-browning. Let cool for 5 minutes.
What if my brown butter burned?
Start over. Burned butter smells acrid and turns the brownies bitter.

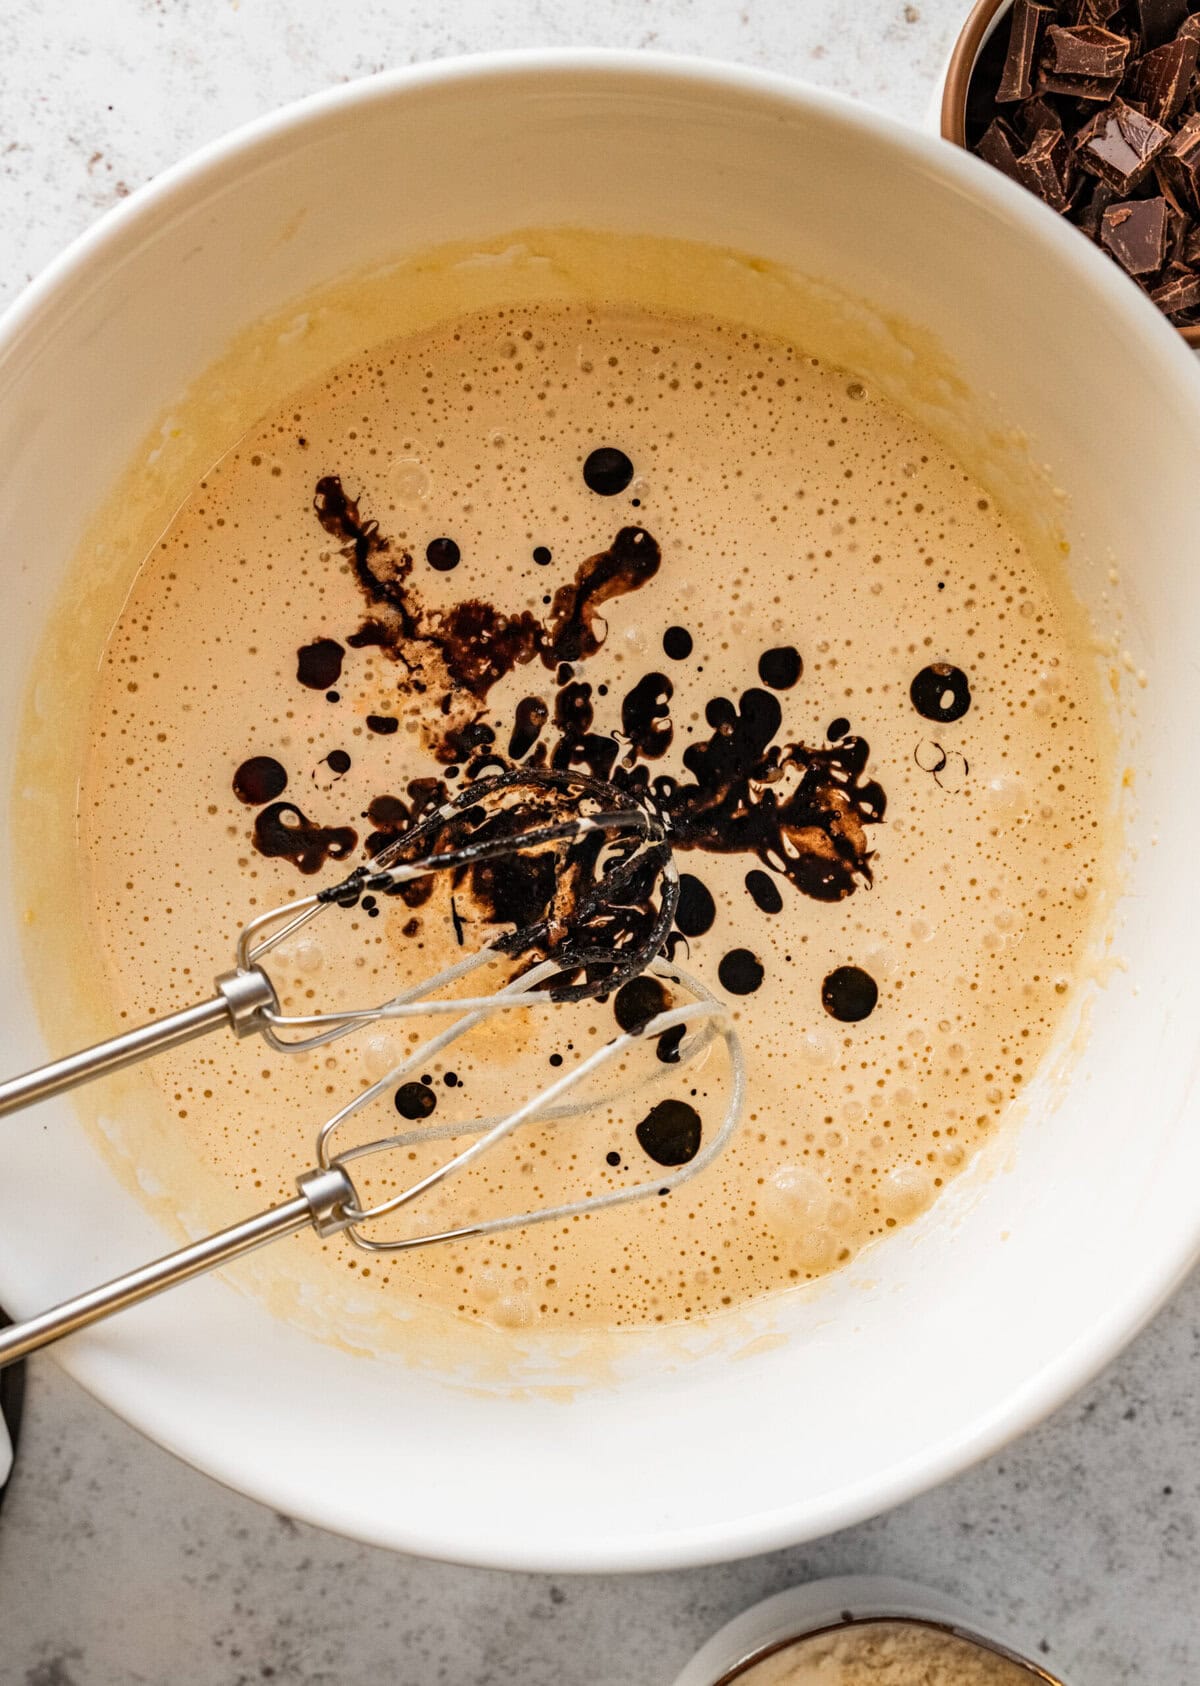
Step #3: Whip the eggs and sugars: In a mixing bowl, combine the eggs, vanilla, granulated sugar, and brown sugar. Beat with a handheld or stand mixer on medium speed for 4–5 minutes, until the mixture lightens in color, thickens, and nearly triples in volume. This step guarantees a classic shiny, crackly brownie top.
Step #4: Combine the mixtures: Pour the warm cocoa–brown butter mixture into the whipped eggs and sugars. Mix on low speed until smooth and fully blended.
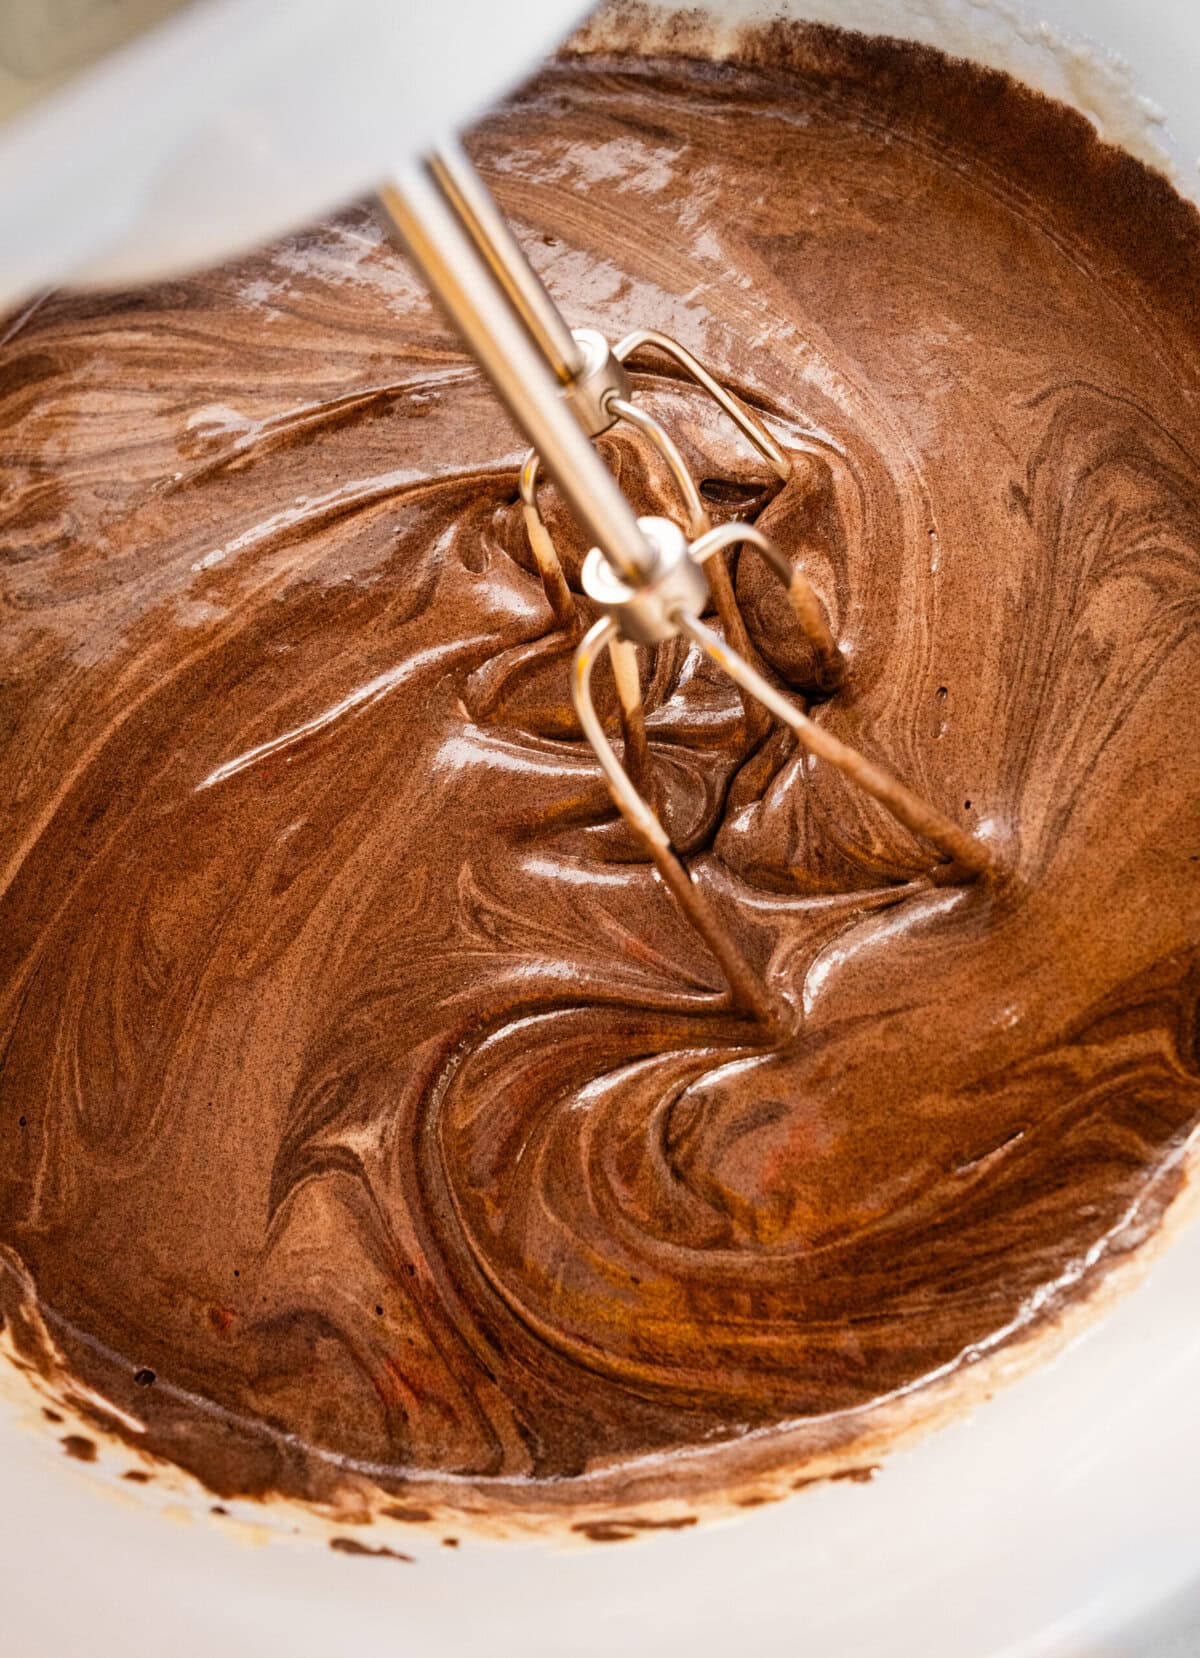
Step #5: Add the flour and salt, mixing gently on low just until no dry streaks remain.
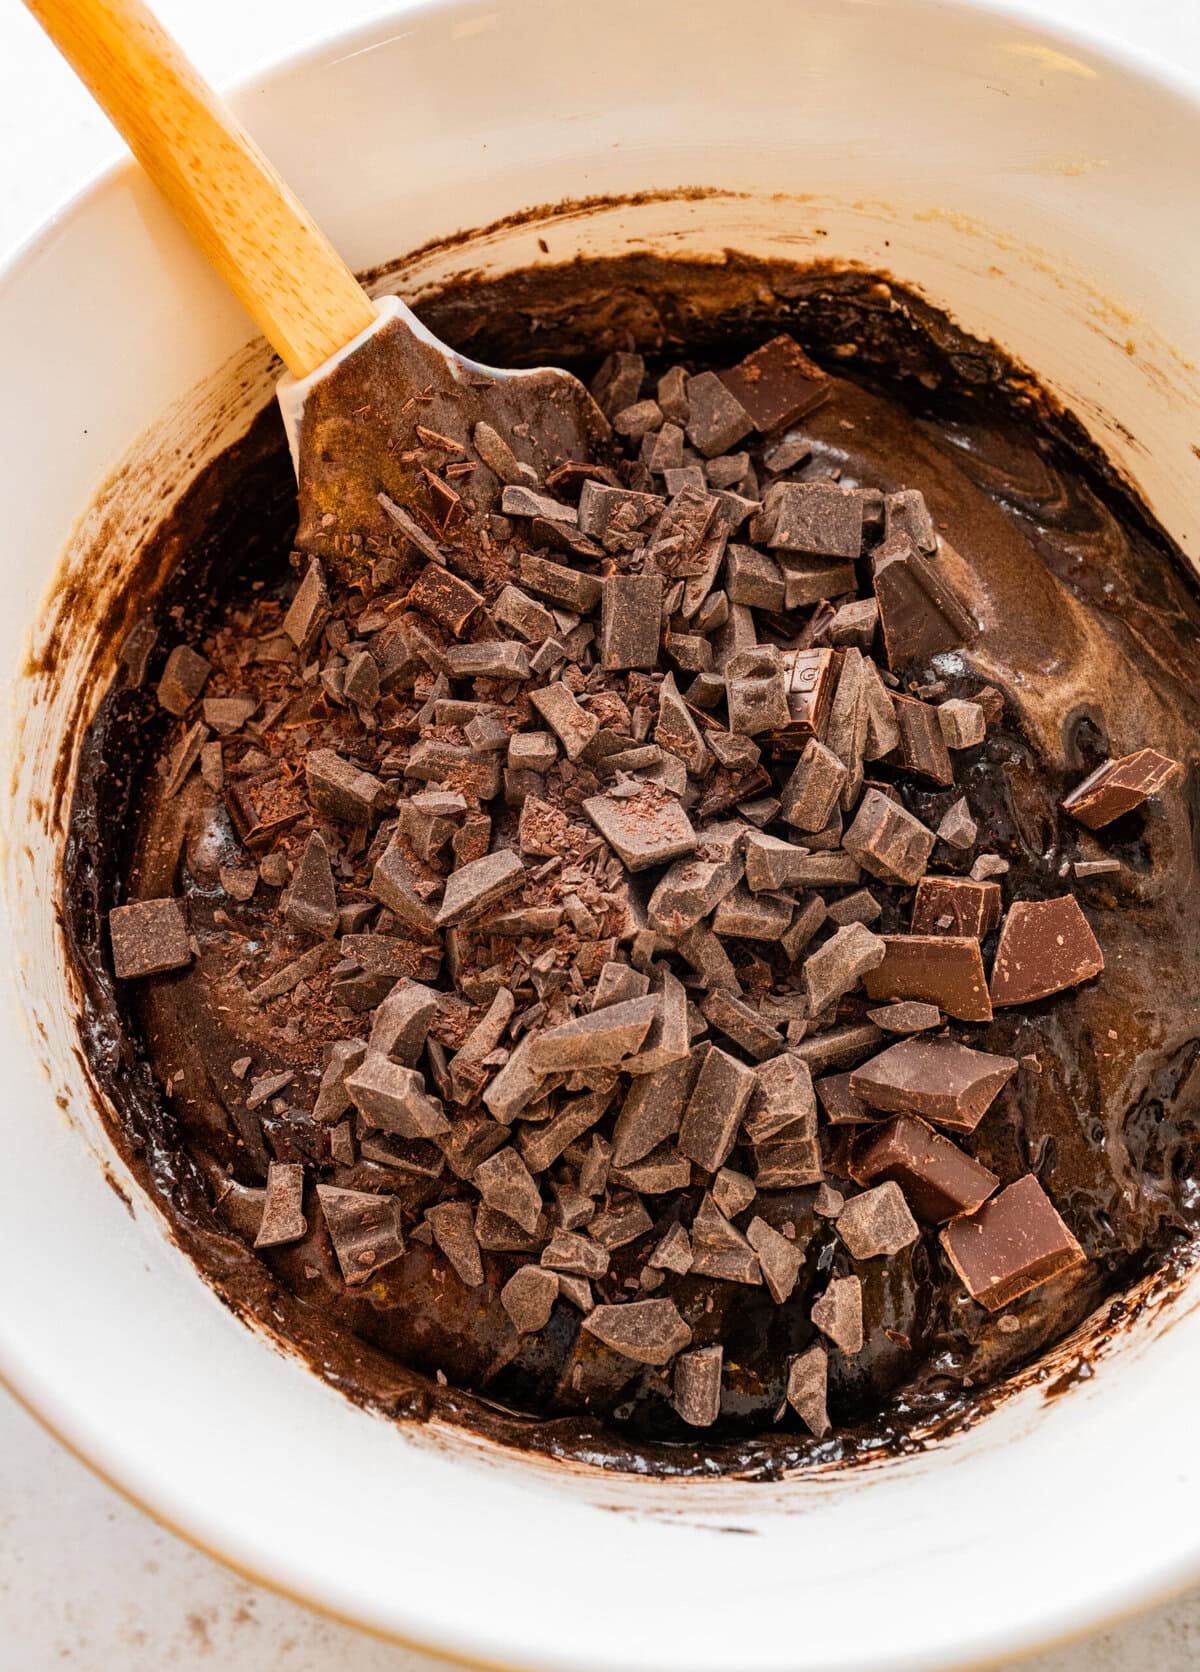
Step #6: Fold in the chocolate chips or chunks, if using—do not overmix, or the brownies will become cakey.
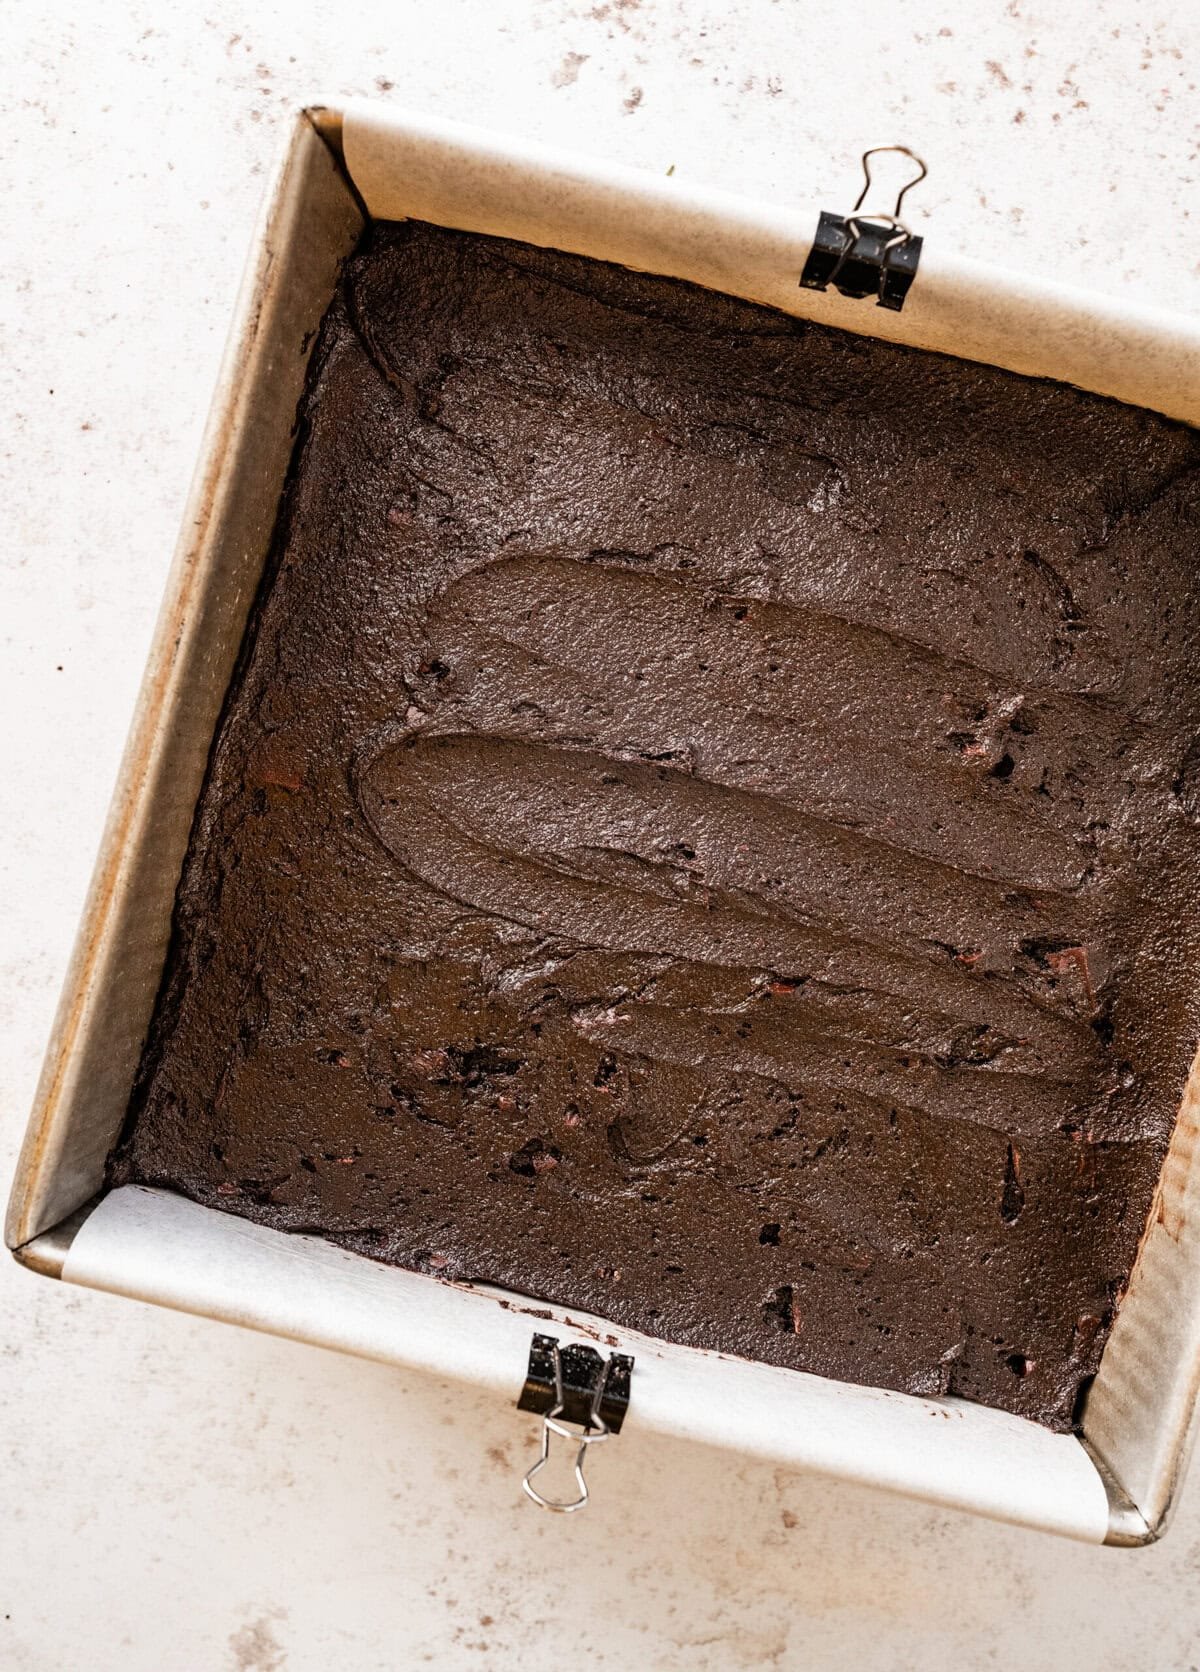
Steo #7: Bake: Spread the batter evenly into the prepared pan. Bake for 24–30 minutes, depending on desired gooeyness (24–26 minutes for fudgy; up to 30 for more set brownies). The edges should look set, and the center should still appear slightly glossy and soft.
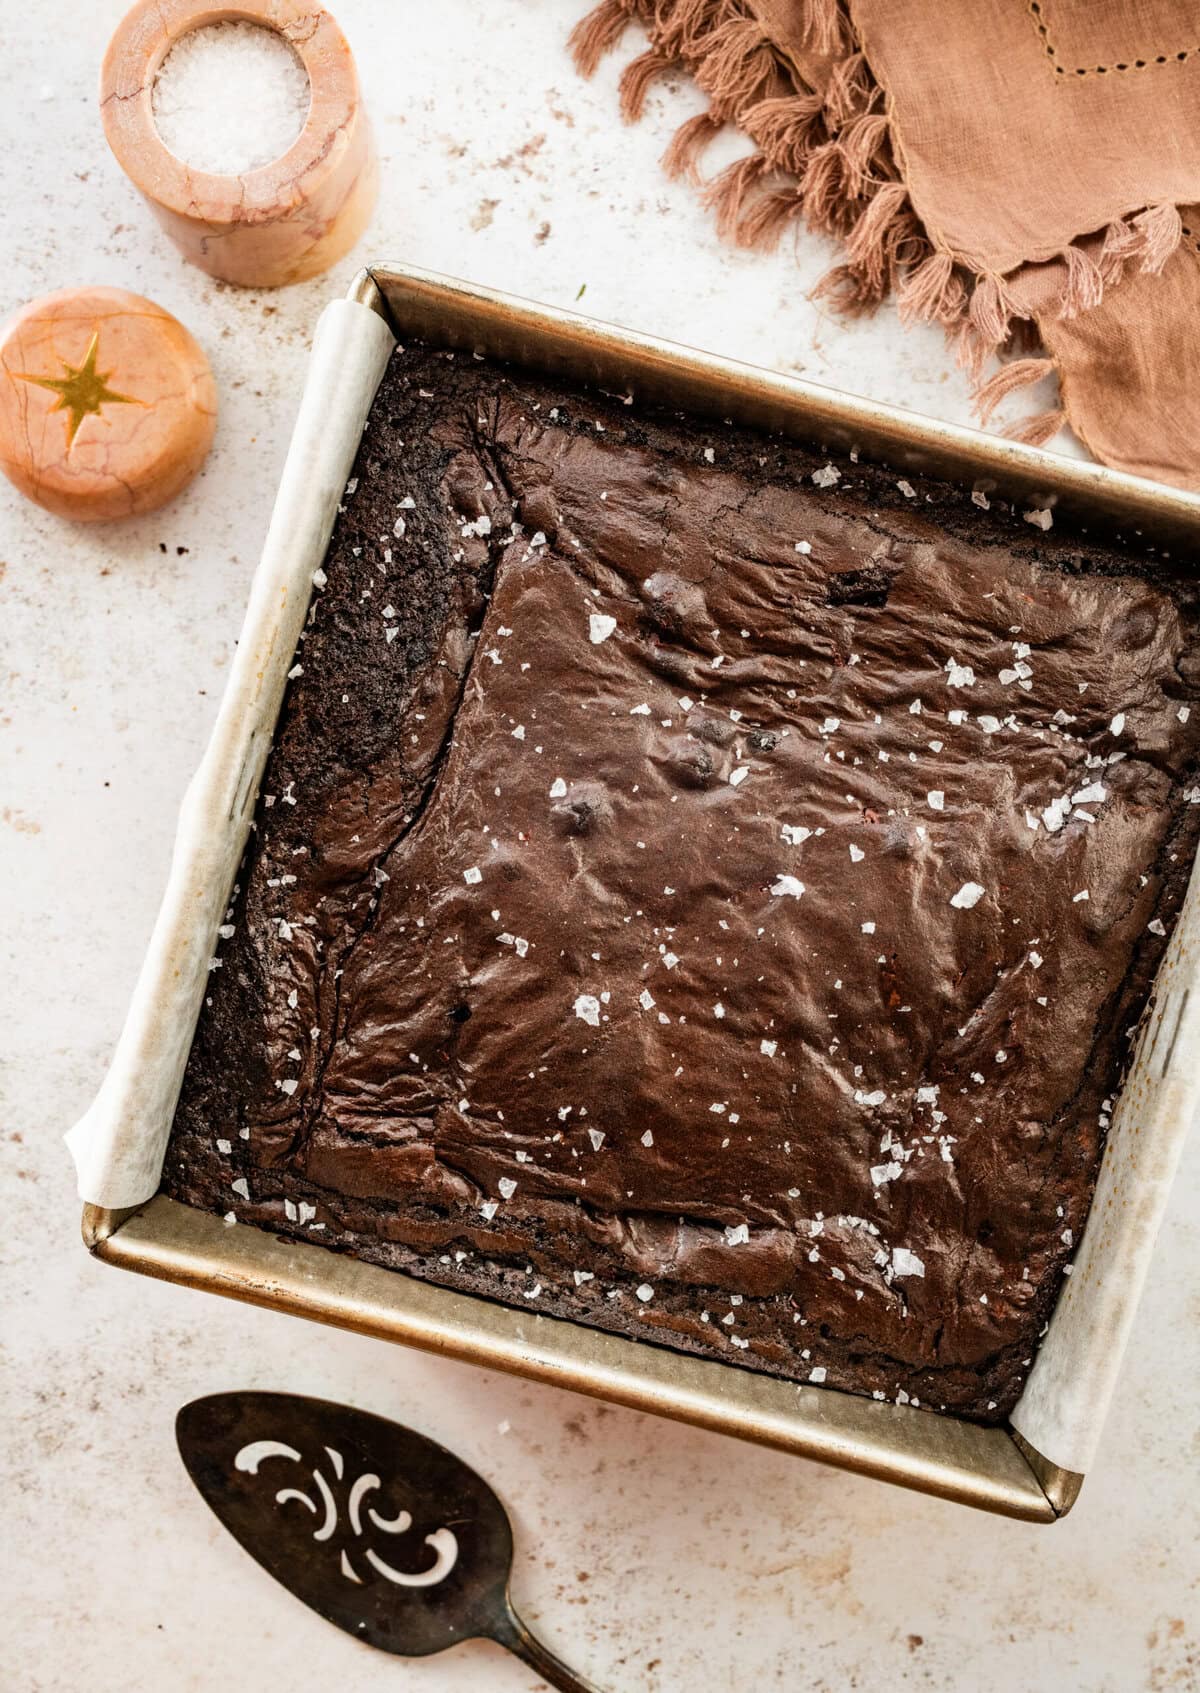
Step #8: Cool and slice: Let the brownies cool in the pan for at least 1 hour before cutting. This allows the structure to set and ensures clean, fudgy slices.
My Pro Tips
Tips for Homemade Brownies with Brown Butter
- Use good European-style butter for richer browning and deeper nutty flavor.
- A light-colored pan prevents overbrowning the butter.
- Room-temperature eggs whip with more volume.
- For extra shine, whisk in 1 tablespoon of hot water with the cocoa, right after browning the butter.
- Let brownies cool fully before slicing—they’re worth the wait.
FAQ’s
Edges set, center still soft and glossy. A toothpick should come out with moist crumbs—not clean.
The egg–sugar mixture wasn’t whipped long enough. Beat 4–5 minutes until pale, thick, and ribbony.
You overmixed after adding flour or baked too long. Mix gently and pull them when the center looks slightly underdone.
Yes, double the recipe. Bake 26–32 minutes, watching early.
Absolutely. Freeze cut brownies tightly wrapped for up to 3 months; thaw at room temperature.
Room temp in an airtight container for 3–4 days, or store in the refrigerator. Refrigeration makes them extra fudgy.
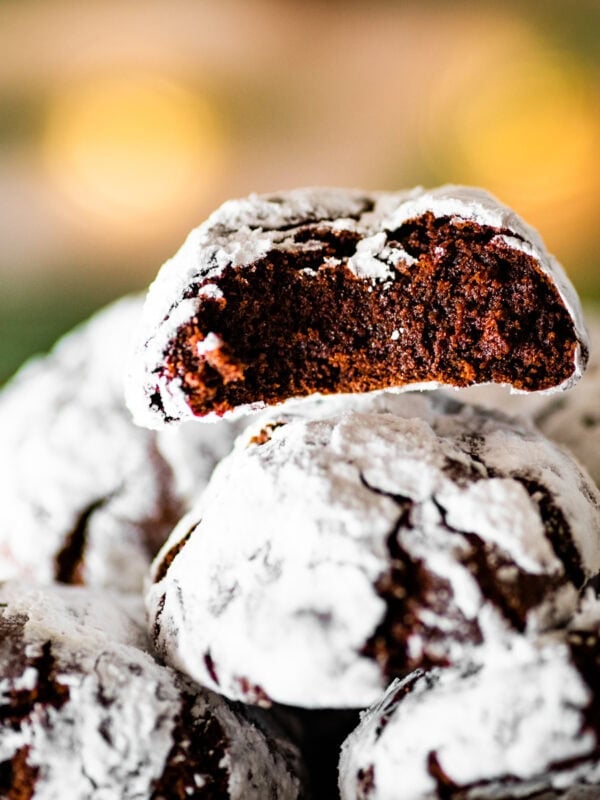
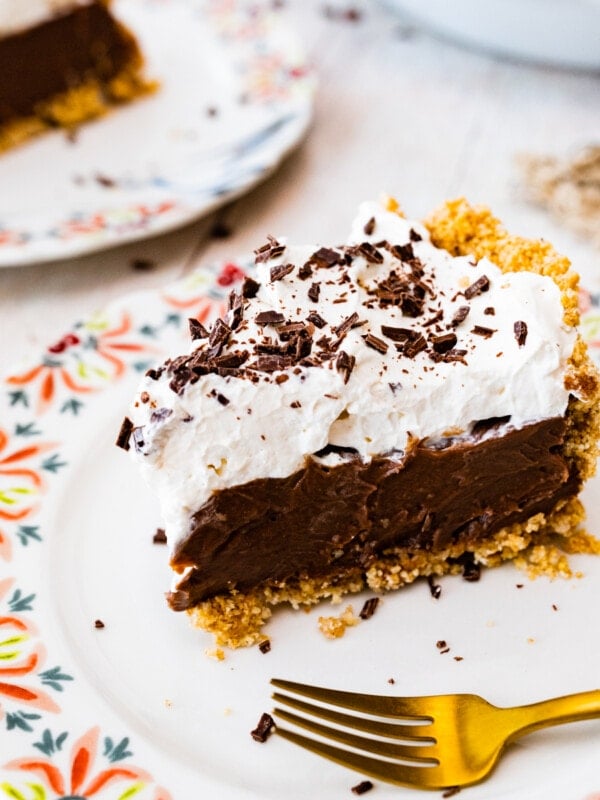
More Chocolate Desserts
💙 MADE THIS RECIPE AND LOVED IT? 💙 Please leave a ⭐️STAR rating and COMMENT below- I love connecting with you! Tag me with your creations on Instagram and find me on Pinterest.
Brown Butter Brownies
Ingredients
- 1 cup unsalted butter, cut into cubes
- ¾ cup Dutch-process cocoa powder
- 1 teaspoon pure vanilla extract
- 1 ¼ cups granulated sugar
- ½ cup light brown sugar, packed
- 3 large eggs, at room temperature
- 1 cup all-purpose flour
- ½ teaspoon salt
- ¾ cup semisweet or dark chocolate chips, optional, but I recommend high-quality chunks
Instructions
- Preheat the oven to 350°F (175°C). Line an 9×9-inch baking pan with parchment paper and set aside. See notes for glass vs. metal.
- Brown the butter: Add the cubed butter to a light-colored saucepan and melt over medium heat. The butter will bubble and foam as the milk solids begin to separate. Stir continuously, watching for the foam to subside and the milk solids to turn golden brown and smell nutty—this takes about 5–7 minutes. Once you see an amber color and toasted aroma (but before it darkens too much), remove from heat and immediately whisk in the cacao powder. This blooms the cocoa and stops the butter from over-browning. Let cool for 5 minutes. *Note: Oops, what if your brown butter burns?- Start over. Burned butter smells acrid and turns the brownies bitter. It's worth it to get it just right!
- Whip the eggs and sugars: In a mixing bowl, combine the eggs, vanilla, granulated sugar, and brown sugar. Beat with a handheld or stand mixer on medium speed for 4–5 minutes, until the mixture lightens in color, thickens, and nearly triples in volume. This step guarantees that classic shiny, crackly brownie top (the secret!).
- Combine the mixtures: Pour the warm cocoa–brown butter mixture into the whipped eggs and sugars. Mix on low speed until smooth and fully blended. Add the flour and salt, mixing gently on low just until no dry streaks remain. Fold in the chocolate chips or chunks, if using—do not overmix, or the brownies will become cakey.
- Bake: Spread the batter evenly into the prepared pan. Bake for 24–30 minutes, depending on desired gooeyness (24–26 minutes for fudgy; up to 30 for more set brownies). The edges should look set, and the center should still appear slightly glossy and soft.
- Cool and slice: Let the brownies cool in the pan for at least 1 hour before cutting. This allows the structure to set and ensures clean, fudgy slices. Sprinkle with flake sea salt, if desired.
Notes
- Brown the butter in a light pan so you can see the color change—golden, not dark.
- Let the brown butter cool slightly so it doesn’t deflate the whipped eggs.
- Whip eggs and sugars 4–5 minutes until pale and ribbony for a crackly top.
- Whisk cocoa into the hot brown butter to bloom deep chocolate flavor.
- Mix in flour just until combined to keep brownies fudgy, not cakey.
- Pull brownies when the center looks slightly glossy—they set as they cool.
- Use chopped chocolate instead of chips for melty, luxurious pockets.
- Fully cool before slicing for the cleanest fudgy squares.
- A sprinkle of flaky salt on warm brownies balances richness beautifully.
- Room-temperature eggs whip with maximum volume for the best texture.
Nutrition
Nutrition information is automatically calculated, so should only be used as an approximation.


I made these this brown butter brownies this past weekend and they came out great! The recipe was easy to follow and nothing to change except I added dark chocolate chips which just intensified the chocolate flavor. My son just kept eating them….and told me not to give any away. Thank you Elena!
Thank you so much for making them 🤍 I’m so happy to hear the brownies turned out great for you! Adding dark chocolate chips sounds like a delicious idea—more chocolate is always a good thing.
And your son saying not to give any away made me laugh… that’s the best review a baker can get. Grazie for trying the recipe and for sharing! 🍫💛
A chocolate recipe I crave on repeat!! These are so good and easy to make!