Italian Pickled Peppers
This post may contain affiliate links. Please read our disclosure policy.


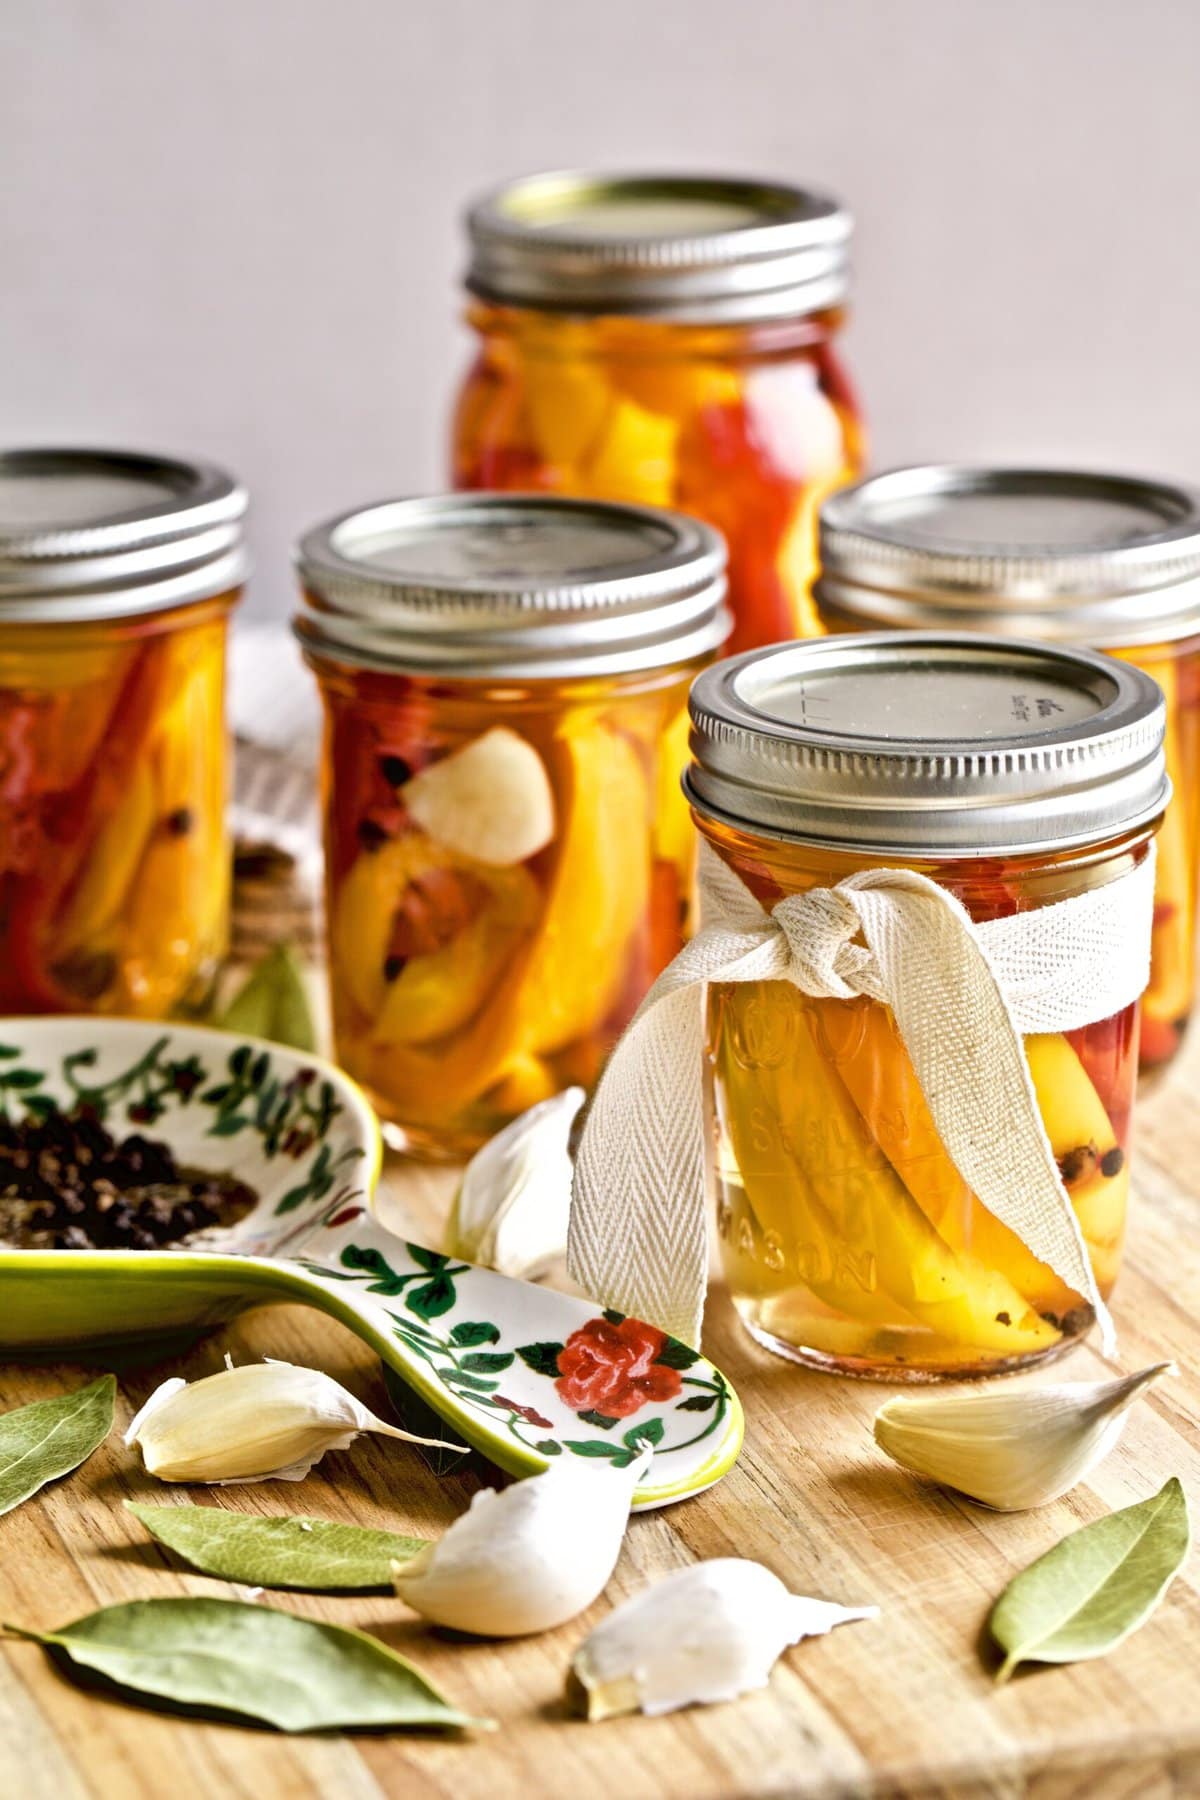
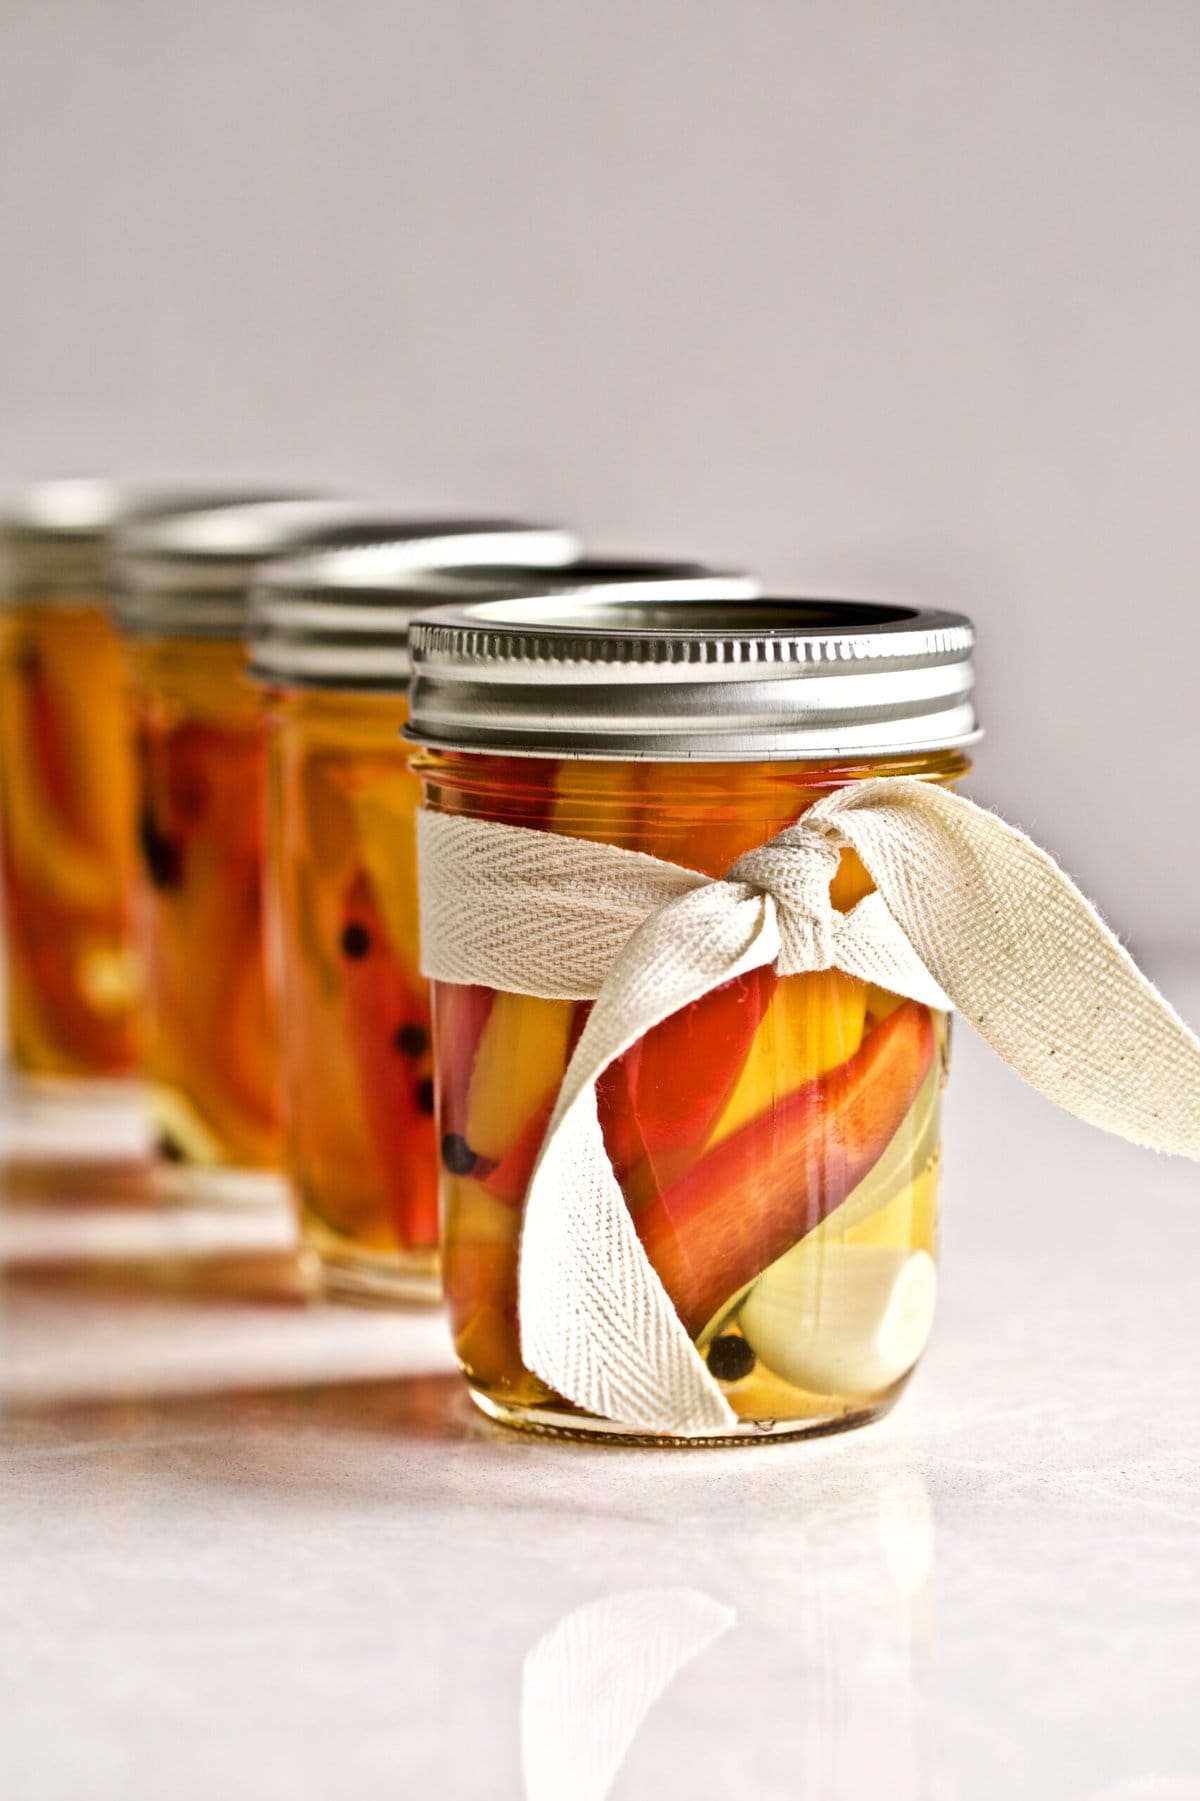
These tangy and crunchy Italian pickled peppers (or peperoni sotto aceto as we call them in Italian) are a colorful addition to any summer sandwich or pizza, and is a quick and easy way to preserve your summer produce, even if you’re not a huge fan of canning! With just 7 ingredients and 20 minutes of prep time, these pickled peppers are easy to make, and add a zesty, colorful touch to almost anything.
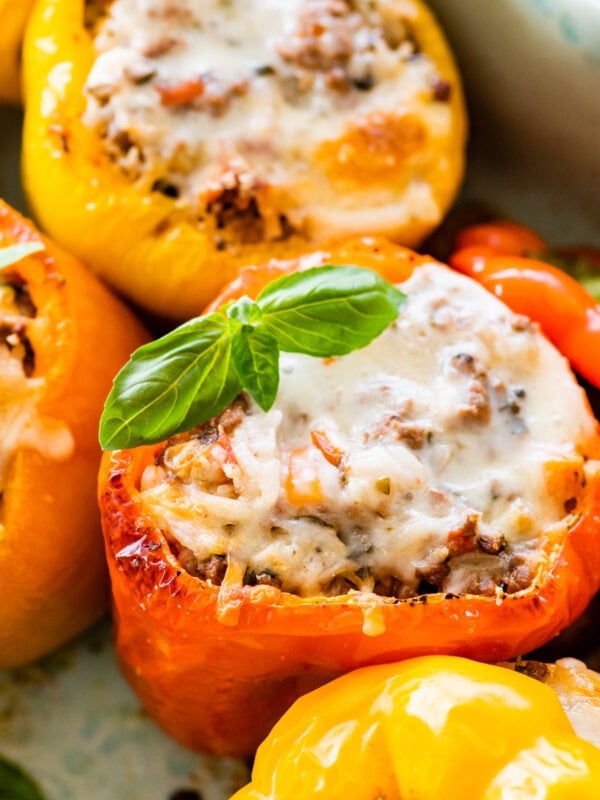
If you love colorful bell peppers, don’t miss these recipes for Orecchiette with Sausage, Peppers, and Arugula and Best Italian Style Stuffed Peppers.

Quick Look: Italian Pickled Peppers
- Prep Time: 20 minutes
- Cook Time: 10 minutes
- Total Time: 30 minutes (not including curing time)
- Servings: makes 6 medium or 12 small jars
- Dietary Info: Vegan & Gluten Free
- Method: Stovetop
- Technique: Par-boil the peppers in a vinegar brine, then pat dry and place in sterilized jars with spices and flavorings. Add vinegar, seal, and let sit for 30 days.
- Flavor & Texture: These Italian pickled peppers are colorful, crunchy, and tangy with a great depth of the flavor from the garlic and spices. You’ll find them irresistible as an appetizer or on sandwiches!
Why You’ll Love This Recipe

I’ll tell you a secret: I am not a person who cans or pickles vegetables. I love fresh and seasonal whenever possible, but this recipe is nostalgic for me and it is actually easy to do! I hope they bring a little taste of Italy to you.
Making Italian pickled peppers requires a little effort, but you get to reap the rewards for months after you are done! This is an easy recipe that takes just 7 ingredients and 20 minutes of prep to put together.
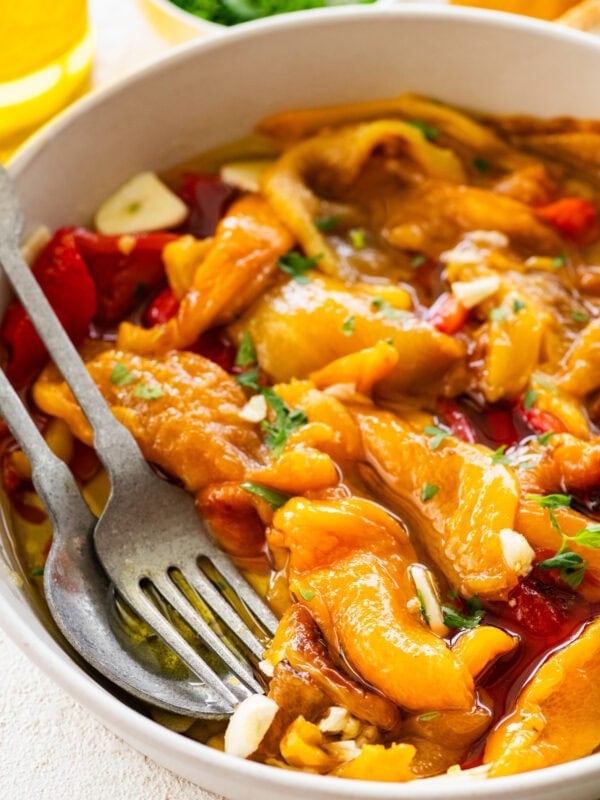
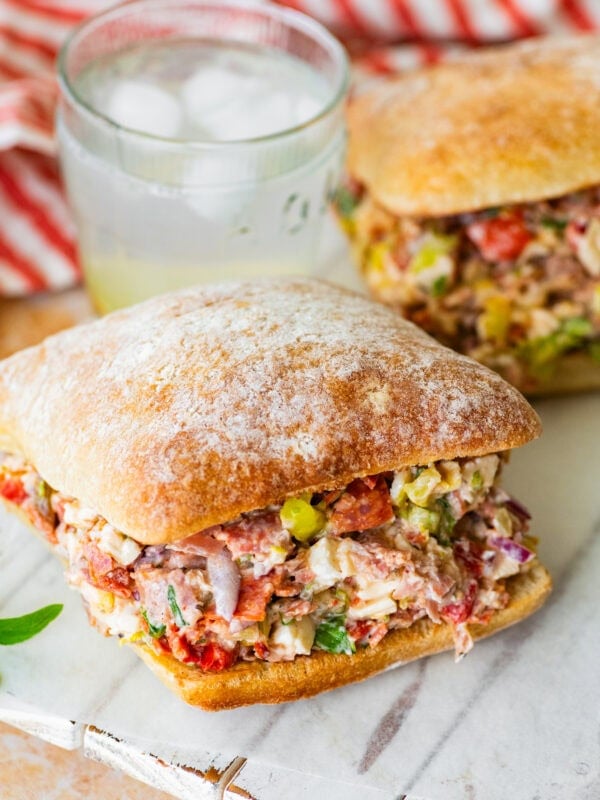
Enjoy these quick pickled peppers with no knead Italian focaccia bread or no knead Italian bread to make a sandwich, or try adding them to your homemade Neapolitan pizza! If you are looking for a quick way to marinate peppers, check out these roasted peppers in oil!
Made With Amore,

“This recipe worked super well. Thank you!”
– Rosa
Table of Contents
Simple Ingredients
The ingredients for this recipe are few and simple. Adjust to taste and make these your own!

- Bell Peppers: I love to use a colorful mix of bell peppers, but you can use any kind of peppers you prefer. (I find that the yellow bell pepper and sweet red bell pepper are my favorite!) Sweet banana peppers or even spicy chili peppers would work well too.
- White Vinegar: Plain white distilled vinegar is the classic choice for any pickled vegetable. It adds an irresistible tang and helps preserve the veggies.
- Flavorings/Seasonings: A combination of peeled garlic cloves, bay leaves, peppercorns, and salt not only keep the pickles fresh, but also add flavor and keep them crispy.
See recipe card for full information on ingredients and quantities.
Variations & Substitutions
- Vinegar Options: Instead of plain vinegar, try variations inspired by my Italian Chopped Salad, or use white wine vinegar or apple cider vinegar for a slightly different flavor profile.
- Spicy Version: Bump up the heat by adding a red pepper flakes, or even a touch of hot sauce. Add hot peppers in addition to the sweet pepper variety.
- Spice Options: Use a few sprigs of oregano, Homemade Italian Seasoning, mustard seeds, or celery seed to add a different flavor.
- Different Veggies: Any vegetable will take to the sott’aceto technique! Try zucchini, eggplant, carrots, onions, cucumbers, green beans, cauliflower, green tomatoes, or artichoke. (Please be sure to precook each vegetable to the right degree of tenderness, which will vary from vegetable to vegetable. Do not use soft, leafy greens or ripe tomatoes.)
How to Make Italian Pickled Peppers
Sterilize the jars for the peppers. I recommend using a hot water bath.
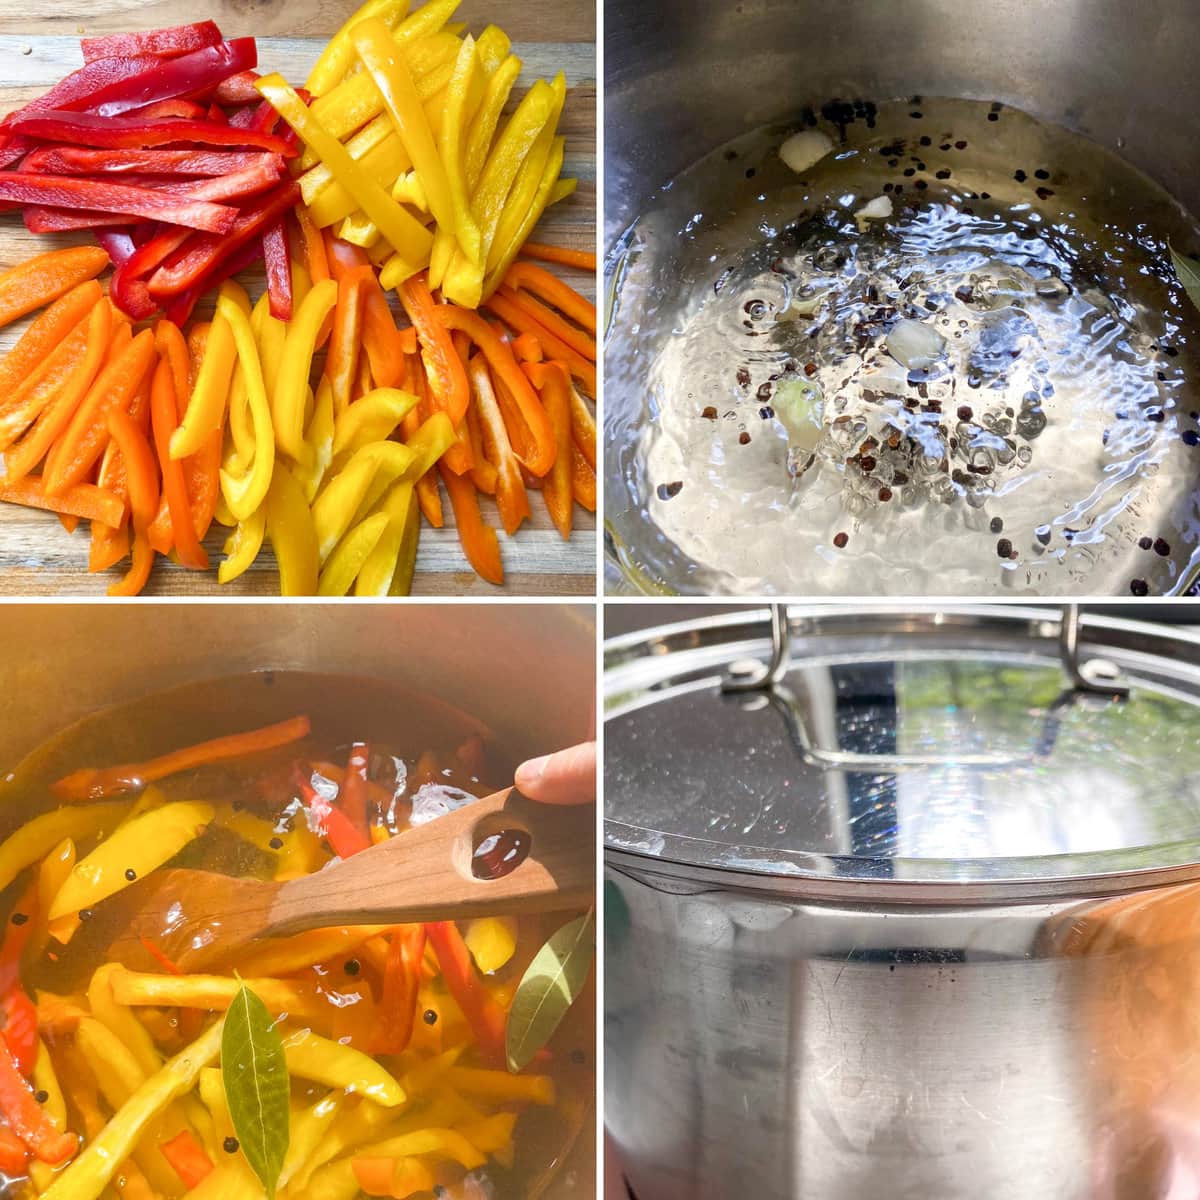
- Wash and cut the peppers in about 3 inch (7.5 cm) strips and remove the seeds. I love using a colorful variety of bell peppers.
- Place half of the vinegar in a large pot, then add about 4-5 cups of cold water along with the garlic and bay leaves. Set on medium-high heat and bring to a boil, then add the salt.
- Add the sliced peppers and stir for about a minute. Then, turn off the heat and cover the pot. Allow to sit for about 10 minutes. The peppers will be al dente.
- Place a large, clean, kitchen towel on a working surface, or baking sheet. Remove the peppers from the hot boiled pickling liquid by straining them in colander. Place on a single layer on the towel. Pat dry with clean paper towels.
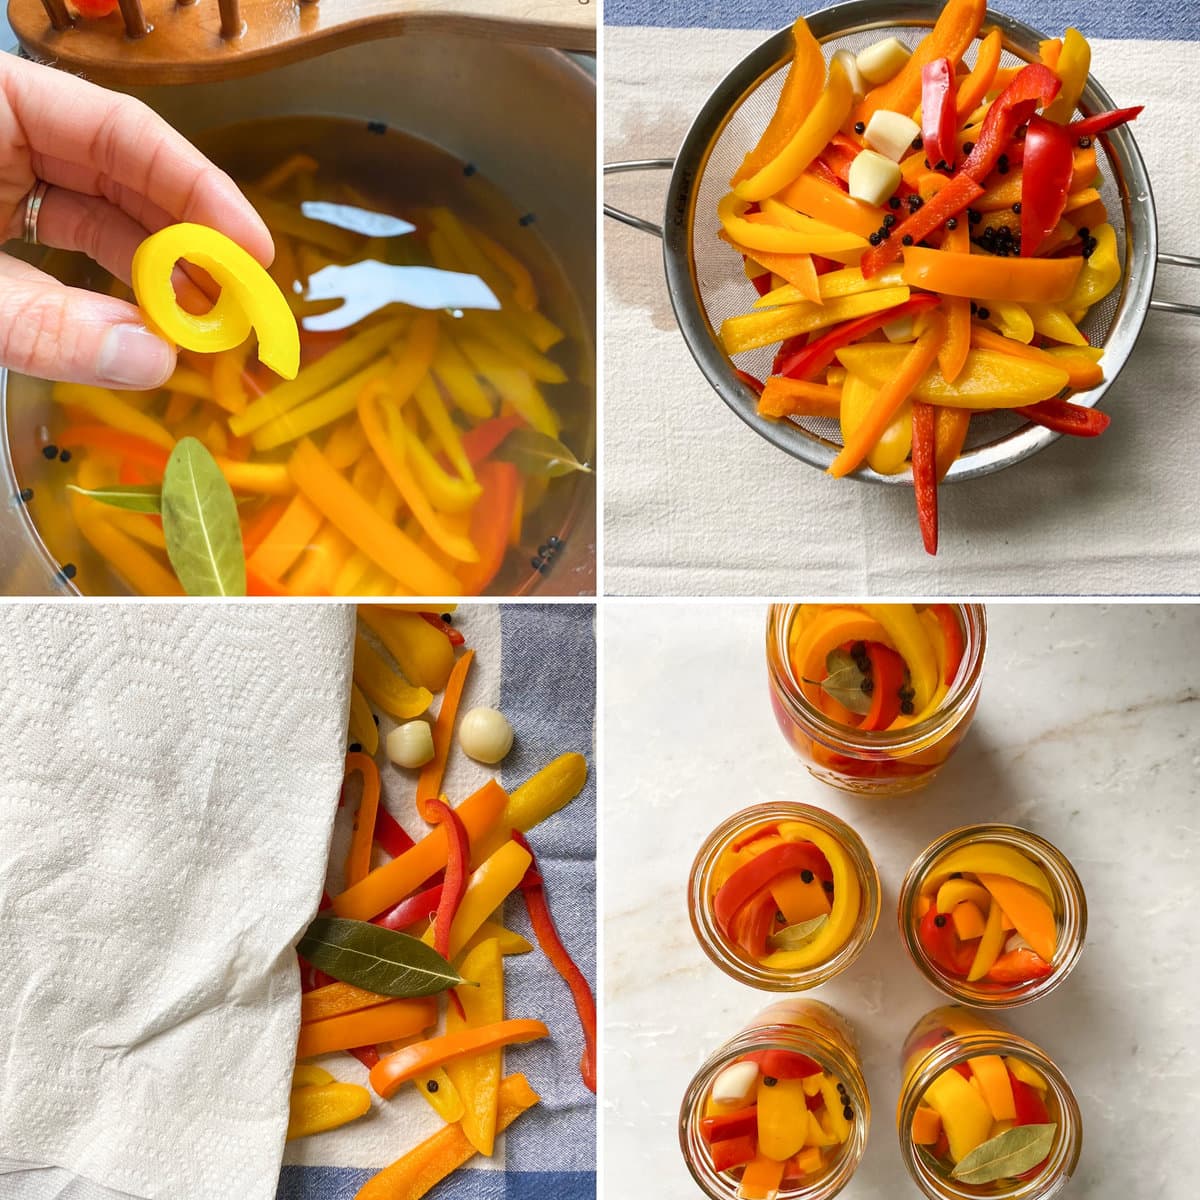
- Fill the jars with the peppers, a few peppercorns, bay leaves, and garlic. You can use 6 small jars or 4 medium jars.
- Pour in the vinegar to fill the top of the jars. Make sure the peppers are FULLY submerged in the liquid. Get out any air bubbles so the peppers don’t spoil.
- Secure lids and allow the pickles to cure in the refrigerator or in a dark, cool place for at least 1-2 weeks, but preferably 30 days, before consuming. The longer they sit the better they will taste. Refrigerate pickled peppers after you’ve opened a sealed jar.
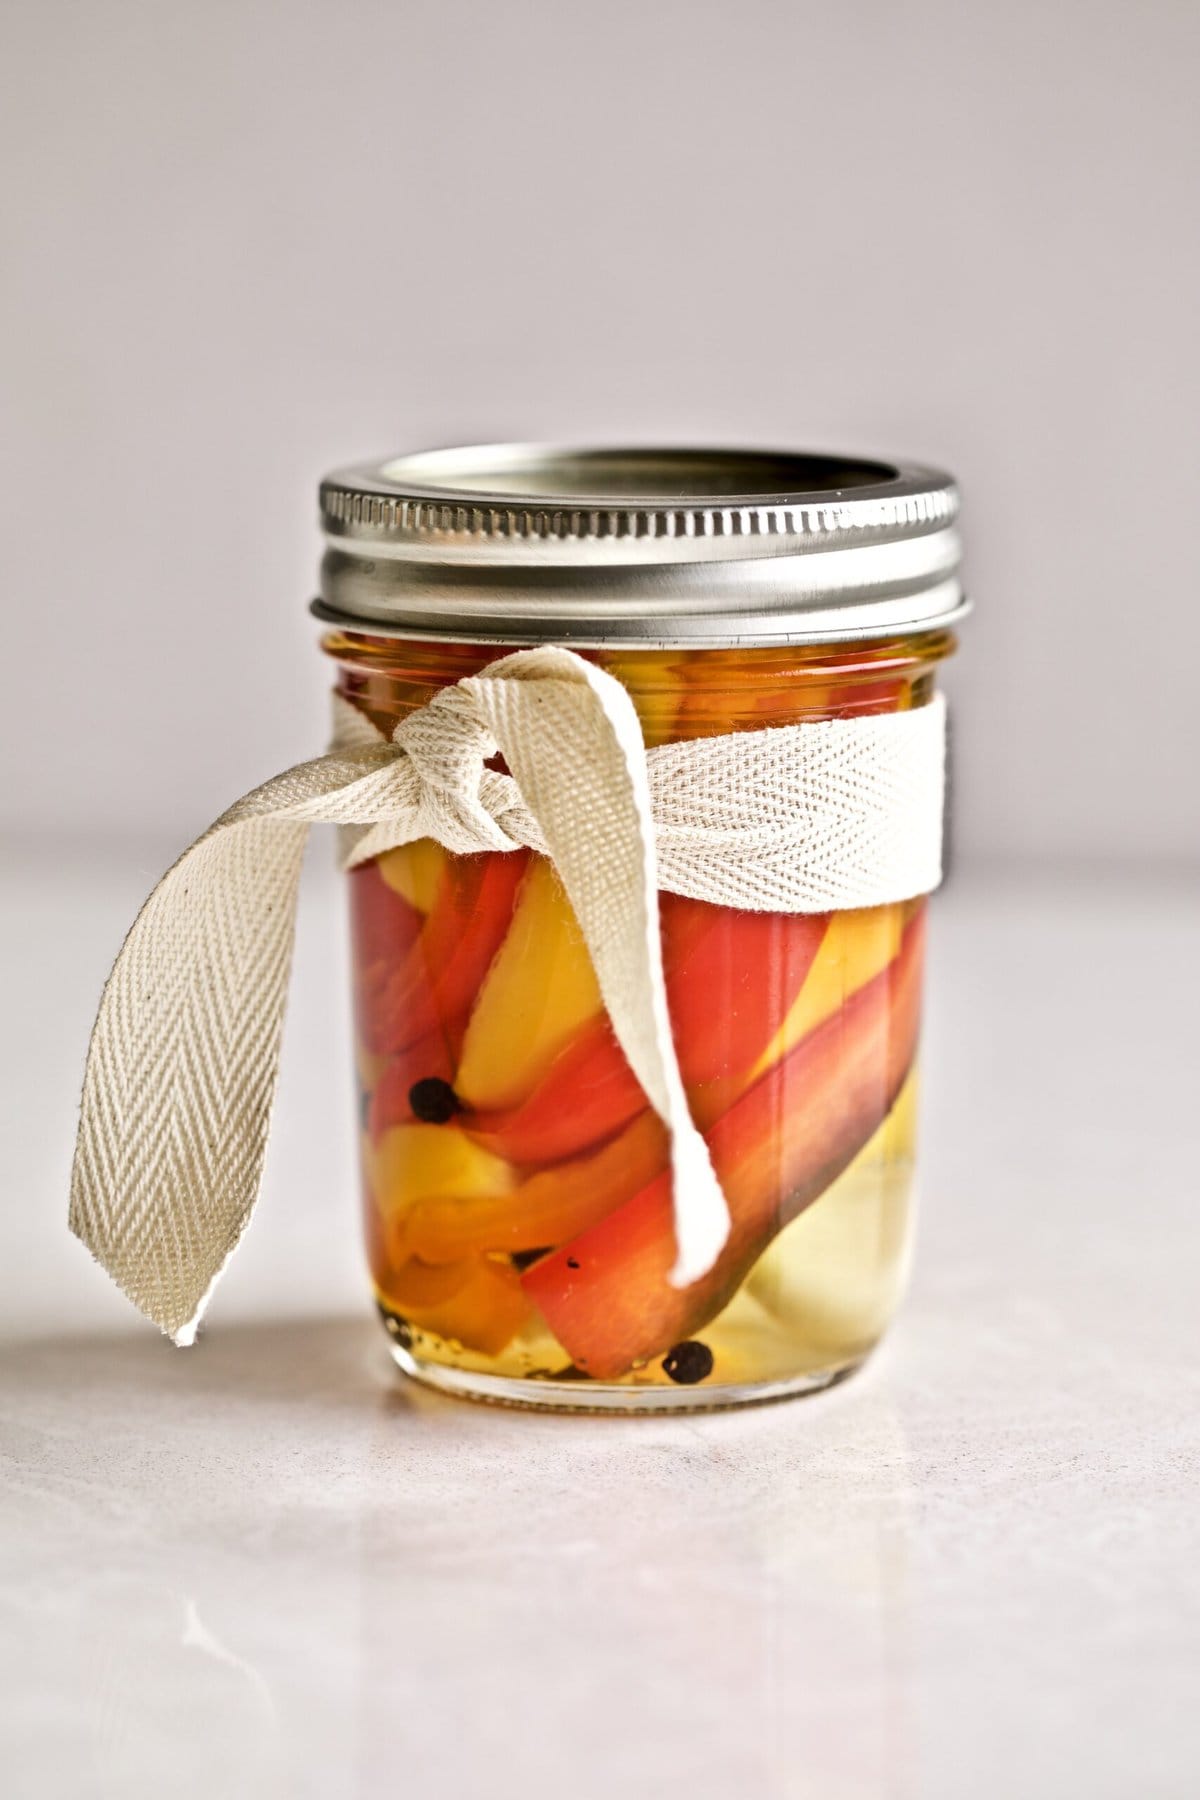
- Enjoy these colorful and tangy Italian pickled peppers as an antipasto, on sandwiches, or on pizza! These work especially well in my antipasto pasta salad or even as a topping on juicy homemade burgers.
Italian Pickled Peppers FAQs
The process is broken down into 4 steps: clean and cut the peppers, par boil them in vinegar, water, and spices, then dry them, add to sterile jars, and cover with vinegar, and seal tightly. Let them sit in the fridge or in a cool, dry, dark place for to 30 days before eating. See post for exact details.
Place the jars in a dry, cool and dark place for 30 days before consuming. Can you eat them before? Absolutely, but they might not be as flavorful.
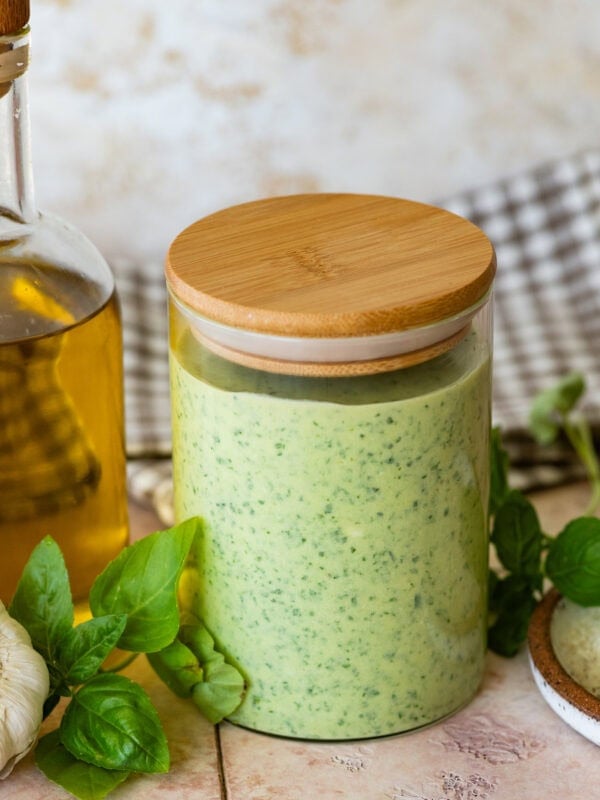
Once a jar is opened, keep it refrigerated and top with olive oil as needed to keep the peppers submerged; the oil acts as a natural sealer. (I also do this with my Authentic Italian Pesto Genovese.)
They’re typically best consumed after 2 months. After pickled peppers are opened and stored in the refrigerator it is important to keep them full submerged in the liquid and sealed tightly. Always use a clean utensil to get the peppers out of the jar to avoid contamination.
When your pickled vegetables are placed in enough vinegar and the jar is properly sealed, they should be safe to eat. If any of the canning steps aren’t followed exactly, there is risk of harmful bacteria like botulism. Most importantly, be sure the jars are sterilized before adding the peppers.
Serving Suggestions
Pickled peppers are eaten in Italy as an antipasto (appetizer). See my post on How to Build a Charcuterie Board for an easy way of making an impressive antipasto spread. Or, serve them on top of Neapolitan Pizza or your favorite pasta dishes. They also make perfect gifts for family and friends.
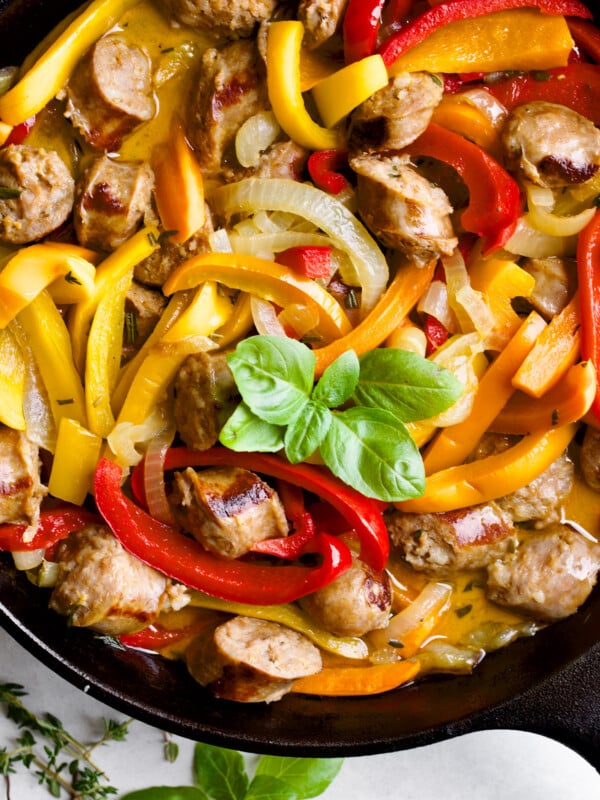
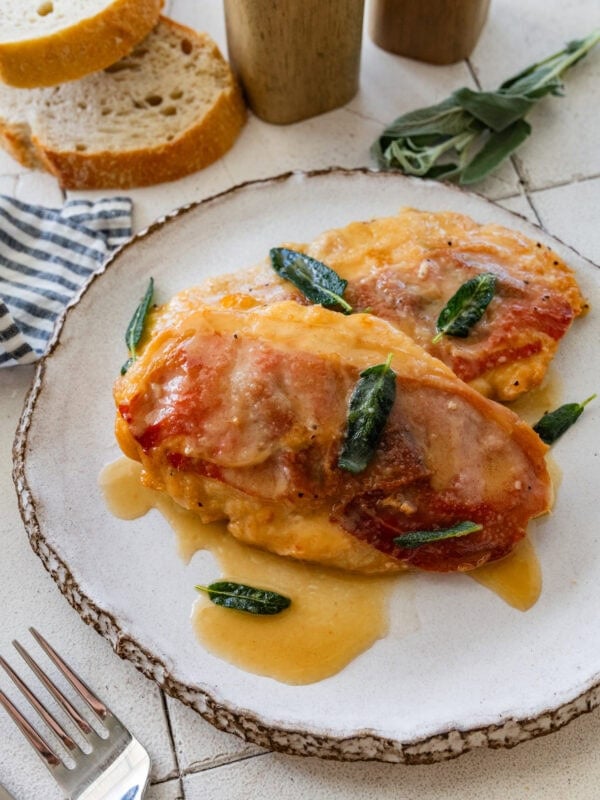
These peppers are so versatile! These vinegar peppers make a great addition to pork chops, sweet Italian sausages, breaded chicken cutlets, and Italian Sheet Pan Sausage, Potatoes, and Tomatoes. You can also top it with our Mediterranean baked cod. The possibilities are endless!
My Pro Tips
Expert Tips
- Any variety of peppers work well in this recipe. Use sweet and/or spicy peppers of all colors and sizes; just cut them in equal-sized pieces.
- Keep the peppers in a cool, dry, dark place for 30 days before eating, or for a minimum of 1-2 weeks. They are even better after 2 months!
- After opening a jar, pour a little olive oil on top to ensure the peppers stay submerged and store tightly sealed in the refrigerator. Always use a clean utensil to get the peppers out of the jar to avoid contamination.
Other Italian Pepper Recipes You’ll Love
💙 MADE THIS RECIPE AND LOVED IT? 💙 Please leave a ⭐️STAR rating and COMMENT below- I love connecting with you! Tag me with your creations on Instagram and find me on Pinterest.
Italian Pickled Peppers

Ingredients
- 2 pounds bell peppers, cut into 3-inch strips
- 5 cups white vinegar
- 5 cups water
- 8 cloves garlic, peeled
- 5 bay leaves
- 1½ tablespoons coarse salt
- 1 tablespoon peppercorns
Instructions
Prepping
- Sterilize the canning jars and have them ready to use. Cut peppers and set aside until ready to use.
Cooking the Peppers
- Place half of the vinegar in a large pot, add cold water, garlic, and bay leaves. Set on medium-high heat and bring to a boil then add the salt. Add sliced peppers and stir for 1-2 minutes.
- Turn off heat and cover the pot, then allow it to sit for about 10-12 minutes. The peppers will soften a little bit with still a nice crunch too.
- Place a clean kitchen towel on a working surface. Drain the peppers from the water with a colander, then place them on a single layer on the towel. Pat peppers dry as much as possible with clean paper towels.
Assembling & Pickling
- Fill the sterilized jars with the peppers, adding some peppercorns, bay leaves, and garlic to each jar.
- Fill the jars with the remaining vinegar and press the peppers down with a clean spoon to ensure they are covered by the vinegar. Use a toothpick to burst the bubbles in the liquid and prevent the peppers from spoiling. Tightly screw on the lids.
- Place the jars in a dry, cool and dark place for 30 days before consuming. You can eat them 2 weeks after making, but the longer they sit the better they will taste. Refrigerate the jars after opening and consume within 30 days of opening.
Notes
- Any variety of peppers work well in this recipe. Use sweet and/or spicy peppers of all colors and sizes; just cut them in equal-sized pieces.
- Keep the peppers in a cool, dry, dark place for 30 days before eating, or for a minimum of 1-2 weeks. They are even better after 2 months!
- After opening a jar, pour a little olive oil on top to ensure the peppers stay submerged and store tightly sealed in the refrigerator. Always use a clean utensil to get the peppers out of the jar to avoid contamination.
Nutrition
Nutrition information is automatically calculated, so should only be used as an approximation.


TYVM
You are welcome!
Hoping you can help. Looking for a recipe for boneless chicken breasts, peppers, artichokes, mushrooms and sliced potatoes in a brown vinegar sauce. I think it’s from a Northern region… chicken levanto. If you could help, I would be so grateful. I now own so many Italian cookbooks looking for the recipe. Thank you, Elizabeth Cavanaugh
Hi! Thank you so much for reaching out to me with this- I do not know of this recipe, but you may like chicken cacciatore or steak pizzaiola that have a similar vibe.
This recipe worked super well thank you! We added a layer of oil on the top of the jars to help them seal and last longer.
Yes, that is great.
I am happy you loved the recipe!
I’m a first timer as well. Can I use frozen peppers?
Fresh really work best for this!
A question about the vinegar. It says to fill the jars with the REMAINING vinegar. Does this mean the half (2.5 cups) that was not used for the boil? Is the vinegar and water that was used for the boil discarded and not used in the jars?
I’ve never made these before, but I want to make sure to do it right.
Hi! Use the remaining that was used to boil and flavor the peppers. I hope you love them!
So both then? The remaining from the boil and the other 2.5 cups that was not used for the boil? If so, just pour the unused 2.5 cups into the used, mix it together, then use that to fill the jars over the peppers?
Sorry, I just don’t want to make a mistake.
Hi! Basically use what you have left to fill to the top of the jars. You may have some left over. I hope that makes sense.
Can this recipe be processed in a water bath for a longer shelf life?
Yes, it can! You need to follow specific canning directions to keep it safe. I do not have a long shelf-life canning method on my website.
Can the peppers be stored in the fridge instead of a cool dark place for 30days. They’re not vacuum sealed so I’m concerned about spoiling.
Yes! I recommend the storing in the fridge.
This recipe is super easy and delicious. They are easy to store and we use them as a side for everything! Enjoy on sandwiches, pizza, and more!